DIY Retractable Window Screens: Your Best Guide in 2025
Installing DIY retractable window screens is an excellent way to enhance your home’s comfort and functionality. These screens let you enjoy fresh air without dealing with bugs and debris, while easily retracting when not in use to preserve your view. This guide covers everything you need to know about DIY retractable window screens, from installation to maintenance. Their popularity has grown due to their practicality, ease of installation, and visual appeal, making them a simple yet effective home improvement solution for both beginners and seasoned DIYers.
Why Choose DIY Retractable Window Screens?
DIY retractable window screens are a smart solution for homeowners seeking flexibility and customization. They differ from traditional fixed screens in that they can be pulled into place when needed and retracted out of view when not in use. This offers a cleaner, more polished look while still protecting from insects and other outdoor elements.

Here are several reasons why DIY retractable window screens are worth considering:
- Customizability: With DIY retractable window screens, you can customize the size, color, and material to match your specific window design. This makes them perfect for homes with unique window shapes and styles.
- Ease of Use: DIY retractable window screens are designed to operate smoothly and efficiently. With a quick pull or push, the screen can be extended or retracted, making it convenient for daily use.
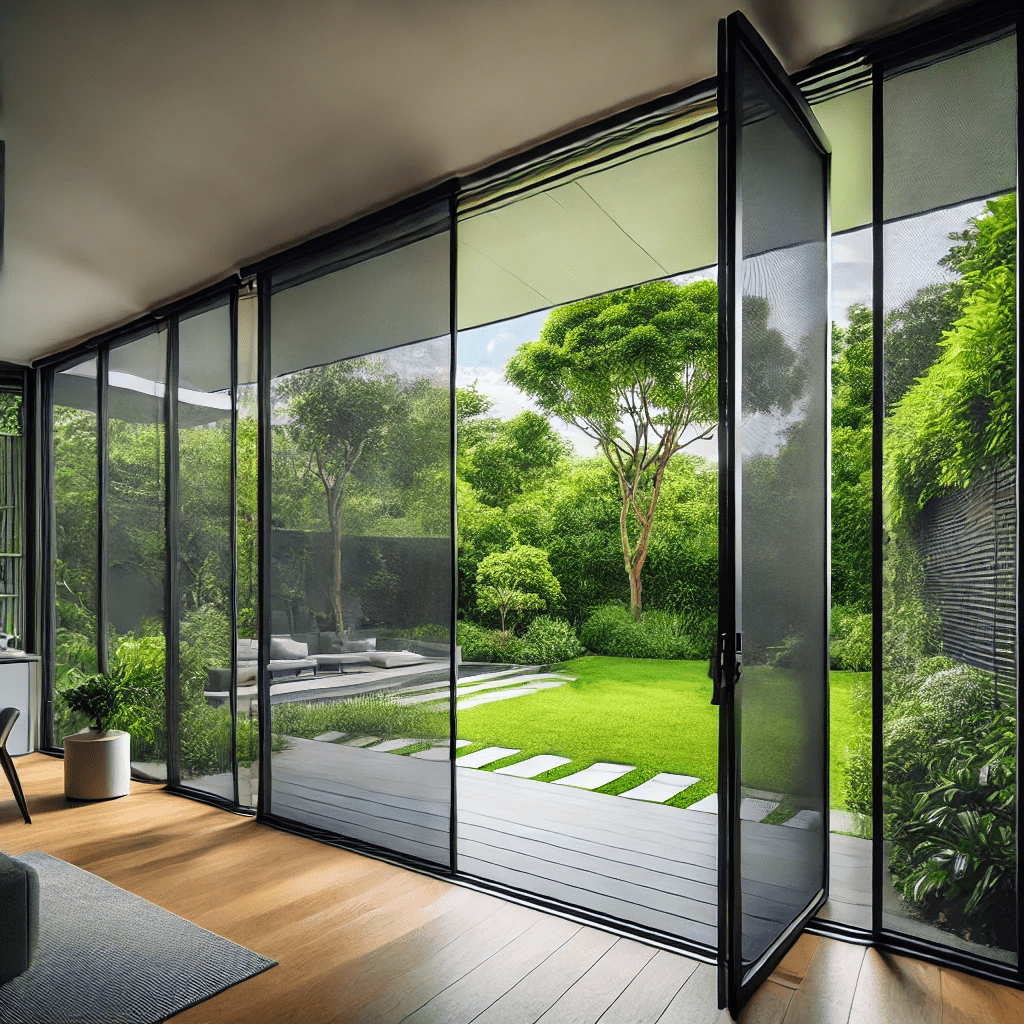
- Aesthetic Appeal: Unlike traditional fixed screens that can obstruct your view, DIY retractable window screens retract out of sight, allowing you to enjoy clear, unobstructed views when the screen is not in use.
- Protection: DIY retractable window screens protect your home from insects, dust, and debris while still allowing airflow. This is especially useful in the warmer months when you want to keep windows open for ventilation.
- Cost-Effective: By installing DIY retractable window screens yourself, you save money on labor costs while still enjoying the benefits of professionally installed screens.
- Energy Efficiency: These screens allow natural ventilation, helping to cool your home without relying on air conditioning. In turn, this can help reduce energy costs during hot seasons.
With so many benefits, DIY retractable window screens are an excellent addition to any home, and installing them yourself can be a rewarding home improvement project.
Understanding DIY Retractable Window Screens
Before jumping into the installation process, it’s essential to understand the key components and types of DIY retractable window screens. They typically consist of a retractable mesh screen, a frame, and a housing unit. The mesh is stored inside the housing when retracted, and the frame helps guide the screen when it’s extended across the window.
There are two main types of DIY retractable window screens:
1. Vertical Retractable Window Screens
These screens retract from the top down, making them ideal for traditional windows that open vertically, such as double-hung windows. When retracted, the screen is hidden in a housing unit mounted at the top of the window.
2. Horizontal Retractable Window Screens
Horizontal retractable window screens slide from side to side and are commonly used for casement or sliding windows. These screens are typically mounted to the side of the window frame, allowing for easy access and retraction.
Both types of DIY retractable window screens can be installed on various window types, but it’s important to choose the correct design for your specific window style to ensure proper function and aesthetics.
How to Select the Right DIY Retractable Window Screens
When it comes to selecting DIY retractable window screens, there are several factors to consider. Choosing the right screens will ensure that they function well and complement your home’s overall design.
1. Measure Your Windows
Accurate measurements are essential for DIY retractable window screens to fit properly. Measure both the width and height of the window where you plan to install the screen. It’s crucial to measure from inside the window frame, as this is where the frame and tracks will be mounted. Always double-check your measurements before purchasing or assembling your screens.
2. Choose the Right Material
The material of the mesh and frame is critical for durability and functionality. The most common materials for DIY retractable window screens include:
- Fiberglass Mesh: This is the most popular choice due to its flexibility, durability, and resistance to corrosion. Fiberglass mesh allows for good airflow while keeping insects out.
- Aluminum Mesh: Aluminum mesh is more rigid and durable than fiberglass, making it an excellent choice for high-traffic areas or homes exposed to harsh weather conditions.
- Pet-Resistant Mesh: If you have pets, consider pet-resistant mesh, which is designed to withstand scratches and wear from pets without tearing.
- Solar Mesh: Solar mesh is designed to block UV rays, helping to reduce heat gain during hot months. This can make your home more energy-efficient by reducing the need for air conditioning.
3. Consider the Screen’s Mechanism
DIY retractable window screens come with different mechanisms for retracting and locking the screen in place. Some screens use a spring-loaded system that automatically retracts the screen when released, while others may require manual operation. Choose a mechanism that is easy to use and matches your preferences.
4. Select the Screen Style
Consider the style of your windows and the look you want to achieve. Some DIY retractable window screens are designed to be minimal and blend seamlessly with your window frame, while others may have more visible housings or frames. You can choose from various colors and finishes to match your home’s aesthetic.
Step-by-Step Installation Guide for DIY Retractable Window Screens
Installing DIY retractable window screens is a straightforward process that most homeowners can handle with basic tools. Follow this step-by-step guide to ensure a successful installation.
Tools You’ll Need
Before you start, gather the necessary tools for installation. Most DIY retractable window screen kits come with the required hardware, but you may also need:
- Screwdriver (manual or electric)
- Measuring tape
- Drill and drill bits
- Pencil or marker
- Level
- Hacksaw (if the frame needs to be adjusted)
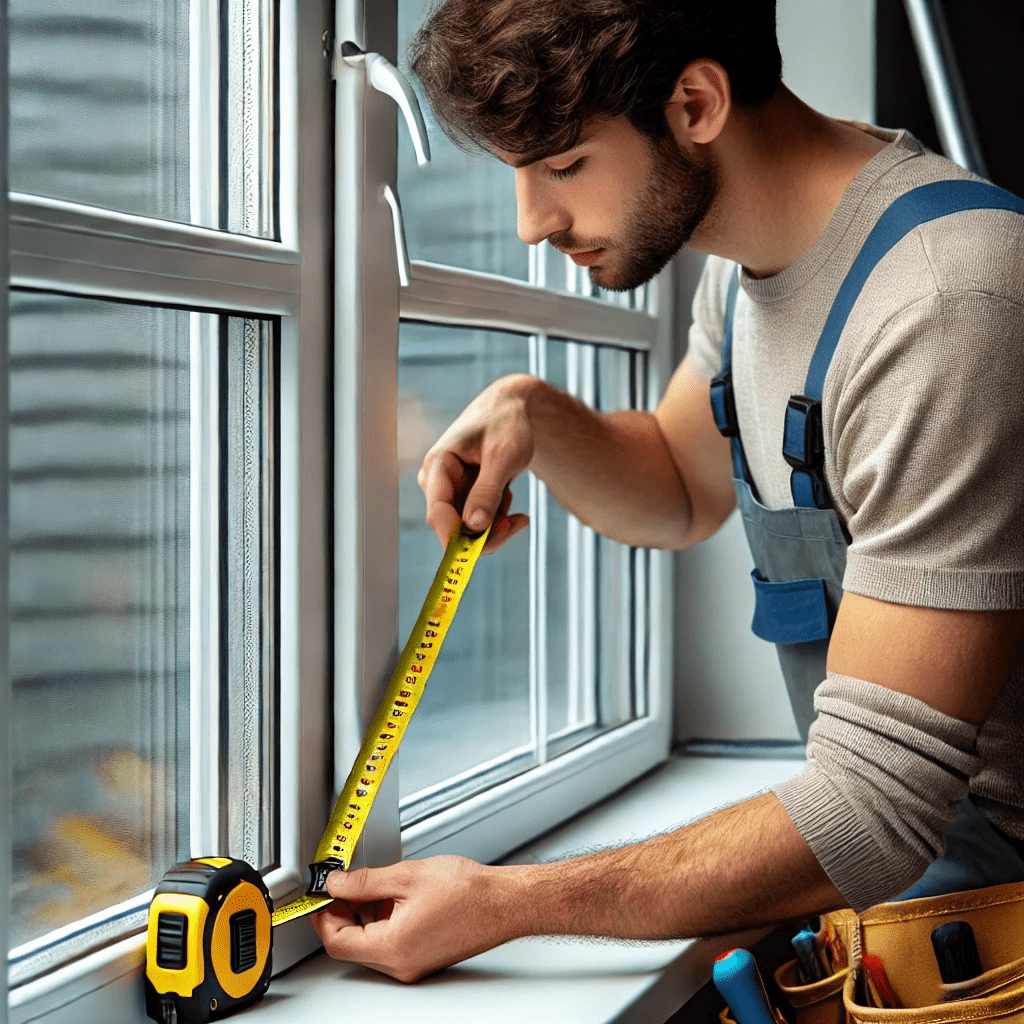
Step 1: Measure Your Window
Begin by measuring your window carefully. Measure the width and height of the window frame from the inside edges. These measurements will determine the size of the frame and screen you need. Write down the dimensions to ensure accuracy.
Step 2: Prepare the Screen Frame
If your DIY retractable window screens come with a pre-assembled frame, skip this step. Otherwise, assemble the frame according to the manufacturer’s instructions. If necessary, use a hacksaw to trim the frame pieces to fit your window’s measurements.
Step 3: Install the Top and Bottom Rails
Attach the top and bottom rails of the screen frame to the window. Use a level to ensure that the rails are straight and aligned properly. Secure the rails using the screws provided in your DIY retractable window screen kit. This will form the foundation for the retractable screen to slide into place.
Step 4: Attach the Side Rails
Next, attach the side rails. These rails will guide the screen as it moves up and down (or side to side, depending on your screen type). Make sure the side rails are properly aligned with the top and bottom rails to ensure smooth operation.
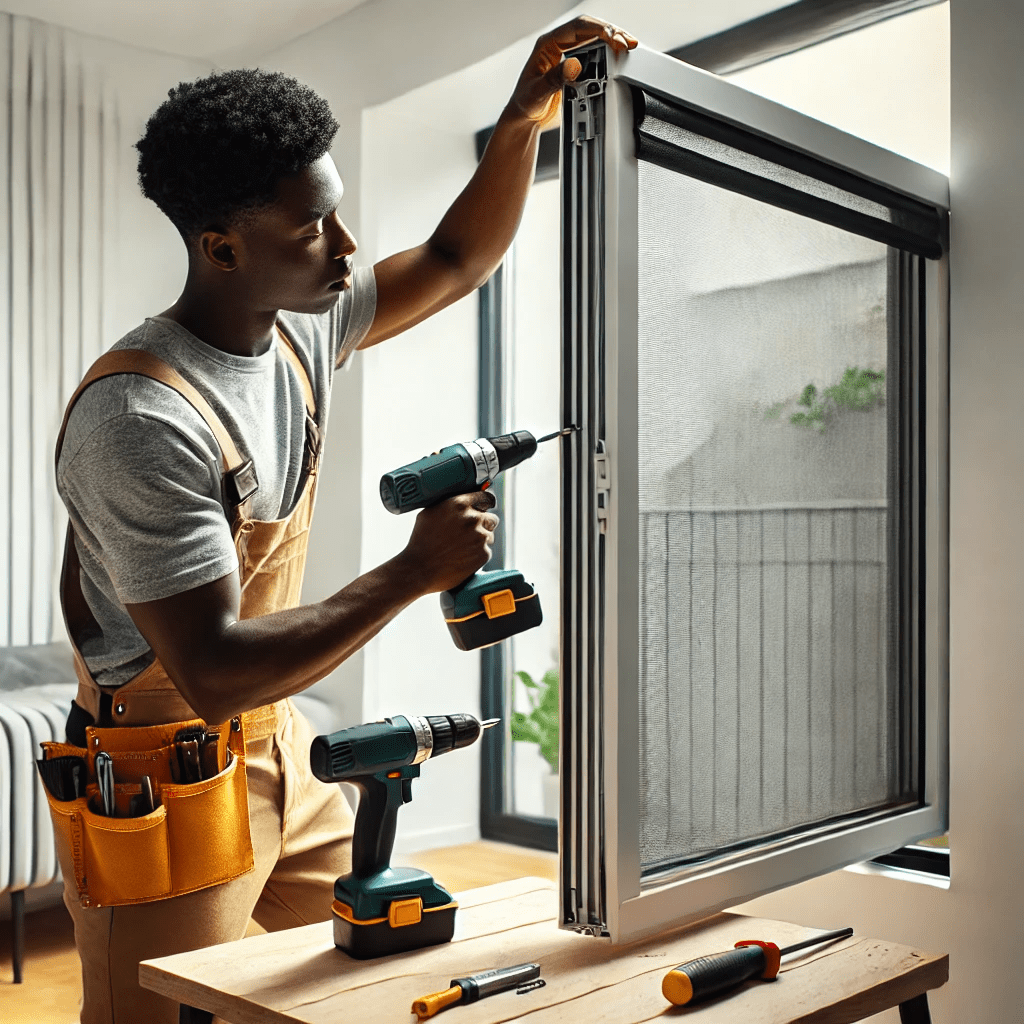
Step 5: Install the Retractable Screen
Now it’s time to install the retractable screen itself. If your DIY retractable window screens come with a housing unit, secure it in place at the top (or side) of the window frame. The housing unit contains the rolled-up screen, and when the screen is pulled down, it should glide smoothly along the rails.
Follow the instructions provided with your DIY retractable window screens to attach the screen securely to the frame.
Step 6: Test the Screen
Once the installation is complete, test the retractable screen to ensure it operates smoothly. Pull the screen down (or across) to check for any issues with alignment or movement. If the screen does not retract properly, make adjustments to the tension or frame alignment.

Step 7: Final Adjustments
Make any necessary adjustments to ensure that your DIY retractable window screens function correctly. Tighten any loose screws and check the alignment of the frame. Once you’re satisfied with the operation of the screen, the installation is complete.
How to Maintain Your DIY Retractable Window Screens
Maintaining your DIY retractable window screens is crucial to ensuring they last for years to come. Proper care will keep them functioning smoothly and looking great. Here are some tips for maintaining your DIY retractable window screens:
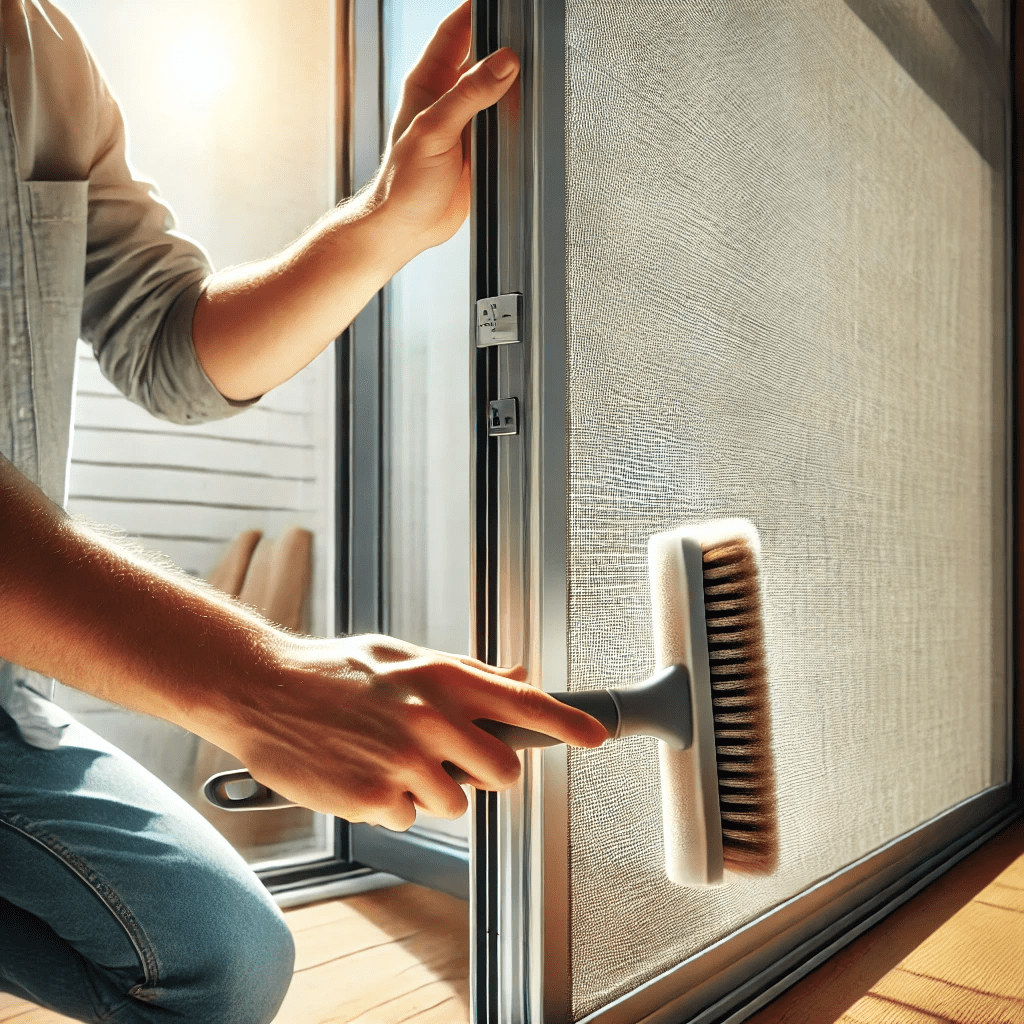
1. Clean the Mesh Regularly
Over time, dust, dirt, and debris can accumulate on the screen mesh. Clean the mesh regularly using a soft brush or a vacuum with a brush attachment. For a deeper clean, remove the screen from its housing and wash it with mild soap and water. Be sure to let the screen dry completely before reinstalling it.
2. Lubricate the Tracks
The tracks where the screen slides should be kept clean and lubricated for smooth operation. Use a silicone-based lubricant to prevent the screen from getting stuck or moving unevenly. Avoid using oil-based lubricants, as these can attract dust and debris.
3. Inspect for Damage
Periodically check your DIY retractable window screens for any signs of wear or damage. Look for tears or holes in the mesh and inspect the frame for any loose screws or misaligned parts. If you notice any damage, repair or replace the screen as needed to keep it functioning properly.
4. Store Screens During Harsh Weather
If you live in an area with extreme weather conditions, consider retracting or removing your DIY retractable window screens during harsh winter months or heavy storms. This will prevent damage from wind, snow, or ice and extend the life of the screens.
5. Keep the Frame Clean
Just as with the mesh, the frame and tracks of your DIY retractable window screens should be kept clean. Dirt and debris can accumulate in the tracks, which can affect the smooth operation of the screen. Use a soft brush or cloth to clean the frame regularly.
FAQs About DIY Retractable Window Screens
Q: Are DIY retractable window screens easy to install?
A: Yes, DIY retractable window screens are specifically designed to be easy for homeowners to install. Most kits come with comprehensive instructions that guide you step-by-step through the process, ensuring that even beginners can complete the installation without difficulty. In addition to the instructions, the kits usually include all the necessary hardware, such as screws, brackets, and rails, making the process more straightforward.
With basic tools like a screwdriver, measuring tape, and possibly a drill, most people can install DIY retractable window screens in just a few hours. A little patience and attention to detail are key to ensuring that the screens are properly aligned and functioning correctly. If you’re comfortable with simple DIY tasks, installing these screens should be a manageable project.
Q: Can I install DIY retractable window screens on any window?
A: Yes, DIY retractable window screens are versatile and can be installed on a wide variety of window types. Whether you have double-hung windows, casement windows, sliding windows, or awning windows, there is likely a DIY retractable window screen that will fit. The key is to select the correct style and size for your specific window to ensure proper functionality.
Before purchasing, it’s essential to measure your windows accurately so that the screens you buy fit well. Many DIY retractable window screens are customizable, and some kits can be adjusted to fit non-standard window sizes. The flexibility of these screens makes them suitable for almost any type of window you have in your home, giving you the freedom to install them wherever you need.
Q: Do DIY retractable window screens come in different colors?
A: Yes, many DIY retractable window screens are available in a range of colors and finishes to complement your home’s decor. You can choose from various frame colors to match your window trim or overall aesthetic. Whether you prefer classic white, sleek black, or a more neutral tone, there are plenty of options to suit your taste.
Additionally, the mesh material itself can sometimes be selected in different colors, offering not just functionality but also customization in appearance. Some homeowners prefer darker mesh to reduce glare and improve privacy, while others may choose lighter mesh to blend seamlessly with their windows. This flexibility allows you to personalize the look of your screens to match your home’s design.
Q: How long do DIY retractable window screens last?
A: The lifespan of DIY retractable window screens can vary depending on the quality of materials used and how well they are maintained. High-quality screens made from durable materials like aluminum frames and fiberglass mesh are built to withstand regular use and can last several years with proper care.
Regular maintenance, such as cleaning the mesh and lubricating the tracks, can help extend the life of your screens. By inspecting them periodically for signs of wear or damage, you can address small issues before they become bigger problems. With this kind of attention, it’s not uncommon for DIY retractable window screens to last five to ten years or longer, making them a durable addition to your home.
Q: Can DIY retractable window screens help with energy efficiency?
A: Yes, DIY retractable window screens can contribute to your home’s energy efficiency, especially during warmer months. By allowing fresh air to flow into your home while keeping insects out, these screens reduce the need for air conditioning, helping to lower energy consumption. You can open your windows to create natural ventilation, which helps cool your home without relying on artificial cooling systems.
Additionally, some DIY retractable window screens, like those made from solar mesh, can block UV rays. This reduces heat gain in your home, making it easier to maintain a comfortable temperature without overusing your air conditioning. By blocking out the sun’s heat, solar mesh screens can also help protect your furniture and flooring from sun damage, offering multiple benefits beyond just energy savings.
Conclusion
DIY retractable window screens are an ideal solution for homeowners seeking both functionality and convenience. They provide the flexibility to enjoy fresh air and natural ventilation without the hassle of insects, pollen, or outdoor debris entering your home. The retractable feature allows you to pull the screen into place when you need protection and effortlessly retract it when you want an unobstructed view of the outdoors.
This dual benefit makes DIY retractable window screens perfect for those who value practicality and aesthetics. Whether you’re looking to enhance your home’s comfort or preserve its architectural beauty, these screens offer the best of both worlds—offering protection when necessary and disappearing out of sight when not in use, all while maintaining the overall appearance of your windows.
By choosing the right materials, taking accurate measurements, and following proper installation techniques, you can easily add DIY retractable window screens to your home. Regular maintenance will ensure that your screens continue to function smoothly and look great for years to come.
For more home improvement inspiration, check out our guides on DIY Solar Window Screens and DIY Indoor Wood Burning Stove. Additionally, resources like DIY Network and Home Improvement Stack Exchange can offer valuable tips and advice on completing other DIY projects around your home.