How to Uninstall Bloatware on Windows 10: Your Best Guide in 2024
Learning how to uninstall bloatware on Windows 10 is crucial for improving your computer’s performance. Bloatware, often pre-installed or automatically added after updates, consumes storage, resources, and may compromise security. This guide covers various methods on how to uninstall bloatware on Windows 10, from basic uninstalls to advanced options like PowerShell and third-party tools. With step-by-step instructions and FAQs, you’ll easily take control of your system and eliminate unwanted apps.
What Is Bloatware and Why Should You Remove It?
Bloatware consists of unnecessary software or pre-installed applications on Windows 10 that are rarely useful for most users. These apps are often added by the manufacturer, such as trial versions of antivirus programs, photo editors, or other third-party applications. Learning how to uninstall bloatware on Windows 10 is critical for improving your system’s performance.
If you’re using an older device or one that has recently been updated, you may notice that your system has slowed down due to excessive background processes from bloatware. Removing these programs not only speeds up your PC but also reduces the risk of security vulnerabilities caused by outdated or poorly maintained software.
Understanding how to uninstall bloatware on Windows 10 will give you more control over your system, allowing it to perform optimally and free up space for more important applications.
How to Uninstall Bloatware on Windows 10 Using Settings
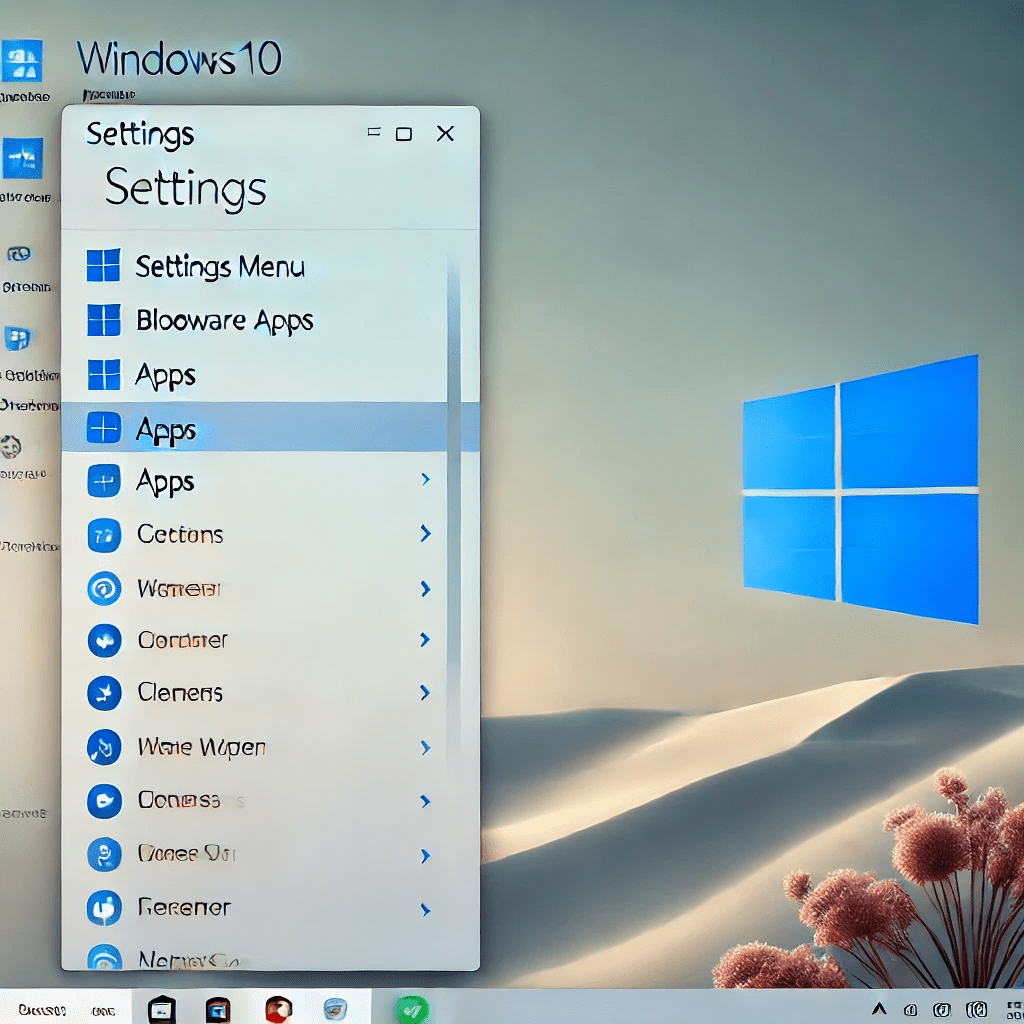
The easiest and most beginner-friendly method for removing bloatware is through the Settings app. This method works well for standard pre-installed applications that don’t require special permissions to uninstall. If you’re just getting started, this is a great way to learn how to uninstall bloatware on Windows 10.
Step-by-Step Guide:
- Open the Start Menu: Click on the Windows icon in the bottom-left corner of your screen or press the Windows key on your keyboard.
- Go to Settings: Click on the gear icon in the Start menu to open the Settings app.
- Select Apps: In the Settings window, click on Apps to open a list of all the programs installed on your computer.
- Locate the Bloatware: Scroll through the list of installed apps to find any bloatware you want to remove. These could include trial software, games, or other apps installed by the manufacturer.
- Uninstall the App: Click on the app you want to remove, and a button labeled Uninstall will appear. Click it and follow the on-screen instructions to complete the removal.
This method is ideal for removing basic applications, but some bloatware may not show up in the Settings app. For these situations, you may need to use more advanced methods.
How to Uninstall Bloatware on Windows 10 Using PowerShell

PowerShell is a powerful tool that gives you more control over your system by allowing you to execute commands directly. Using PowerShell is one of the best ways to uninstall bloatware on Windows 10, especially for programs that don’t appear in the Settings app.
Step-by-Step Guide:
- Open PowerShell: Type “PowerShell” into the Windows search bar. When PowerShell appears in the search results, right-click on it and select Run as Administrator.
- View Installed Apps: To see a list of all installed apps, type the following command into PowerShell and press Enter:bashCopy code
Get-AppxPackageThis command will display a detailed list of all the apps installed on your Windows 10 system, including system apps and bloatware. - Find the Bloatware: Look through the list to find the specific package name of the bloatware you want to remove. The package name is a string of characters representing the app.
- Uninstall the App: To uninstall the bloatware, type the following command:bashCopy code
Get-AppxPackage *appname* | Remove-AppxPackageReplace “appname” with the name of the package you found in the previous step. This command will force the removal of the app, even if it’s not visible in the Settings app.
Using PowerShell to uninstall bloatware on Windows 10 is more efficient than using the basic Settings method, especially for stubborn apps that are otherwise difficult to remove. It also ensures that residual files or background processes linked to the app are terminated.
How to Uninstall Bloatware on Windows 10 Using Third-Party Tools

While PowerShell is a powerful tool, not everyone is comfortable using command-line interfaces. Fortunately, there are several third-party tools designed specifically to help you uninstall bloatware on Windows 10. These programs are easy to use and often include additional features, such as batch uninstalls and removal of leftover files.
CCleaner
CCleaner is one of the most popular system optimization tools, and it includes an uninstaller that can help you remove unwanted bloatware quickly.
- Download and Install CCleaner: Visit the CCleaner website and download the free version. Install the software by following the on-screen instructions.
- Open CCleaner: Once installed, launch CCleaner and navigate to the Tools section in the left-hand menu.
- Uninstall Bloatware: In the Uninstall tab, you’ll see a list of all installed applications. Scroll through the list to find the bloatware you want to remove, click on it, and select Uninstall.
CCleaner is a simple and effective solution for users who prefer a graphical interface when uninstalling bloatware on Windows 10.
IObit Uninstaller
IObit Uninstaller is another popular tool that provides an in-depth cleaning solution, helping you uninstall bloatware on Windows 10 while ensuring that no leftover files remain.
- Download and Install IObit Uninstaller: Head over to the IObit website and download the free version of the uninstaller.
- Launch IObit Uninstaller: After installing the software, open it and navigate to the Programs section.
- Batch Uninstall Bloatware: One of the key features of IObit Uninstaller is its ability to uninstall multiple apps at once. Check the boxes next to the apps you want to remove and click Uninstall.
IObit Uninstaller is a great choice if you have a lot of bloatware to remove and want to do so in bulk without going through each app individually.
How to Disable Bloatware on Windows 10 Without Uninstalling
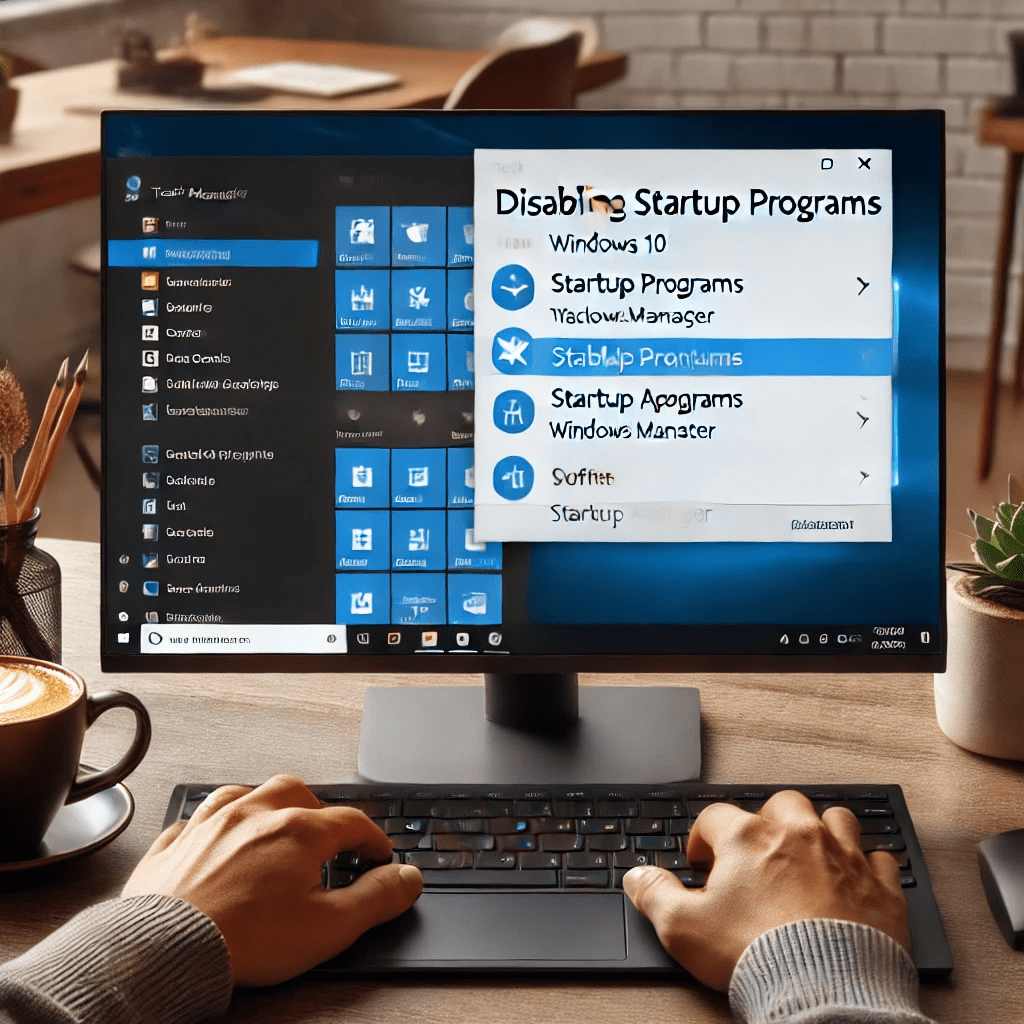
Sometimes, you might not want to fully uninstall bloatware on Windows 10 but still want to prevent it from affecting your system’s performance. In such cases, disabling the app is a good alternative. Disabling bloatware stops it from running in the background and using system resources, without permanently removing it.
Step-by-Step Guide:
- Open Task Manager: Press Ctrl + Shift + Esc to open Task Manager.
- Go to the Startup Tab: In Task Manager, click on the Startup tab to see a list of programs that launch when your computer starts up.
- Disable Unnecessary Programs: Right-click on any program you don’t want to run automatically when your computer boots up and select Disable. This will prevent the app from using resources at startup.
Disabling bloatware won’t free up space on your hard drive, but it will help improve system performance by preventing the app from running in the background.
How to Uninstall Bloatware on Windows 10 Using Windows Debloater
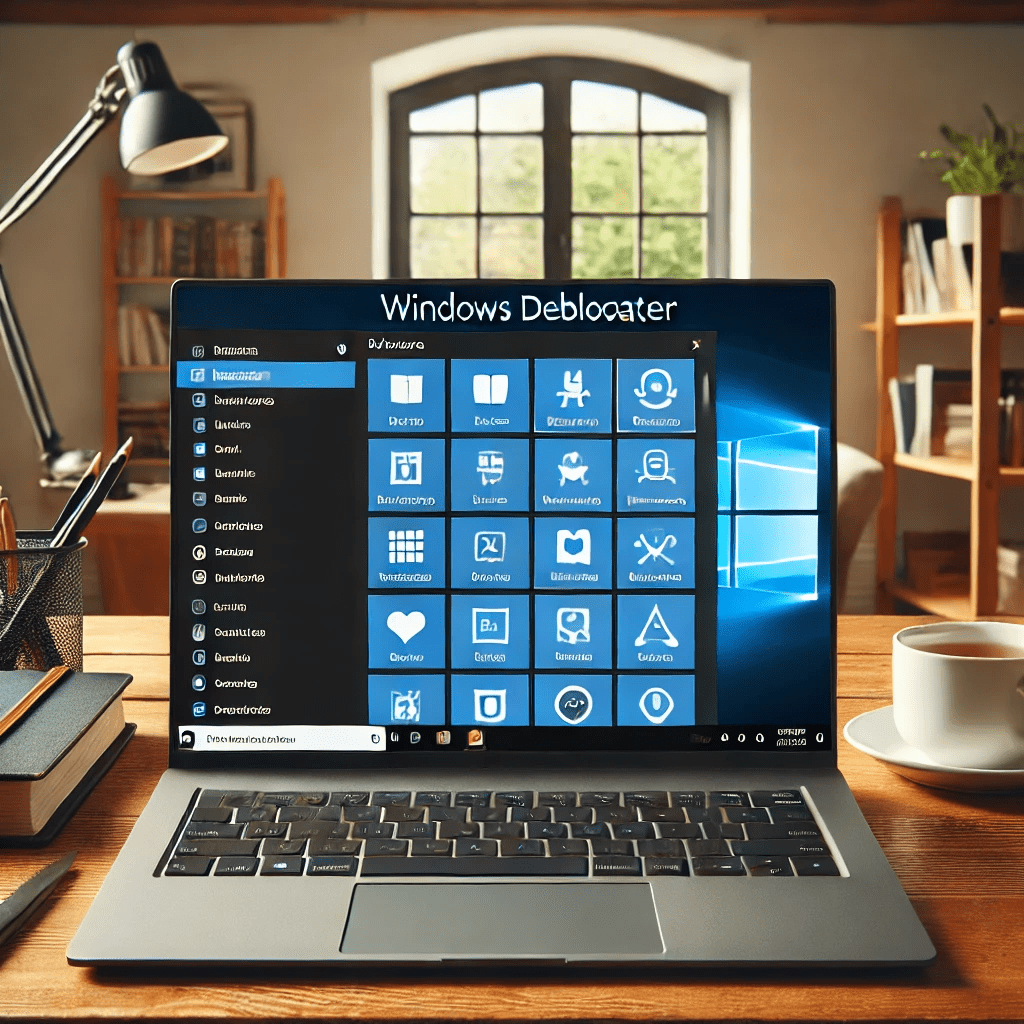
Windows Debloater is a popular tool designed specifically to remove bloatware from Windows 10. It’s especially useful for users who want a simple, one-stop solution to clean their system of unnecessary apps.
Step-by-Step Guide:
- Download Windows Debloater: Visit GitHub and search for Windows10Debloater. Download the script from the repository.
- Run PowerShell as Administrator: Open PowerShell as an administrator and run the following command to launch Windows Debloater:bashCopy code
iex ((New-Object System.Net.WebClient).DownloadString('https://git.io/debloat')) - Remove Bloatware: Once the Windows Debloater interface opens, you’ll have the option to either remove all bloatware or selectively uninstall specific apps.
- Reboot Your System: After uninstalling the bloatware, reboot your system to apply the changes.
Windows Debloater is an excellent solution for users who want an easy and efficient way to uninstall bloatware on Windows 10 without dealing with manual uninstalls.
How to Uninstall Bloatware on Windows 10 in Safe Mode
Some bloatware can be difficult to remove because it runs in the background, preventing uninstallation. In such cases, Safe Mode can help by starting your system with only essential drivers and services, allowing you to uninstall stubborn apps.
Step-by-Step Guide:
- Enter Safe Mode: Press the Windows + R keys to open the Run dialog box. Type msconfig and press Enter. In the Boot tab of the System Configuration window, select Safe Boot and then click OK. Restart your computer, and it will boot into Safe Mode.
- Uninstall Bloatware: Once in Safe Mode, go to Settings > Apps and uninstall the bloatware just as you would in regular mode.
- Exit Safe Mode: After uninstalling the unwanted apps, open msconfig again, uncheck Safe Boot, and reboot your computer to return to normal mode.
Safe Mode allows you to uninstall bloatware on Windows 10 more effectively because it stops non-essential background processes, making it easier to remove stubborn apps.
How to Uninstall Bloatware on Windows 10 Using Group Policy Editor
For enterprise or advanced users who need to manage bloatware removal on multiple devices, the Group Policy Editor can be a helpful tool. This method allows system administrators to configure policies that automatically prevent the installation of certain apps.
Step-by-Step Guide:
- Open the Group Policy Editor: Press Windows + R to open the Run dialog, then type gpedit.msc and press Enter.
- Navigate to the Settings: In the Group Policy Editor, go to Computer Configuration > Administrative Templates > Windows Components > Store.
- Disable App Installations: Look for the setting called Turn off the Store application and enable it. This will prevent any new apps from being installed from the Microsoft Store, effectively blocking new bloatware from appearing on your system.
Using the Group Policy Editor to manage app installations is especially useful for organizations that want to control the software environment across multiple devices.
How to Uninstall Bloatware on Windows 10 With a Fresh Start
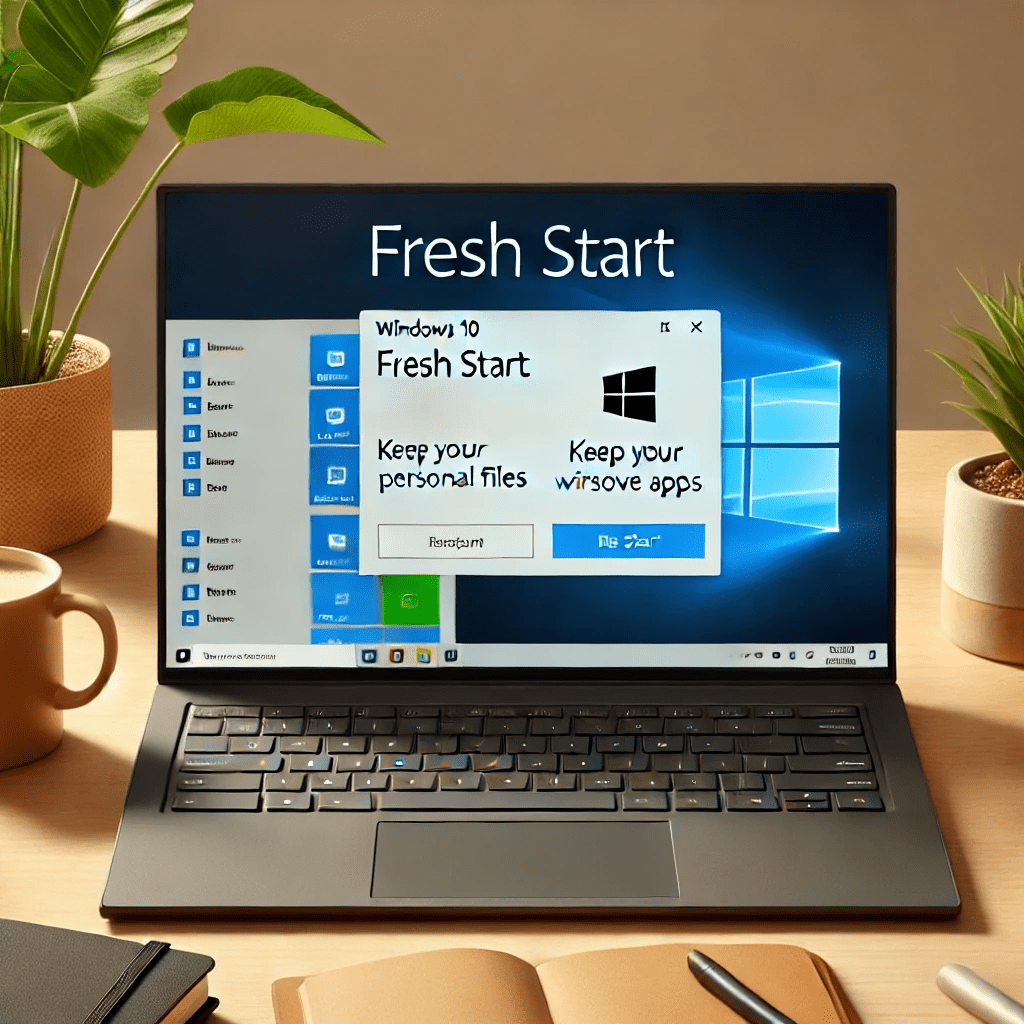
If your system is overwhelmed with bloatware, starting fresh might be the best option. Windows 10 offers a Fresh Start feature that reinstalls the operating system while keeping your files intact.
Step-by-Step Guide:
- Open Windows Security: Go to the Start Menu > Settings > Update & Security > Windows Security.
- Select Device Performance & Health: In the Windows Security app, click on Device Performance & Health.
- Fresh Start: Under Fresh Start, click Additional Info and select Get Started. Follow the on-screen instructions to reinstall Windows while keeping your files.
Fresh Start will remove all apps, including bloatware, giving you a clean slate to work from. However, this method should only be used if you’re comfortable reinstalling any necessary programs after the process.
FAQs
How Can I Identify Bloatware on Windows 10?
Bloatware on Windows 10 typically comes pre-installed by the manufacturer or is added during system updates. It includes apps you didn’t request or rarely use. These could be trial versions of antivirus software, proprietary editing tools, or unwanted games. The key to learning how to uninstall bloatware on Windows 10 is identifying which programs serve no purpose for your daily tasks. Some bloatware is easy to spot because you never use it, but other apps might be less obvious, quietly consuming system resources in the background. Identifying bloatware can be the first crucial step in making sure your PC runs more smoothly.
Once you know how to uninstall bloatware on Windows 10, you’ll be able to clear your system of these unnecessary apps quickly. A simple check of the Apps section in the Settings menu can reveal a list of installed programs. From there, you can spot pre-installed apps that you didn’t ask for. Trial software or apps with the manufacturer’s brand name are often signs of bloatware. Knowing how to uninstall bloatware on Windows 10 will ensure that you don’t let these unnecessary programs take up valuable space or slow down your computer.
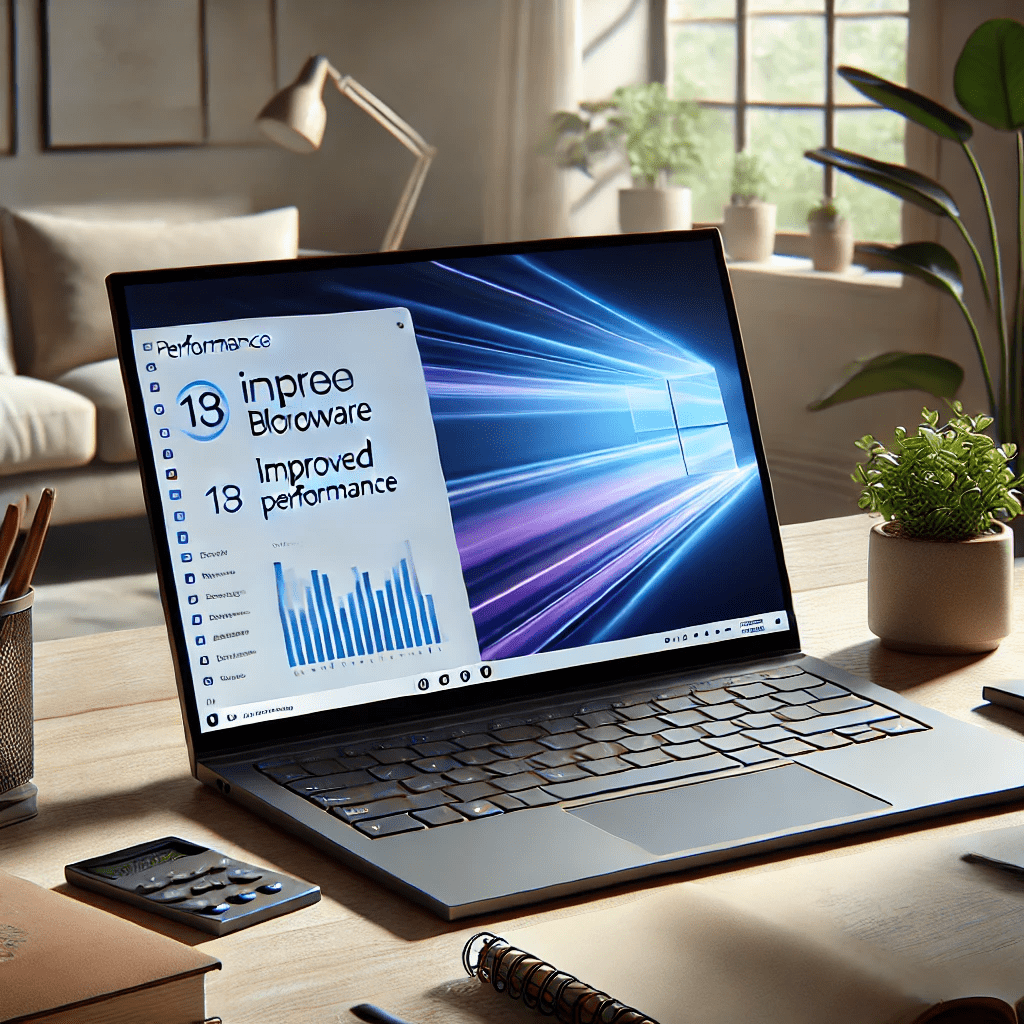
Will Uninstalling Bloatware Speed Up My PC?
Yes, learning how to uninstall bloatware on Windows 10 can significantly improve your PC’s performance. Bloatware often runs in the background, consuming valuable CPU, RAM, and storage. These programs can slow down your computer, cause it to become unresponsive, and reduce its overall speed. By removing them, you free up these resources and allow your computer to focus on the tasks you actually need it to perform.
Many users notice an immediate improvement in system performance once they know how to uninstall bloatware on Windows 10. Without the clutter of unnecessary apps running in the background, your system will be more responsive, boot up faster, and handle multiple applications more smoothly. In fact, uninstalling bloatware is often one of the first steps recommended when improving PC performance. If you’ve been frustrated with your system’s speed, learning how to uninstall bloatware on Windows 10 can make a significant difference.
In addition to performance gains, uninstalling bloatware also frees up storage space. Bloatware takes up space on your hard drive, and while it may not always be visible, the accumulated storage can limit your ability to install programs that are more important to you. Knowing how to uninstall bloatware on Windows 10 ensures you reclaim that space for more productive uses.
Can I Reinstall Bloatware If I Need It?
Yes, if you find that you need bloatware after uninstalling it, many of these apps can be easily reinstalled. Most bloatware can be downloaded again from the Microsoft Store or directly from the manufacturer’s website. However, it’s important to note that most users rarely, if ever, find themselves reinstalling bloatware. Once you know how to uninstall bloatware on Windows 10, you’ll likely find that you don’t miss these apps at all.
Many pre-installed programs serve very limited purposes or are designed to encourage users to buy premium versions. In most cases, they don’t add significant value to your system. However, if you do decide to reinstall a particular app, learning how to uninstall bloatware on Windows 10 initially doesn’t permanently prevent you from adding it back. Simply head to the Microsoft Store and redownload the app. But remember, once you uninstall bloatware on Windows 10, your system will likely perform better without it.
If you’re ever in doubt about whether to uninstall an app, it’s a good idea to make a note of its name or create a restore point before uninstalling it. This way, you can reinstall it if necessary. That said, knowing how to uninstall bloatware on Windows 10 gives you more control over your PC and allows you to tailor the system to your specific needs, making unnecessary reinstallations unlikely.
Is It Safe to Uninstall Bloatware?
Yes, in most cases, uninstalling bloatware is completely safe and can greatly benefit your PC’s performance. Knowing how to uninstall bloatware on Windows 10 ensures you can remove programs that aren’t contributing anything to your computer’s efficiency. However, you should always be cautious when removing pre-installed software. While most bloatware is harmless, some applications may be tied to important system functions. Uninstalling these could cause certain features of your operating system to malfunction.
That’s why it’s important to take the time to review what each application does before uninstalling it. If you’re unsure whether a program is essential, a quick online search can often clarify its purpose. Additionally, creating a system restore point before you uninstall bloatware on Windows 10 can act as a safety net. This way, if you accidentally remove a critical program, you can easily restore your system to its previous state without any harm.
Overall, knowing how to uninstall bloatware on Windows 10 is a safe and effective way to declutter your system. As long as you proceed carefully and avoid uninstalling essential system apps, you should experience only positive effects from removing bloatware.
Do I Need a Third-Party Tool to Uninstall Bloatware?
While third-party tools can make it easier, you don’t necessarily need them to uninstall bloatware on Windows 10. Many users successfully remove bloatware using the built-in tools in Windows 10, like the Settings app or PowerShell. These methods are effective and give you control over which apps you want to uninstall. Knowing how to uninstall bloatware on Windows 10 using these built-in methods is often sufficient for most users.
However, third-party tools can offer added convenience, especially if you have multiple apps to remove. These tools can automate the process and ensure that all traces of the bloatware, including leftover files, are completely removed from your system. Some popular options include CCleaner and IObit Uninstaller, which are known for their effectiveness in removing stubborn programs.
While these tools can streamline the process, you don’t necessarily need them if you know how to uninstall bloatware on Windows 10 manually. For many users, the built-in methods work perfectly well and don’t require downloading any extra software. If you prefer more control over the process, sticking with the default Windows tools is a reliable option.
Conclusion
By now, you should have a clear understanding of how to uninstall bloatware on Windows 10, using a variety of methods tailored to different skill levels. Whether you prefer the simplicity of the Settings app, the power of PowerShell, or the ease of third-party tools like CCleaner and IObit Uninstaller, removing bloatware can dramatically improve your PC’s performance and usability.
For further tips on improving your system’s performance, check out our article on the best wireless routers for large homes or explore the best home theater speakers for large rooms.
For more general guidance, you can visit Microsoft’s official support page or check out PCMag’s guide on system optimization. With these tips and resources, you’ll have all the tools you need to keep your computer running smoothly and efficiently.