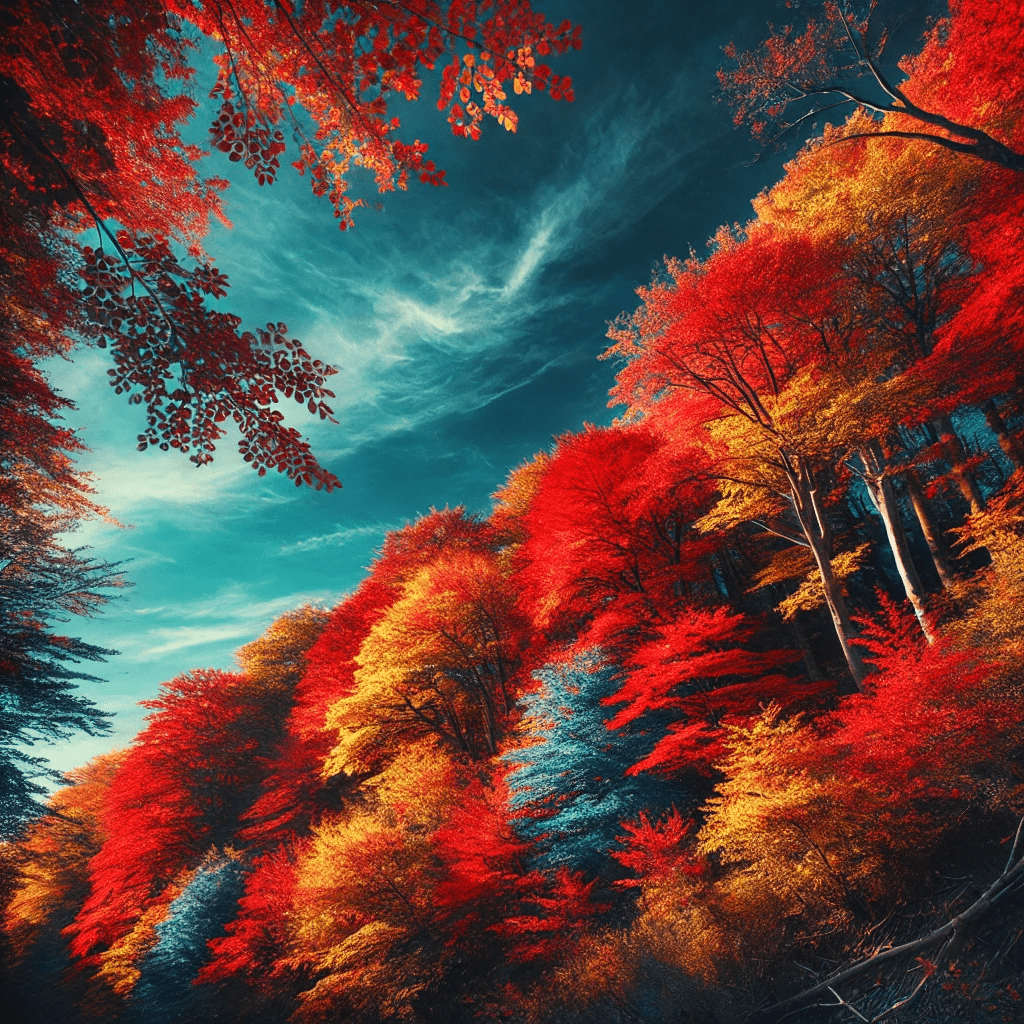
Blue Sky Photography: Your Best Guide in 2025
Blue sky photography captures the beauty of clear, vibrant skies. Whether you’re an amateur or professional, mastering this art can elevate your photography skills. Anyone with a camera and a love for the outdoors can enjoy it. This guide covers everything you need to know, from choosing equipment to editing photos, ensuring you can capture stunning images that tell a story.

How to Take Stunning Blue Sky Photos
Choosing the Right Equipment
To start with blue sky photography, you need the right equipment. While professional cameras can offer more features, you can still take great blue sky photos with a smartphone. Here’s what you need:
Camera
Any camera will do, but a DSLR or mirrorless camera with a wide-angle lens is ideal. For blue sky photography, cameras with larger sensors tend to perform better in capturing the depth and richness of the sky. A camera with manual settings allows you to adjust the exposure, aperture, and shutter speed, giving you more control over your blue sky photography.
- DSLR Cameras: These cameras offer a wide range of settings and accessories that can enhance your blue sky photography. Models like the Canon EOS 5D Mark IV or Nikon D850 are excellent choices due to their high resolution and dynamic range.
- Mirrorless Cameras: These are lighter and more compact than DSLRs but offer similar quality. Cameras like the Sony Alpha a7 III or Fujifilm X-T4 provide exceptional performance with advanced features that are ideal for blue sky photography.
- Smartphones: Modern smartphones, such as the iPhone 13 Pro or Samsung Galaxy S21 Ultra, come equipped with powerful cameras capable of capturing stunning blue sky photos. Apps like ProCamera or Lightroom Mobile can give you more control over your settings, making smartphones a viable option for blue sky photography.
Lens

A wide-angle lens (10-24mm) captures more of the sky, which is perfect for blue sky photography. A polarizing filter attached to your lens can enhance the colors and reduce glare. Lenses with low aperture values (f/2.8 or lower) can also be useful in blue sky photography for creating a shallow depth of field, highlighting the sky while keeping the foreground in focus.
- Wide-Angle Lenses: These lenses are crucial for capturing expansive views of the sky. Examples include the Canon EF 16-35mm f/2.8L III USM or the Nikon AF-S NIKKOR 14-24mm f/2.8G ED.
- Polarizing Filters: These filters can significantly improve the quality of your blue sky photography by reducing reflections and enhancing sky colors. Brands like Hoya and B+W offer high-quality polarizing filters that are easy to attach and use.
- Prime Lenses: For those looking to capture detailed shots, prime lenses with wide apertures (like the Canon EF 50mm f/1.8 STM) allow for great depth of field control and superior image quality.
Tripod
Helps to stabilize your camera for clear, sharp images. In blue sky photography, stability is key to capturing those perfect, uninterrupted shots. A tripod is especially useful when taking long exposure shots or using a high aperture to keep everything in focus.
- Lightweight Tripods: Ideal for outdoor photography, lightweight tripods like the Manfrotto Befree Advanced or the Gitzo GT1545T Series 1 Traveler provide stability without adding much weight to your gear.
- Heavy-Duty Tripods: For more robust support, especially in windy conditions, consider tripods like the Manfrotto MT055XPRO3 or the Vanguard Alta Pro 263AB.
Polarizing Filter

Reduces glare and enhances sky color, making your blue sky photography even more vibrant and captivating. This filter can also help in managing reflections and bringing out the true blue of the sky, which is essential in blue sky photography.
- Circular Polarizers: These are the most common type of polarizing filters and are easy to use. They screw onto the front of your lens and can be adjusted by rotating the filter. Examples include the Hoya HD3 Circular Polarizer and the B+W XS-Pro Digital.
- Linear Polarizers: Although less common, these can be used with certain camera models and offer similar benefits to circular polarizers.
Setting Up Your Camera
Before you start shooting, adjust your camera settings to capture the best blue sky photography:
ISO
Set to the lowest setting (usually 100 or 200) to reduce noise. Lower ISO settings ensure that your blue sky photography remains crisp and clear. High ISO can introduce noise, which can detract from the clarity and sharpness of your blue sky photography.
- Low ISO Settings: Always start with the lowest possible ISO setting to ensure minimal noise. This is particularly important in blue sky photography, where clarity and detail in the sky are crucial.
Aperture
A smaller aperture (f/11 or higher) keeps more of the scene in focus. This is particularly important in blue sky photography to ensure that both the sky and any foreground elements are sharp. A larger aperture can be used creatively to blur the background or foreground, adding depth to your blue sky photography.
- Small Aperture: Use settings like f/11, f/16, or even f/22 to maximize depth of field. This helps to keep both the sky and foreground elements sharp.
- Creative Use of Aperture: In situations where you want to isolate a subject against the sky, using a wider aperture (like f/2.8) can create a pleasing background blur.
Shutter Speed

Adjust according to the lighting conditions to avoid overexposure. Proper shutter speed settings are crucial in blue sky photography to balance the brightness of the sky with other elements in the frame. Fast shutter speeds are ideal for capturing clear skies without motion blur, while slower speeds can be used to create dynamic effects with clouds.
- Fast Shutter Speeds: Use speeds like 1/250 or faster to freeze motion and capture clear skies.
- Long Exposure: For creative effects, such as capturing moving clouds or smooth water under a blue sky, use a slower shutter speed (like 1/30 or slower). A neutral density filter can help achieve longer exposures during daylight.
White Balance
Set to ‘Daylight’ to keep colors natural. Correct white balance settings enhance the natural blues in your sky, making your blue sky photography more striking. Adjusting the white balance can also help in achieving the right tone and mood in your photos.
- Daylight Setting: This is typically around 5200K and helps in maintaining the natural color of the sky.
- Custom White Balance: In challenging lighting conditions, manually setting the white balance or using a gray card can ensure accurate color reproduction.
Finding the Perfect Location
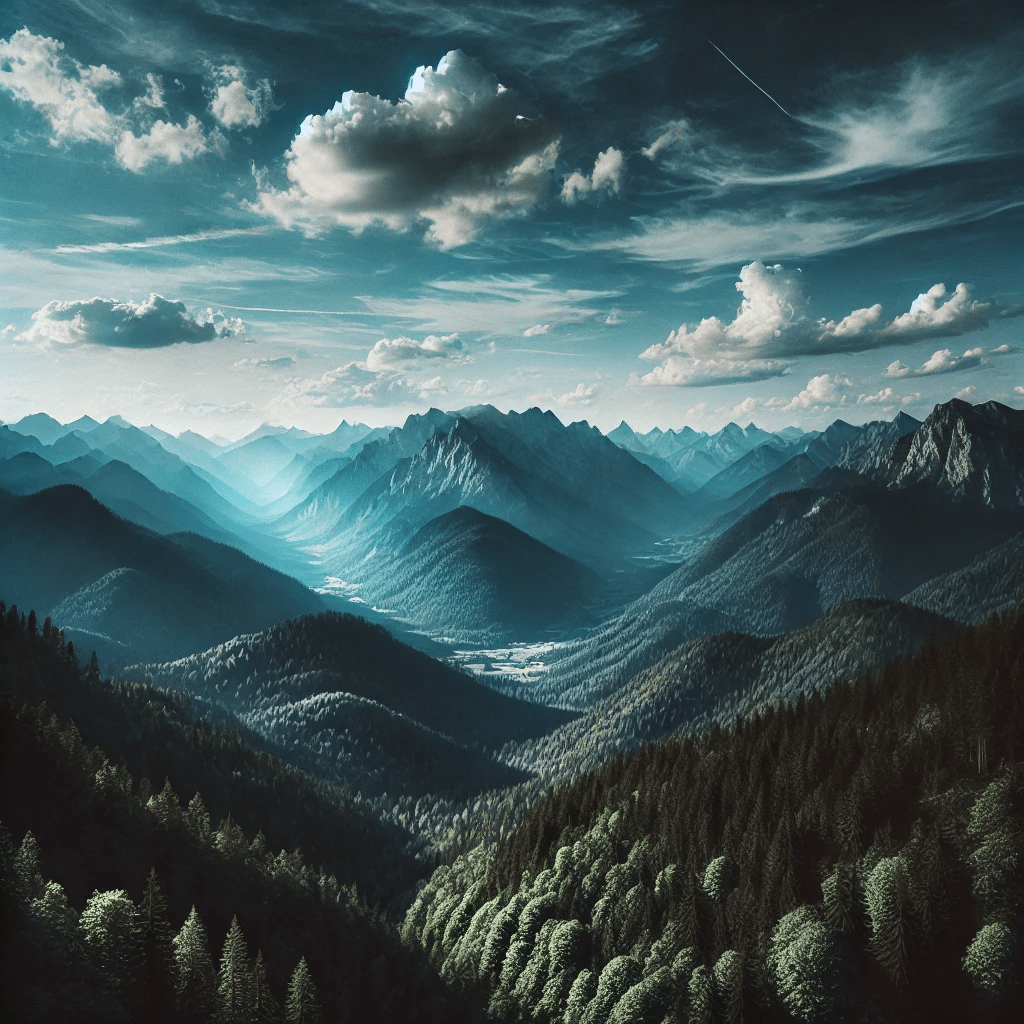
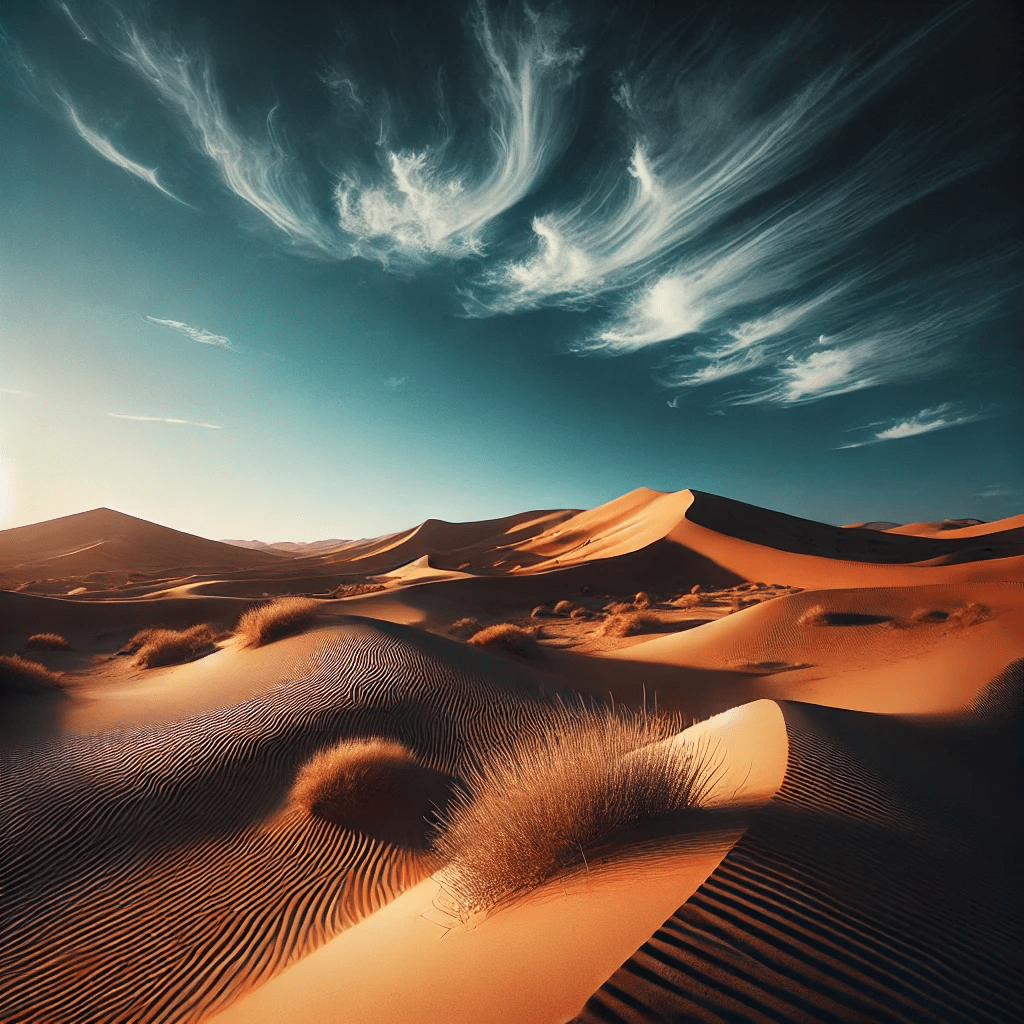
The location greatly influences the quality of your blue sky photos. Look for areas with minimal pollution and a clear view of the horizon. Beaches, mountains, and open fields are excellent choices. Timing is also crucial; early mornings and late afternoons provide the best light. In blue sky photography, locations with open spaces and minimal obstructions are ideal for capturing the expansive beauty of the sky.
Finding the right location for blue sky photography involves scouting and planning. Urban settings can also provide unique opportunities for blue sky photography, especially when combined with interesting architectural elements. Always consider the direction of the sun and how it interacts with the landscape to enhance your blue sky photography.
Composing Your Shot
Composition is key in blue sky photography. Here are some tips to create visually appealing photos:
- Rule of Thirds: Place the horizon line along the top or bottom third of the frame. This classic compositional rule helps to create a balanced and visually appealing blue sky photography. It guides the viewer’s eye and creates a more engaging photo.
- Foreground Interest: Include interesting elements like trees, buildings, or people. These elements can add depth and context to your blue sky photography. Foreground interest helps to anchor the viewer’s attention and adds a narrative to your blue sky photography.
- Leading Lines: Use natural lines to guide the viewer’s eye through the image. Leading lines can be particularly effective in blue sky photography to draw attention towards the sky. They create a pathway for the viewer to follow, making the photo more dynamic.
Capturing the Shot
Now that you’ve set up your equipment and found the perfect location, it’s time to capture your shot. Here are the steps:
- Set up your tripod to stabilize your camera.
- Adjust your camera settings as discussed earlier.
- Compose your shot using the tips above.
- Use a remote shutter release or the camera’s timer to avoid camera shake.
Blue sky photography often requires patience and multiple shots to get the perfect picture. Don’t rush; take your time to ensure that each shot is well-composed and correctly exposed. Experiment with different angles and perspectives to add variety to your blue sky photography.
Editing Your Photos
Editing enhances your blue sky photos and brings out the best in your shots. Use photo editing software like Adobe Lightroom or Photoshop. Here’s a basic editing workflow:
- Adjust Exposure: Ensure the sky is properly exposed without losing detail. Proper exposure adjustments can bring out the vividness of the sky in your blue sky photography.
- Enhance Colors: Increase the saturation and vibrancy of the blue sky. Color enhancement is crucial in blue sky photography to make the sky pop and stand out.
- Crop and Straighten: Adjust the composition if necessary. Cropping and straightening can help in perfecting the framing and alignment of your blue sky photography.
- Sharpen the Image: Enhance the details for a crisp, clear photo. Sharpening is essential in blue sky photography to highlight the textures and edges in your photo.
Editing is a crucial part of blue sky photography. By enhancing colors and adjusting exposure, you can make your photos stand out. Always aim to maintain a natural look while emphasizing the beautiful blues of the sky. Use editing tools to correct any imperfections and bring out the best in your blue sky photography.
Advanced Techniques in Blue Sky Photography
For those looking to take their blue sky photography to the next level, here are some advanced techniques:
- HDR Photography: High Dynamic Range (HDR) photography combines multiple exposures to capture a greater range of light and detail. This technique can be particularly useful in blue sky photography to balance bright skies with darker foregrounds. HDR can bring out details in both the sky and the landscape, making your blue sky photography more dynamic.
- Panoramic Shots: Creating panoramic images allows you to capture a wider view of the sky. This can be particularly stunning in blue sky photography where the expanse of the sky is a key feature. Panoramas can create a sense of vastness and grandeur in your photos.
- Long Exposure: Experiment with long exposure times to capture movement in the sky, such as drifting clouds. This technique adds a dynamic element to your blue sky photography. Long exposure can create surreal and ethereal effects, adding a unique touch to your blue sky photography.
Weather and Blue Sky Photography
Weather conditions play a significant role in blue sky photography. Clear skies are ideal, but different weather patterns can add unique elements to your photos. Here’s how to work with various conditions:
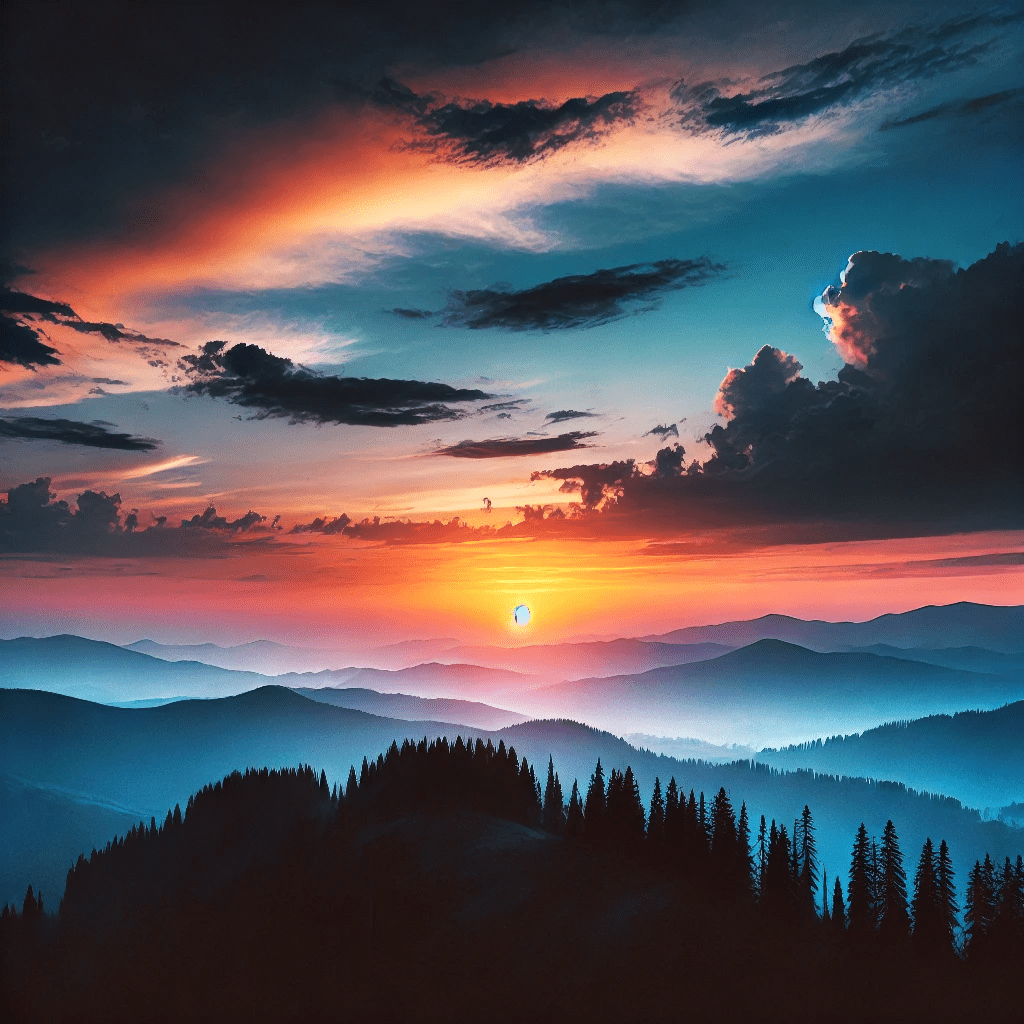
- Clear Skies: Ideal for capturing vibrant blue skies. Early morning or late afternoon light provides the best colors. Clear skies offer the best conditions for pure blue sky photography, highlighting the natural beauty of the sky.
- Cloudy Skies: Use clouds to add interest and contrast to your photos. Puffy white clouds against a blue sky can create dramatic images. Clouds can serve as natural diffusers, softening the light and adding depth to your blue sky photography.
- Stormy Skies: Capture the contrast between dark storm clouds and the blue sky. This can create a powerful and dramatic effect in your blue sky photography. Stormy skies can add a sense of drama and tension to your photos, making them more compelling.
Seasonal Considerations
The time of year also affects blue sky photography. Each season offers unique opportunities:
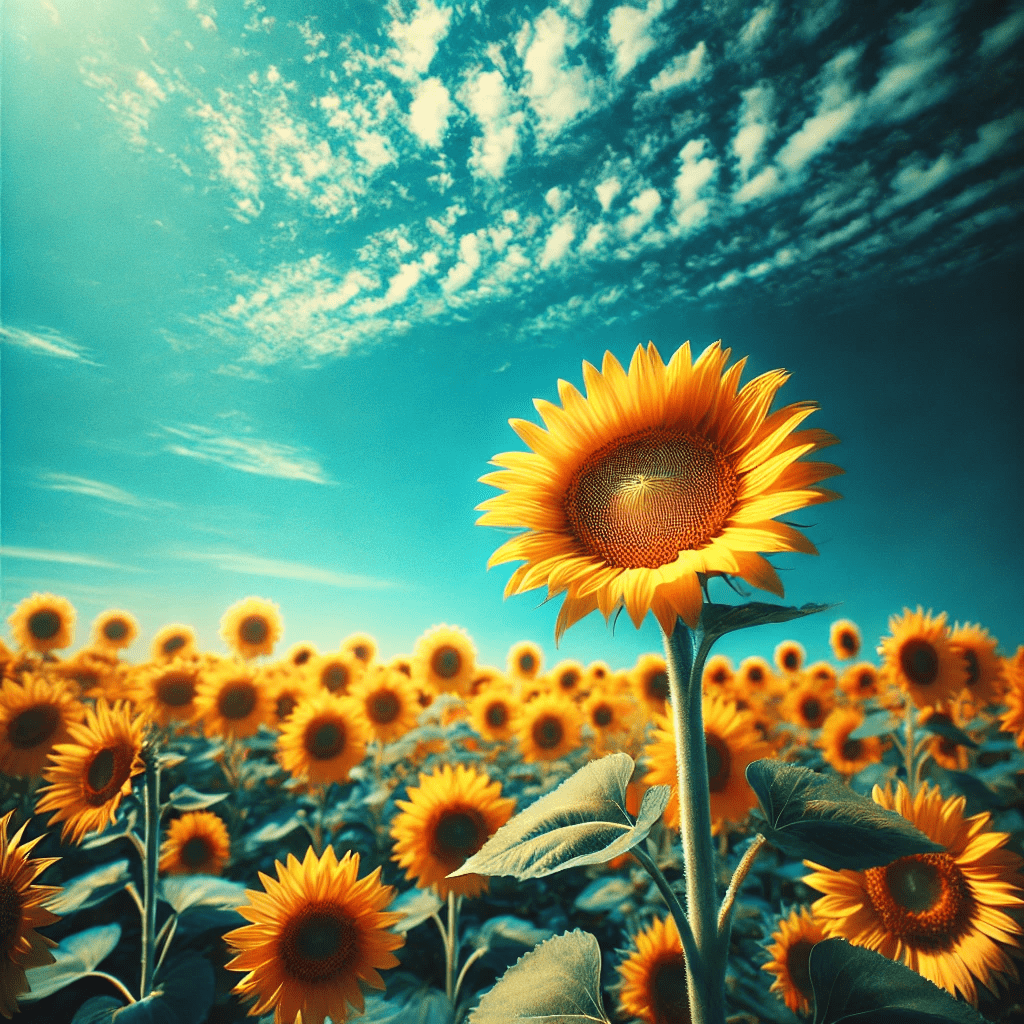
- Spring: Fresh greenery and blooming flowers can add beautiful foreground elements to your blue sky photos. Spring offers vibrant colors and fresh landscapes, enhancing your blue sky photography.
- Summer: Long days and clear skies are perfect for extended blue sky photography sessions. Summer light is bright and consistent, ideal for capturing the vibrant blue of the sky.
- Fall: Colorful foliage can provide stunning contrasts with the blue sky. Fall offers warm, golden light and rich colors, adding a unique touch to your blue sky photography.
- Winter: Snow-covered landscapes can create striking images against a clear blue sky. Winter light is soft and diffuse, creating a serene atmosphere in your blue sky photography.
Tips for Consistent Blue Sky Photography
Consistency is key in blue sky photography. Here are some tips to help you achieve consistent results:
- Plan Ahead: Check weather forecasts and plan your shoots for clear days. Planning ensures that you make the most of favorable conditions for blue sky photography.
- Regular Practice: The more you practice, the better you’ll become at capturing perfect blue sky photos. Consistent practice helps you refine your techniques and improve your blue sky photography skills.
- Keep Learning: Stay updated with the latest photography techniques and trends. Continuous learning helps you stay ahead and improve your blue sky photography.
Common Mistakes in Blue Sky Photography
Avoid these common mistakes to improve your blue sky photography:
- Overexposure: Make sure your sky isn’t too bright. Use proper settings and filters to control exposure. Overexposure can wash out the colors and details in your blue sky photography.
- Poor Composition: Pay attention to the composition. Use the rule of thirds and include interesting foreground elements. Poor composition can make even the most beautiful sky look uninteresting.
- Ignoring Weather Conditions: Always check the weather before heading out. Poor weather can ruin your blue sky photography session. Being unprepared for weather changes can result in missed opportunities for great blue sky photography.
Using Technology to Enhance Blue Sky Photography
Technology can greatly enhance your blue sky photography experience, offering tools and resources that can improve your planning, shooting, and editing processes. Here are some essential tools and apps to consider:
Photography Apps
Photography apps like PhotoPills and Sun Surveyor are invaluable for blue sky photography. These apps provide comprehensive information on sun positions, weather conditions, and even moon phases, which can help you plan your shoots more effectively.
- PhotoPills: This app offers augmented reality views of the sun’s path, helping you determine the best times and angles for shooting. It also includes a planning tool for golden hour and blue hour, which are ideal for blue sky photography.
- Sun Surveyor: Similar to PhotoPills, Sun Surveyor provides detailed sun and moon data, including rise and set times, golden hour, and blue hour. It also offers a live view feature that overlays sun and moon paths on your camera’s live view, making it easier to plan your shots on location.
These apps are valuable for blue sky photography as they help you find the best times and locations for shooting. Knowing exactly when and where the sun will be can make a significant difference in the quality of your photos, ensuring you capture the sky at its most vibrant.
Drones
Drones can capture unique perspectives and expansive views of the sky. Equipped with high-resolution cameras, drones allow you to shoot from angles and heights that would otherwise be impossible.
- DJI Mavic Air 2: Known for its excellent camera quality and user-friendly controls, this drone is perfect for capturing stunning blue sky photos. It offers features like HDR video, 48MP still photos, and advanced shooting modes.
- Autel Robotics EVO Lite+: Another great option, this drone provides superior image quality with its 50MP camera and adjustable aperture, allowing for precise control over exposure and depth of field.
Make sure to follow local regulations when using drones for blue sky photography. Check for any restrictions or required permits, and always fly responsibly. Drones offer a bird’s-eye view that can add a new dimension to your blue sky photography, capturing expansive vistas and unique compositions.
Editing Software
Advanced editing software like Adobe Lightroom and Photoshop offer a wide range of tools to enhance your photos. These tools are essential for post-processing in blue sky photography, allowing you to fine-tune your images to perfection.
- Adobe Lightroom: Known for its user-friendly interface and powerful editing tools, Lightroom allows you to adjust exposure, contrast, and color with precision. Its non-destructive editing workflow ensures that your original images remain intact.
- Adobe Photoshop: Photoshop offers more advanced editing capabilities, including layer-based editing, selective adjustments, and extensive retouching tools. It’s ideal for making detailed enhancements and creative edits.
Other options include GIMP, Luminar, and Capture One, which also provide excellent editing capabilities for blue sky photography. These programs allow you to fine-tune your photos with precision, correcting any imperfections and enhancing the overall aesthetic. Features like color correction, contrast adjustment, and selective sharpening are particularly useful for bringing out the best in your blue sky photography.
The Role of Post-Processing in Blue Sky Photography
Post-processing is an essential part of blue sky photography. It allows you to enhance the natural beauty of your photos and correct any imperfections. Here are some tips for effective post-processing:
- Color Correction: Adjust the colors to make the sky look more natural and vibrant. Proper color correction can bring out the best in your blue sky photography, making the sky appear true to life. Use tools like the HSL (Hue, Saturation, and Luminance) sliders in Lightroom to fine-tune the colors and achieve the desired look.
- Contrast and Clarity: Increase contrast and clarity to make the sky pop. Enhancing these settings can add depth and definition to your blue sky photography. The clarity slider in Lightroom is particularly useful for enhancing mid tone contrast, which can make the sky appear more detailed and vibrant.
- Noise Reduction: Use noise reduction tools to clean up any graininess in your photos. This is especially important in blue sky photography to maintain the smoothness and purity of the sky. Adjust the luminance and color noise reduction sliders in Lightroom to reduce noise while preserving detail.
Additional Tools and Techniques
Beyond the basics, some additional tools and techniques can further enhance your blue sky photography:
- HDR (High Dynamic Range) Photography: HDR techniques involve capturing multiple exposures of the same scene and blending them to achieve a balanced exposure. This is particularly useful for blue sky photography when the sky is bright, and the foreground is in shadow. HDR software like Photomatix or the built-in HDR functionality in Lightroom can help you create stunning images with a high dynamic range.
- Panoramic Photography: Creating panoramic images allows you to capture wide expanses of the sky, providing a more immersive viewing experience. Use a tripod and a panoramic head to ensure precise alignment, and stitch the images together using software like Lightroom or Photoshop.
- Filters: In addition to polarizing filters, consider using graduated neutral density (ND) filters. These filters help balance the exposure between the bright sky and the darker foreground, making it easier to capture well-exposed blue sky photos.
Embracing New Technologies
Staying updated with the latest advancements in photography technology can also benefit your blue sky photography. Innovations such as AI-powered editing tools, improved sensor technology, and advanced optics continue to push the boundaries of what’s possible.
- AI Editing Tools: Software like Skylum’s Luminar AI uses artificial intelligence to simplify complex editing tasks. These tools can automatically enhance skies, adjust colors, and even replace dull skies with more vibrant ones, streamlining your workflow.
- Enhanced Sensor Technology: Modern cameras are equipped with sensors that offer higher resolution, better low-light performance, and improved dynamic range. Investing in a camera with a state-of-the-art sensor can significantly enhance the quality of your blue sky photography.
By integrating these technologies into your workflow, you can elevate your blue sky photography to new heights, capturing breathtaking images that showcase the beauty of clear, vibrant skies.
FAQs
What is the Best Time of Day for Blue Sky Photography?
The best times are during the golden hour, which is the hour after sunrise and the hour before sunset. The light is softer, and the sky often displays vibrant colors. This period is ideal for blue sky photography as it provides the perfect lighting conditions. The sun’s low angle during these times creates long shadows and a warm glow, enhancing the sky’s blue tones and adding depth to your photos. Additionally, the reduced intensity of the light helps to prevent harsh contrasts and overexposure, making it easier to capture the sky’s natural beauty.
Do I Need Special Equipment for Blue Sky Photography?
While professional equipment can enhance your photos, you can achieve great results with a smartphone camera. A tripod and polarizing filter can improve your shots. Investing in a good quality lens and camera can take your blue sky photography to the next level. High-quality cameras offer more control over settings like ISO, aperture, and shutter speed, which are crucial for capturing the nuances of the sky. Professional lenses, especially wide-angle ones, allow you to capture more of the sky in your frame. Using a polarizing filter can significantly enhance the blue sky’s vibrancy by reducing glare and reflections.
How Can I Avoid Overexposure in My Photos?
Use a smaller aperture and adjust your shutter speed to control the amount of light entering the camera. A polarizing filter can also help reduce glare. Proper exposure settings are crucial in blue sky photography to ensure that your sky is bright but not washed out. Overexposure can lead to loss of detail and color in the sky, making it appear flat and uninteresting. By carefully balancing your camera settings, you can maintain the richness of the sky’s blue tones while preserving details in the highlights and shadows.
What Editing Software is Best for Blue Sky Photography?
Adobe Lightroom and Photoshop are popular choices for editing blue sky photos. They offer a range of tools to enhance colors, adjust exposure, and sharpen images. Other options include GIMP, Luminar, and Capture One, which also provide excellent editing capabilities for blue sky photography. These programs allow you to fine-tune your photos with precision, correcting any imperfections and enhancing the overall aesthetic. Features like color correction, contrast adjustment, and selective sharpening are particularly useful for bringing out the best in your blue sky photography.
Can I Use My Smartphone for Blue Sky Photography?
Yes, modern smartphones have excellent cameras that can capture stunning blue sky photos. Use apps like ProCamera or Lightroom Mobile to gain more control over your camera settings. Smartphone accessories like clip-on lenses and small tripods can also enhance your blue sky photography. Smartphones often come with built-in features like HDR and panorama modes, which can be useful for capturing the full expanse of the sky. With the right techniques and a few additional tools, you can achieve professional-quality blue sky photos using just your phone.
How Important is Location in Blue Sky Photography?
Location is very important in blue sky photography. Look for places with minimal light pollution and clear views of the horizon. Natural landscapes such as beaches, mountains, and open fields are ideal. Urban locations can also work if you find interesting architectural elements to include in your composition. The clarity of the sky and the presence of interesting foreground elements can greatly impact the overall composition of your photo. Selecting a location with unique features or a striking horizon line can add depth and context to your blue sky photography.
What Are Some Creative Ideas for Blue Sky Photography?
Get creative with your blue sky photography by trying different techniques and perspectives. Experiment with reflections in water silhouettes against the sky, or incorporating people and animals. Use wide-angle lenses for expansive sky shots and macro lenses for detailed close-ups of elements against the blue sky. Playing with different compositions, such as using leading lines or framing the sky with natural elements, can add a unique touch to your photos. Night sky photography, capturing stars against a deep blue sky, is another creative avenue to explore.
How Can I Make My Blue Sky Photos Stand Out?
To make your blue sky photos stand out, focus on composition, lighting, and editing. Use the rule of thirds, leading lines, and interesting foreground elements to create dynamic images. Enhance the colors and contrast during editing to make the sky pop. Consistent practice and experimenting with different techniques will also help improve your blue sky photography. Pay attention to the details and always look for unique angles or perspectives that can make your photos unique. By continuously refining your skills and exploring new ideas, you can create stunning and memorable blue sky photography.
Conclusion

Blue sky photography is a rewarding and accessible hobby that anyone can enjoy. Whether you’re just starting or are an experienced photographer, capturing the beauty of clear, vibrant skies can bring a great sense of accomplishment and joy. The simplicity of photographing the sky, combined with the endless possibilities for creativity, makes blue sky photography a perfect pursuit for photographers of all skill levels.
With the right equipment, settings, and techniques, you can capture stunning images that showcase the sky’s brilliant hues and dynamic clouds. Investing in a good quality camera and lenses can enhance your results, but even with a smartphone, you can achieve remarkable photos if you follow the right steps. Key tools like tripods, polarizing filters, and photo editing software will further improve the quality and impact of your blue sky photography.
Finding the perfect location is crucial to your success. Seek out places with minimal light pollution and clear, unobstructed views of the horizon. Natural landscapes such as beaches, mountains, and open fields provide ideal backdrops, but urban environments can also offer unique and compelling scenes. Exploring different locations will help you discover new opportunities and perspectives for your blue sky photography.
Composition plays a significant role in creating visually appealing photos. Utilize techniques like the rule of thirds, leading lines, and incorporating interesting foreground elements to add depth and interest to your images. Experimenting with various compositions will help you develop your style and capture the sky in unique and captivating ways.
Editing your photos is an essential step in enhancing their beauty. Programs like Adobe Lightroom and Photoshop offer powerful tools to adjust exposure, enhance colors, and sharpen details, ensuring your blue sky photos look their best. Don’t be afraid to spend time in post-processing to bring out the full potential of your shots.
For more photography tips and inspiration, check out our articles on underwater maternity photography and lake landscape photography. These resources offer valuable insights into different photography techniques and can help you broaden your skills. Additionally, visiting websites like Photography Life and Digital Photography School can provide further guidance and inspiration.
By following these guidelines and continuously practicing and experimenting, you’ll be well on your way to mastering blue sky photography and capturing breathtaking images that showcase the beauty of our natural world.
Quick and Easy Online Stamp Maker for Personalized Stamps
free online stamp maker https://www.stamp-online-maker.com .
Online Stamp Maker for Events: Custom Stamps for Invitations
stamp creator online https://stamp-online-maker.com/ .
Create personalized stamps in minutes using a stamp maker online
make stamp online http://make-stamp-online0.com/ .
AI cover letter generator: Personalize without starting from scratch
ai cover letter maker [url=http://www.aicoverlettergenerator.pw]http://www.aicoverlettergenerator.pw[/url] .
Quick and effective cover letters – powered by AI innovation
cover letter generators [url=createcoverletterfree.press]createcoverletterfree.press[/url] .