Blue Moon Photography: Your Best Guide in 2024
A blue moon is a rare and captivating event that any photographer would love to capture. Blue moon photography can be challenging but immensely rewarding. This guide will walk you through everything you need to know about blue moon photography, ensuring you’re ready to capture this beautiful phenomenon perfectly. From understanding what a blue moon is to the equipment you need, the best settings, and post-processing tips, we’ve got you covered.
Understanding Blue Moon Photography
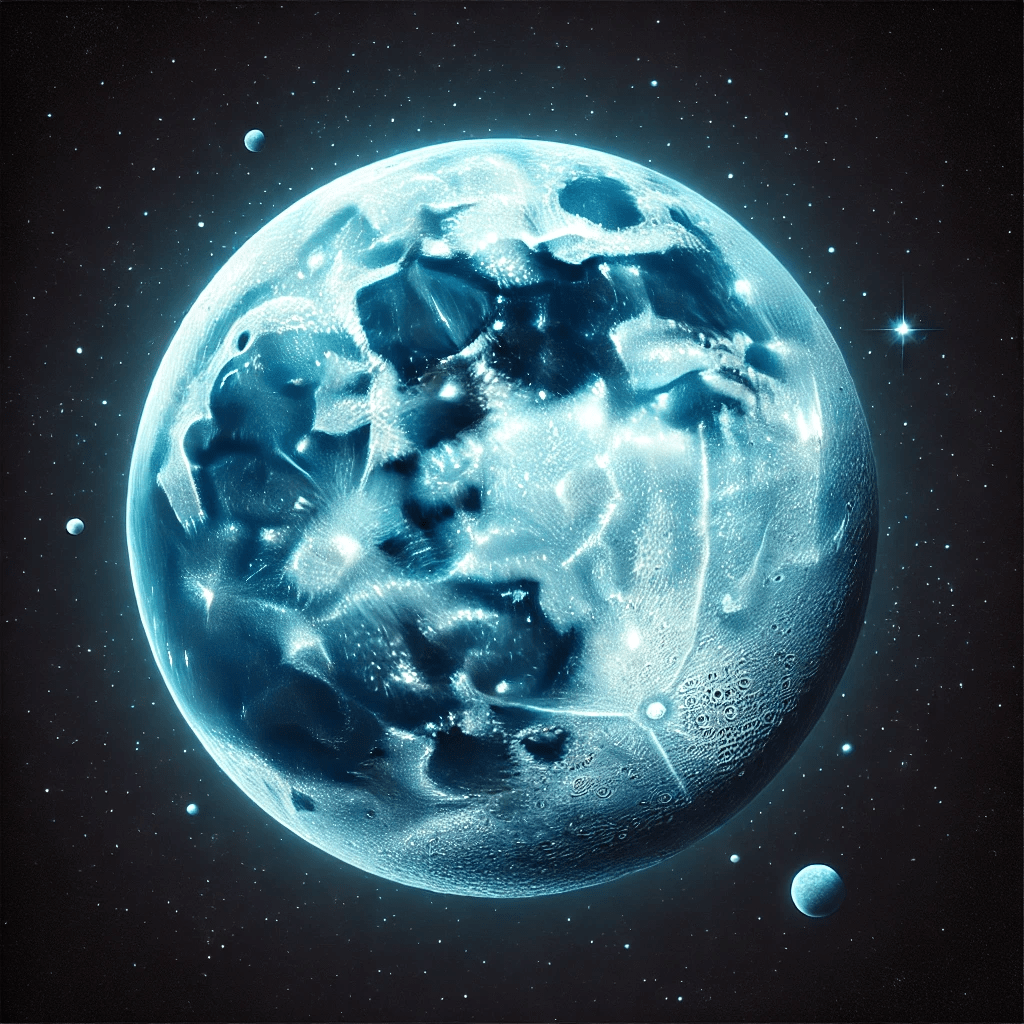
Blue moon photography requires a unique set of skills and understanding. The term “blue moon” refers to an additional full moon that appears in a subdivision of a year. Despite its name, a blue moon doesn’t appear blue; however, capturing it requires careful planning and the right equipment. Blue moon photography is all about preparation and knowing the right techniques to capture the moon’s beauty.
A blue moon can either be the second full moon in a calendar month with two full moons or the third full moon in a season of four full moons. This phenomenon is rare, typically occurring once every two to three years, making blue moon photography a special and rewarding challenge. Capturing the blue moon in its full glory requires understanding the timing, the right location, and the perfect settings on your camera.
Preparing for Blue Moon Photography
Step 1: Research and Planning
Before you head out to photograph a blue moon, research the exact date and time it will occur. Use online tools and apps to track moon phases and find the perfect time for blue moon photography. Knowing when and where to expect the moon will give you a significant advantage. Websites like Time and Date provide detailed moon phase calendars that are invaluable for planning your blue moon photography sessions.
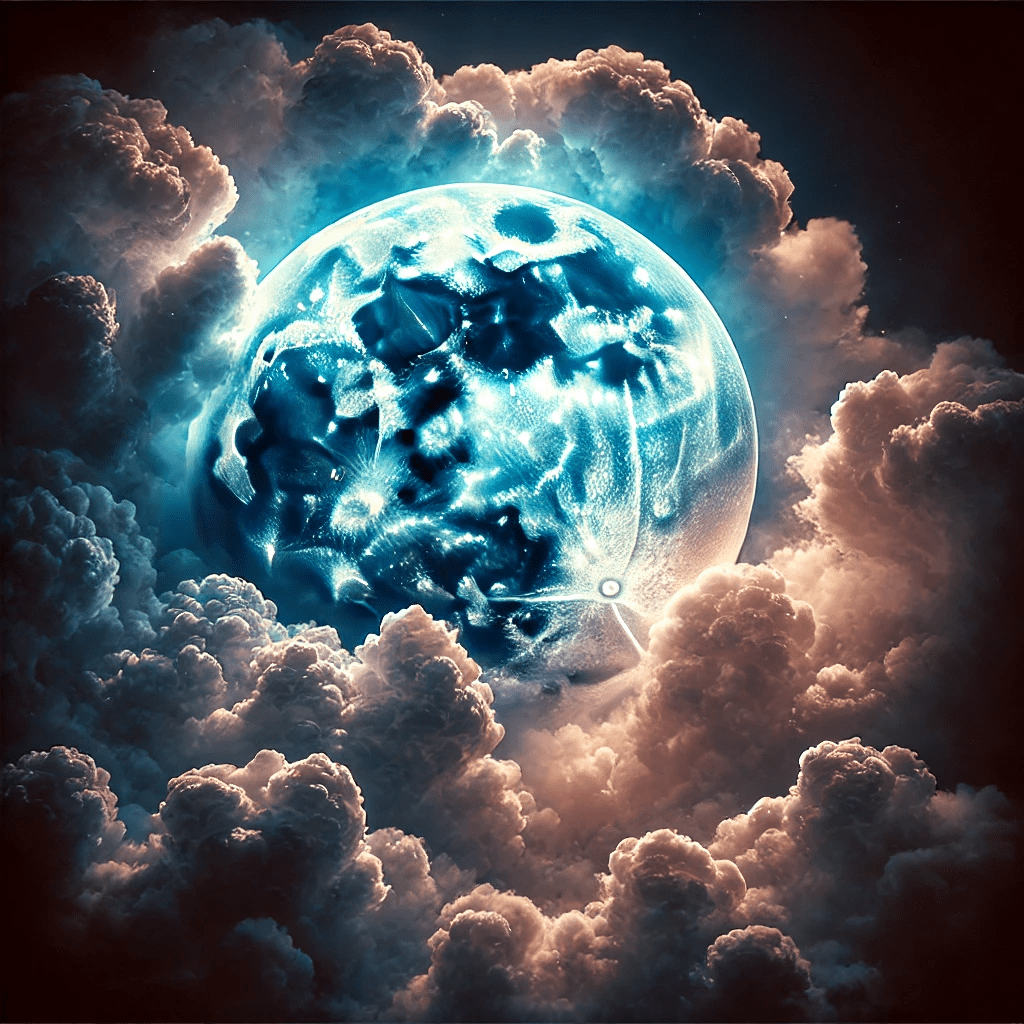
In addition to knowing the date and time, consider the weather conditions. Clear skies are essential for successful blue moon photography. Use weather apps and forecasts to choose a night with minimal cloud cover. Planning ensures you have the best chance to capture clear and sharp images of the blue moon.
Step 2: Choosing the Right Equipment
For blue moon photography, you’ll need a camera with manual settings, a tripod, and a telephoto lens. A telephoto lens will allow you to capture the details of the moon. Using a tripod will ensure stability and reduce camera shake, which is crucial for sharp images. Here’s a breakdown of essential equipment for blue moon photography:
- Camera: A DSLR or mirrorless camera with manual controls.
- Lens: A telephoto lens (at least 200mm) to get a close-up shot of the moon.
- Tripod: A sturdy tripod to keep your camera stable during long exposures.
- Remote Shutter Release: To minimize camera shake when taking photos.
- Extra Batteries and Memory Cards: To ensure you don’t run out of power or storage space during your session.
Step 3: Location Scouting
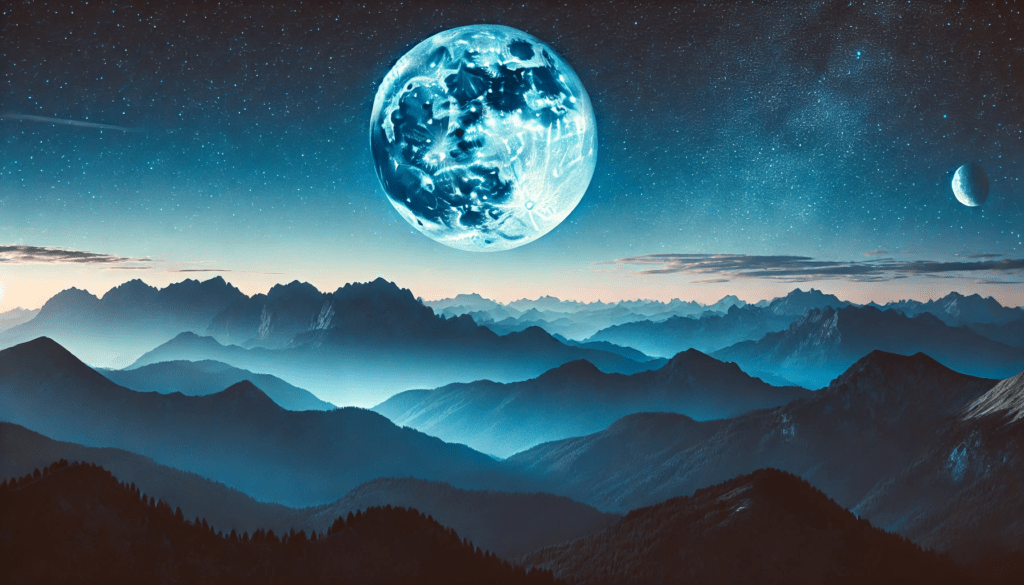
Find a location with minimal light pollution for the best blue moon photography. Urban areas with bright lights can wash out the moon, making it difficult to capture its true beauty. Look for open fields, hilltops, or coastal areas for clear and unobstructed views. Use light pollution maps available online to find the darkest skies near you.
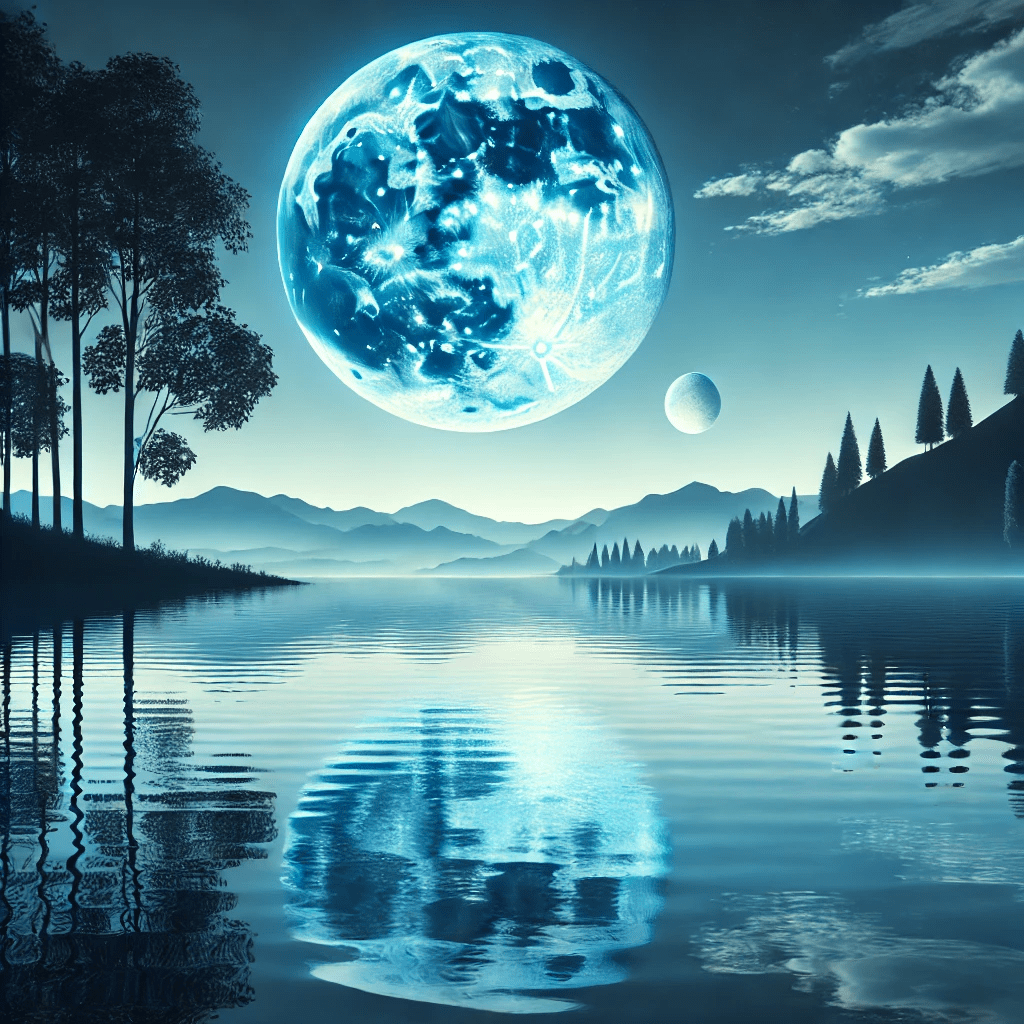
Consider including landmarks or interesting foreground elements in your blue moon photography. This can add context and scale to your images, making them more engaging. Locations such as mountains, lakes, or iconic buildings can enhance your composition and make your blue moon photography stand out.
Step 4: Camera Settings
Set your camera to manual mode. Use a low ISO setting (100-200) to reduce noise, and set your aperture to f/11 or f/16 for a greater depth of field. A shutter speed of around 1/125 to 1/250 seconds is a good starting point for blue moon photography. Adjust these settings based on your test shots to ensure you get the perfect exposure.
Step 5: Test Shots and Adjustments
Before the blue moon rises, take test shots to fine-tune your settings. Adjust the focus, exposure, and composition as needed. This preparation will help you avoid missing any crucial moments during the actual event. Blue moon photography requires patience and attention to detail, so take your time to get everything just right.
Capturing the Blue Moon
Step 1: Focusing on the Moon
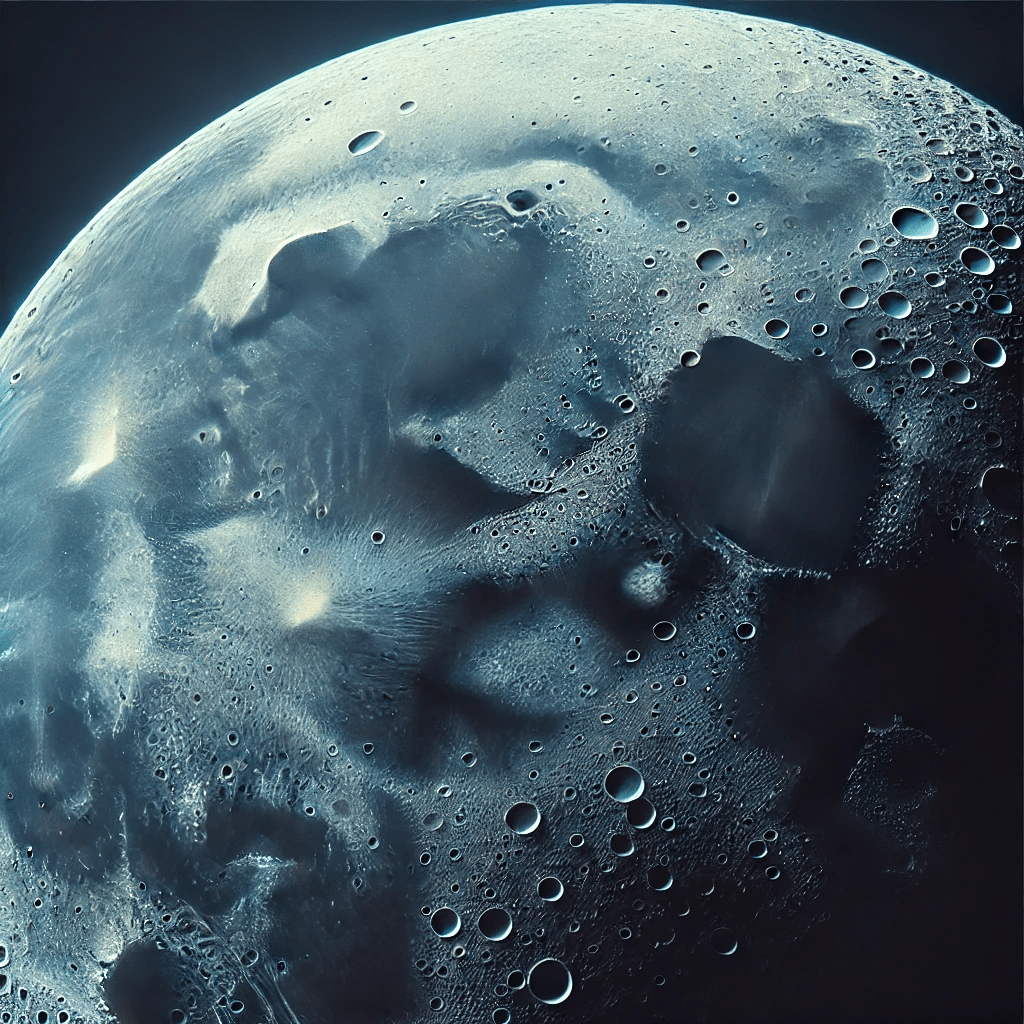
Use your camera’s live view mode to focus on the moon manually. Autofocus can struggle with the low light conditions of blue moon photography, so manual focus is often more reliable. Zoom in using live view to ensure the moon is sharp. Take your time to achieve precise focus, as this is crucial for capturing the details of the moon’s surface.
Step 2: Adjusting Exposure
Take a few test shots and adjust your exposure settings accordingly. If the moon appears too bright, increase your shutter speed or lower your ISO. Conversely, if the moon is too dark, decrease your shutter speed or increase your ISO. Experiment with different settings to find the perfect balance for blue moon photography.
Step 3: Composition
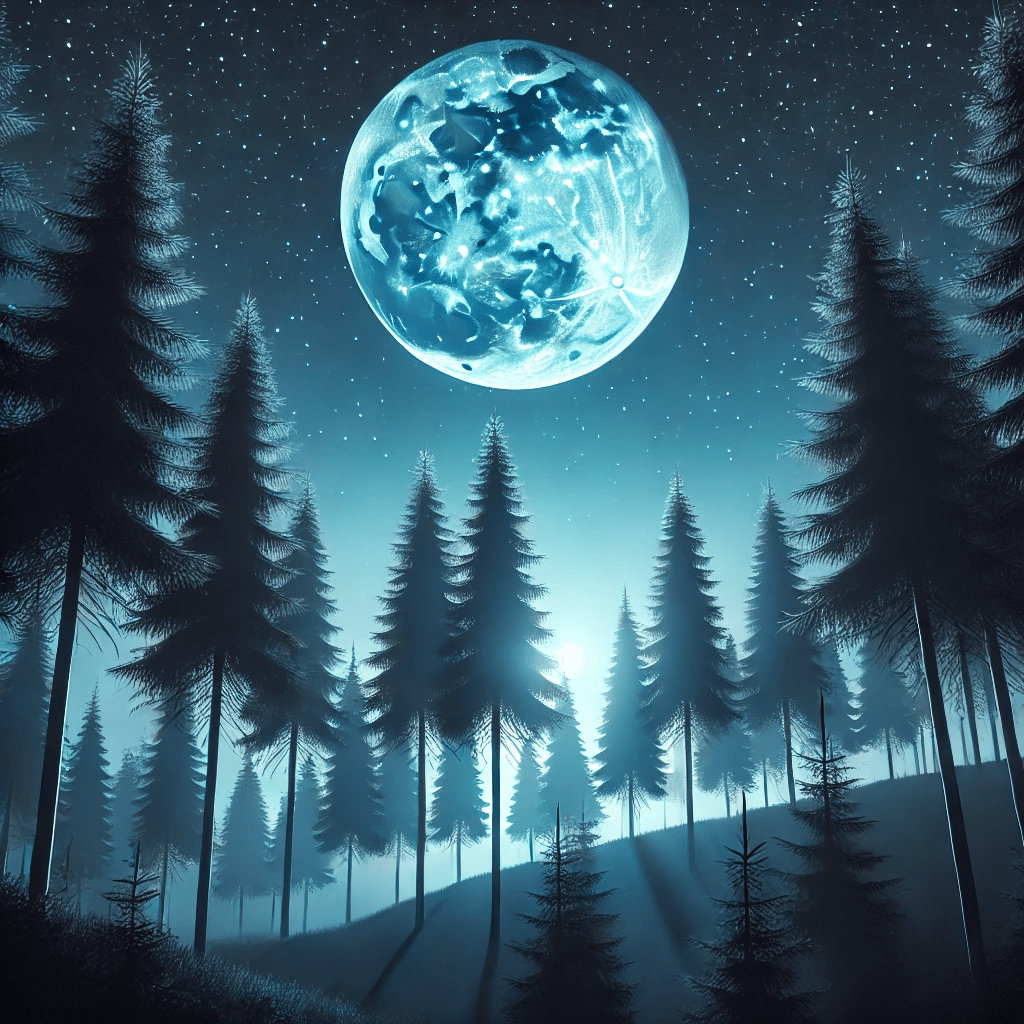
Experiment with different compositions. Including foreground elements like trees, mountains, or buildings can add context and interest to your blue moon photography. Try various angles and perspectives to find the most compelling shot. Consider the rule of thirds and other composition techniques to create visually appealing images.
Step 4: Post-Processing
After your shoot, use photo editing software to enhance your blue moon photos. Adjust the contrast, sharpness, and color balance to bring out the details of the moon. Be careful not to over-edit; natural-looking photos often have the most impact. Here are some tips for post-processing blue moon photography:
- Contrast and Brightness: Adjust these to enhance the details of the moon.
- Sharpness: Increase sharpness to highlight the moon’s craters and texture.
- Color Balance: Correct any color casts and ensure the moon looks natural.
- Noise Reduction: Use noise reduction tools to minimize any grain in your images.
Advanced Tips for Blue Moon Photography
Using Filters
Consider using filters to enhance your blue moon photography. A neutral density (ND) filter can help reduce the moon’s brightness, allowing you to use longer exposures without overexposing the image. This can be particularly useful for capturing the moon’s details and surrounding stars.
Stacking Images
Image stacking is a technique used to reduce noise and enhance details in astrophotography. By taking multiple exposures of the blue moon and stacking them in post-processing software, you can achieve clearer and more detailed images. This technique requires careful alignment and blending of the images but can significantly improve the quality of your blue moon photography.
Time-Lapse Photography
Creating a time-lapse of the blue moon’s movement across the sky can be a captivating way to showcase this phenomenon. Set up your camera on a stable tripod and use an intervalometer to take a series of images at regular intervals. Combine these images into a time-lapse video using software like Adobe Premiere Pro or Final Cut Pro.
Additional Considerations for Blue Moon Photography
Weather and Timing
Pay close attention to the weather forecast leading up to your blue moon photography session. Clear skies are essential for capturing sharp images of the moon. Cloud cover can obstruct your view, making it difficult to get a clear shot. Plan your shoot around the weather to maximize your chances of success.
Safety and Comfort
When heading out for blue moon photography, especially in remote locations, ensure you are prepared for the conditions. Dress appropriately for the weather, bring necessary supplies, and inform someone of your plans. Safety should always be a priority, particularly if you are shooting alone at night.
Experimenting with Different Lenses
While a telephoto lens is ideal for capturing the moon’s details, don’t be afraid to experiment with other lenses. Wide-angle lenses can create stunning landscapes with the moon as a focal point. Mixing up your lens choices can add variety to your blue moon photography portfolio.
Using Apps and Tools
There are several apps and tools designed to assist with blue moon photography. Apps like PhotoPills and The Photographer’s Ephemeris provide valuable information on moon phases, rise and set times, and optimal shooting locations. These tools can help you plan and execute your blue moon photography sessions more effectively.
Mastering Blue Moon Photography
As you continue to explore blue moon photography, remember that practice makes perfect. Each blue moon presents a new opportunity to refine your techniques and experiment with different approaches. Keep a photography journal to document your settings, locations, and experiences. This record can serve as a valuable reference for future blue moon photography sessions.
Incorporating Other Celestial Events
While blue moon photography is a captivating pursuit, don’t limit yourself to just this phenomenon. There are numerous other celestial events worth capturing, such as lunar eclipses, supermoons, and meteor showers. Applying the skills and techniques you’ve learned from blue moon photography can help you excel in photographing these events as well.
Teaching and Inspiring Others
Once you’ve gained confidence in blue moon photography, consider sharing your knowledge with others. Conduct workshops, write tutorials, or create video content to help aspiring photographers. Teaching others not only reinforces your understanding but also contributes to the broader photography community.
Blue Moon Photography as a Hobby or Profession
Whether you pursue blue moon photography as a hobby or aim to turn it into a profession, the key is to stay passionate and curious. The beauty of blue moon photography lies in its ability to connect us with the natural world and inspire awe. Embrace each opportunity to capture this wonder, and let your creativity shine.
By dedicating yourself to the art of blue moon photography, you’ll not only capture stunning images but also create lasting memories. The experience of witnessing and photographing a blue moon is truly magical, and the photos you produce will be cherished for years to come. So, prepare your gear, scout your locations, and get ready to embark on a photographic adventure that celebrates the beauty of the blue moon.
FAQs
What is a blue moon?
A blue moon is an additional full moon that appears in a subdivision of a year. It’s a rare event, typically occurring once every two to three years. This phenomenon is a unique opportunity for photographers, as it offers a chance to capture something that doesn’t happen often. Blue moon photography allows you to capture this unique and beautiful event, providing a perfect subject for astrophotography enthusiasts. The term can be a bit confusing since the moon doesn’t actually appear blue; it’s simply an extra full moon in a given period, making it an exciting challenge for photographers to document this rare occurrence.
Do I need a special camera for blue moon photography?
While a high-quality camera with manual settings is ideal, you can still capture decent blue moon photos with a smartphone by using a tripod and a telephoto attachment. However, for the best results, a DSLR or mirrorless camera with a telephoto lens is recommended for blue moon photography. These cameras offer better control over exposure settings, focus, and overall image quality. With the right settings and equipment, even amateur photographers can capture stunning images of the blue moon. Investing in a good telephoto lens and a sturdy tripod can significantly enhance your blue moon photography results.
Can I photograph a blue moon in a city?
Yes, but it’s best to find a location with minimal light pollution for clearer shots. Urban lights can make it challenging to capture the details of the moon, as artificial light can wash out the natural beauty of the night sky. Traveling to a rural area or a high vantage point can significantly improve your blue moon photography results. Consider places like parks, countryside areas, or mountains where the sky is darker and the visibility of the moon is better. If you must shoot in a city, try to find a spot with a clear view of the horizon and minimal streetlights.
Why doesn’t the moon look blue in my photos?
The term “blue moon” doesn’t refer to the moon’s color. The moon will appear its usual gray or white color in your photos. The name “blue moon” is more about the rarity of the event rather than the moon’s appearance. Sometimes atmospheric conditions can make the moon appear slightly different in color, but it won’t be blue. Understanding this can help set realistic expectations for your blue moon photography and allow you to focus on capturing the moon’s beauty as it is.
When is the next blue moon?
You can find the date of the next blue moon by using online moon phase calendars and apps. These tools provide precise information about moon phases, helping you plan your blue moon photography session. It’s important to plan for your blue moon photography session well in advance. Knowing the exact date and time will help you prepare and ensure you don’t miss this rare opportunity. Websites like Time and Date offer detailed moon phase calendars that can be very helpful in your planning process.
What settings should I use for blue moon photography?
For blue moon photography, set your camera to manual mode, use a low ISO (100-200), and set your aperture to f/11 or f/16. A shutter speed of around 1/125 to 1/250 seconds is a good starting point. Adjust these settings based on your test shots to achieve the perfect exposure. These settings help minimize noise and ensure a sharp, detailed image of the moon. Experiment with your camera’s settings to find the best combination that works for your specific environment and equipment.
How can I reduce noise in my blue moon photos?
To reduce noise in your blue moon photography, use a low ISO setting and consider stacking multiple exposures in post-processing. Noise reduction tools in photo editing software can also help minimize grain in your images. Stacking images involves taking several shots of the same scene and combining them to reduce noise and enhance detail. Software like Adobe Photoshop and Lightroom offer features for noise reduction that can significantly improve the quality of your blue moon photos.
Can I use a smartphone for blue moon photography?
While a smartphone can capture basic images of the blue moon, a DSLR or mirrorless camera with a telephoto lens will provide much better results. Smartphones have come a long way in terms of camera technology, and with the right accessories, they can be quite effective for blue moon photography. If you use a smartphone, consider using a tripod and a telephoto attachment for improved stability and zoom capability. Additionally, use manual camera apps that allow you to adjust settings like ISO, shutter speed, and focus for better control over your shots.
What software can I use for post-processing blue moon photos?
Popular photo editing software like Adobe Photoshop, Lightroom, and GIMP can be used for post-processing blue moon photography. These programs offer tools for adjusting contrast, sharpness, color balance, and noise reduction, allowing you to enhance your images effectively. Post-processing is an essential step in blue moon photography, as it helps bring out the details and correct any exposure issues. Learning to use these tools can significantly enhance your final images, making them more visually appealing and professional-looking.
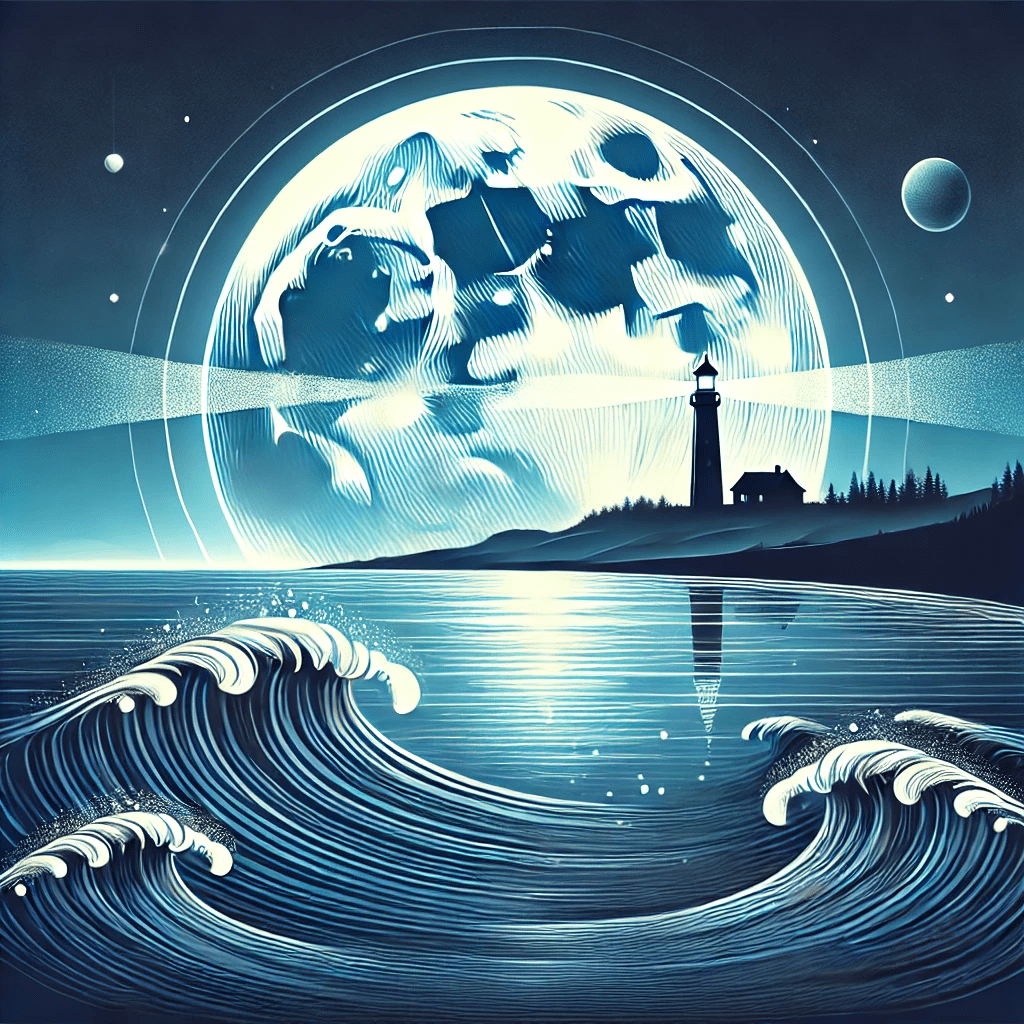
How can I add creative elements to my blue moon photography?
Incorporate interesting foreground elements such as trees, mountains, or buildings to add context and creativity to your blue moon photography. Experiment with different compositions and angles to create visually appealing and unique images. Including landmarks or silhouettes can add depth and interest to your photos. For instance, capturing the blue moon rising over a famous monument or natural landscape can create a stunning and memorable image. Don’t be afraid to try different perspectives and compositions to find the most compelling shots.
Conclusion
Blue moon photography is a rewarding experience that allows you to capture a rare and beautiful event. By following these steps and tips, you’ll be well-prepared to photograph the blue moon with stunning results. For more photography tips, check out our articles on Florida Landscape Photography and Best Camera for Underwater Photography. Additionally, websites like NASA and Space.com provide valuable information on moon phases and celestial events.
In conclusion, blue moon photography is not only about capturing a rare celestial event but also about honing your skills as a photographer. The techniques and tips shared in this guide are designed to help you achieve the best possible results in your blue moon photography endeavors. Whether you’re a seasoned photographer or a beginner, the joy of capturing the beauty of a blue moon is a truly unforgettable experience. With careful planning, the right equipment, and a bit of creativity, your blue moon photography can produce stunning images that you’ll be proud to share. So, gear up, find the perfect spot, and get ready to capture the magic of the blue moon.
By using this guide, you’ll be able to master blue moon photography and capture images that will leave a lasting impression.