How to Install a Bike Seat: Your Best Guide in 2024
Installing a bike seat might seem daunting, but with the right steps, it can be straightforward. Whether you’re a seasoned cyclist or a beginner, knowing how to install a bike seat is crucial for comfort and performance. A properly installed bike seat can significantly improve your riding experience, enhancing comfort, efficiency, and injury prevention. This guide covers selecting the right seat, preparing your bike, making necessary adjustments, and addressing common issues. By the end, you’ll be equipped with the knowledge and confidence to install a bike seat like a pro.
Step-by-Step Guide to Install a Bike Seat:
Step 1: Gather Your Tools
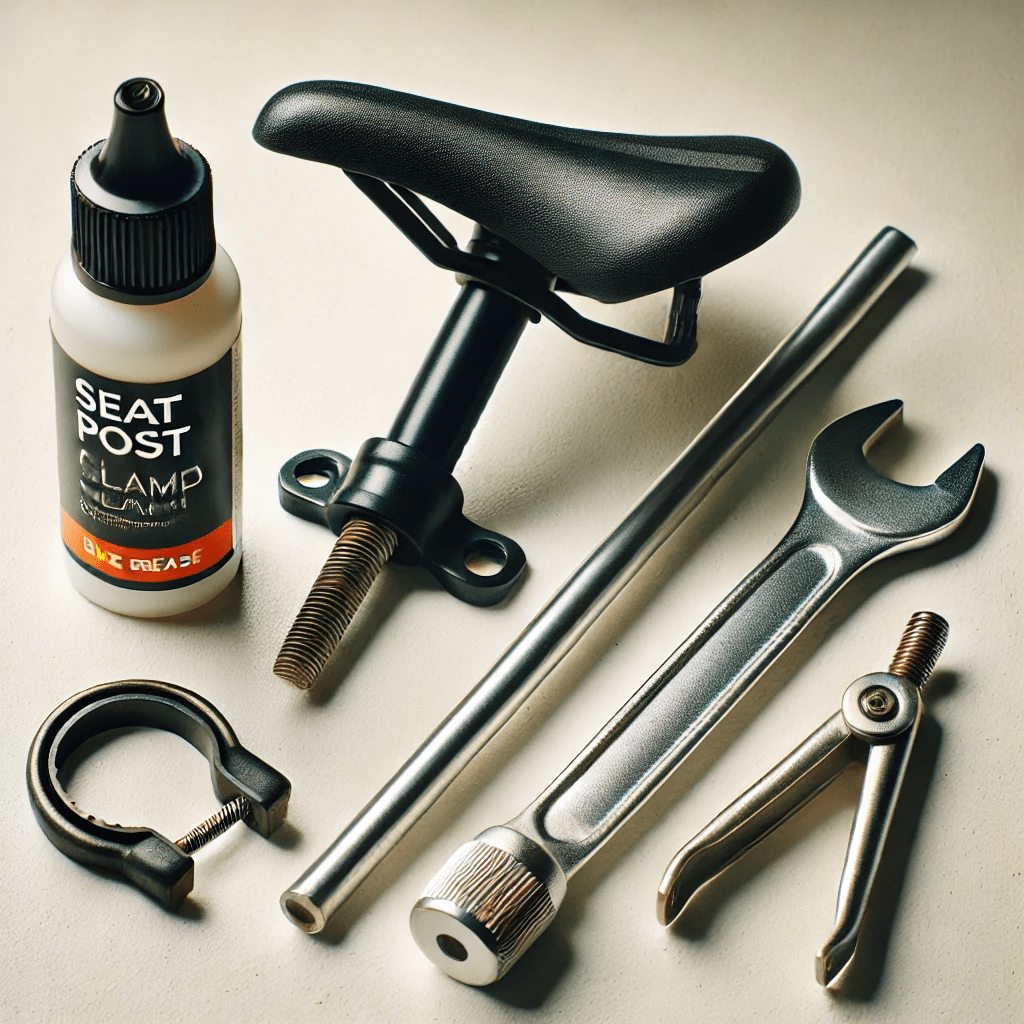
Before you start, make sure you have all the necessary tools:
- Allen wrench or a suitable spanner: These tools are essential for loosening and tightening the bolts when you learn how to install a bike seat. Without the proper wrench or spanner, you might struggle to achieve the necessary torque to secure the seat, which could lead to an unsafe riding condition. When understanding how to install a bike seat, it’s important to use the correct size and type of wrench to avoid stripping the bolts or causing damage to the seat post. Knowing how to install a bike seat correctly ensures that you have a safe and secure setup for your rides.
- Bike grease: Applying bike grease to the seat post and the bolt threads helps prevent rust and corrosion, which can make future adjustments difficult or even impossible. The grease acts as a lubricant, ensuring smooth adjustments and reducing the risk of the seat post seizing in the frame. It’s a small step that can greatly extend the life of your bike components and make maintenance easier.
- Seat post clamp: If your bike requires a separate seat post clamp, make sure you have it ready before beginning the installation. The seat post clamp is crucial for securing the seat post in the frame and keeping the seat at the desired height. Ensure that the clamp is compatible with your seat post and frame and that it is in good working condition to prevent any slippage during your rides.
Having the right tools is the first step to a smooth installation process when learning how to install a bike seat. Using the wrong tools can damage your bike components and make the process of how to install a bike seat more difficult. To ensure a successful and hassle-free experience, always use the appropriate tools to follow the steps on how to install a bike seat correctly.
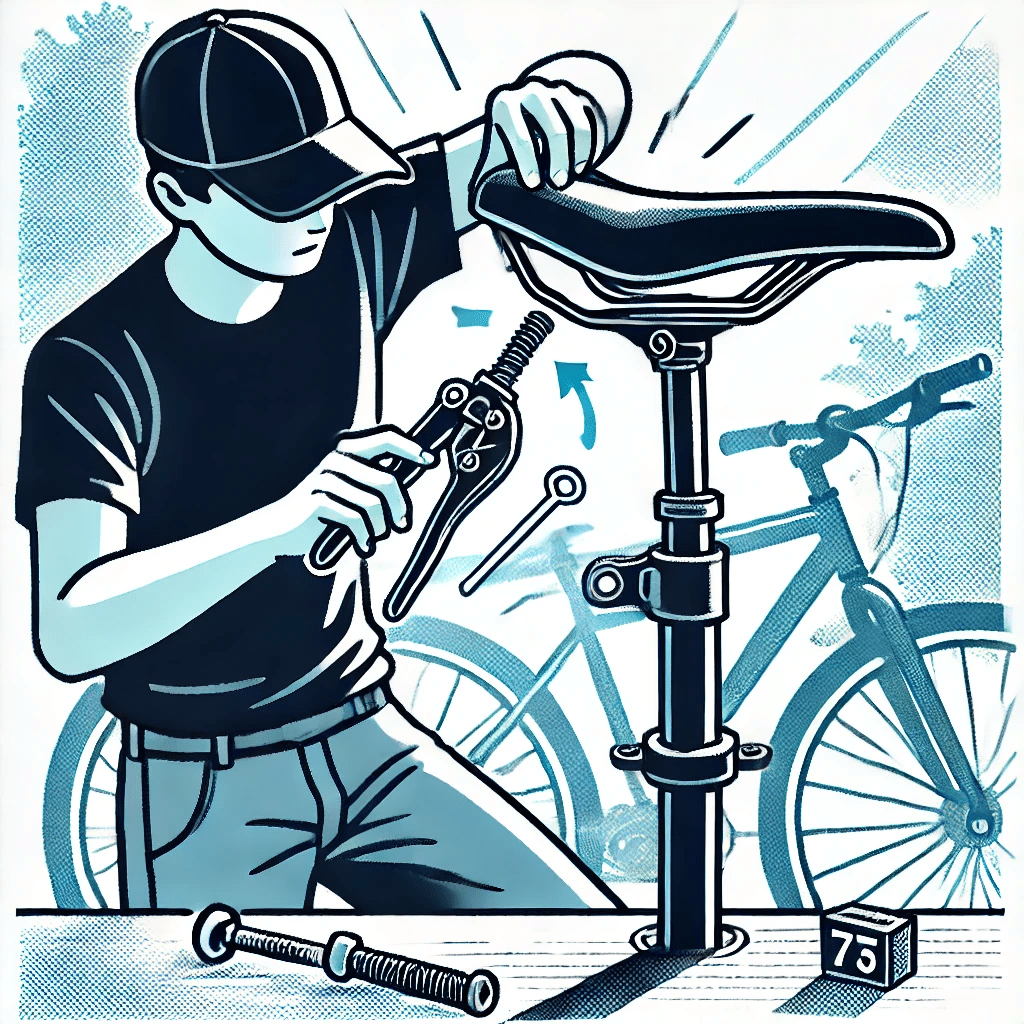
Step 2: Remove the Old Seat
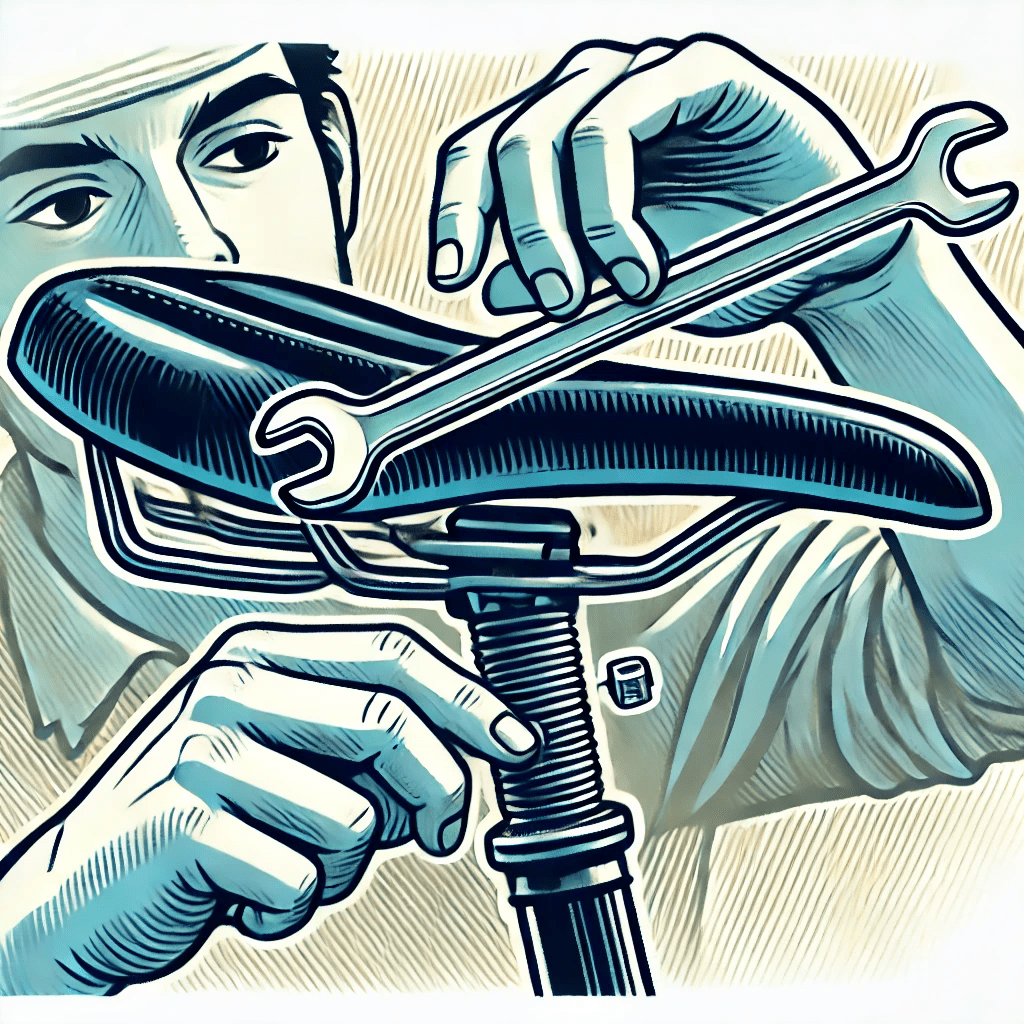
- Loosen the Bolt: Use the Allen wrench to loosen the bolt underneath the old seat. Turn it counterclockwise until the seat can be removed. This bolt is usually located at the base of the seat post, and it secures the seat to the bike. When loosening the bolt, ensure you support the seat with your other hand to prevent it from falling and potentially causing damage.
- Remove the Seat: Slide the old seat off the seat post. If it’s stuck, apply some bike grease and gently twist it off. Sometimes, seats that have been in place for a long time can become quite stubborn. Be patient and apply consistent, gentle pressure.
Step 3: Prepare the New Seat
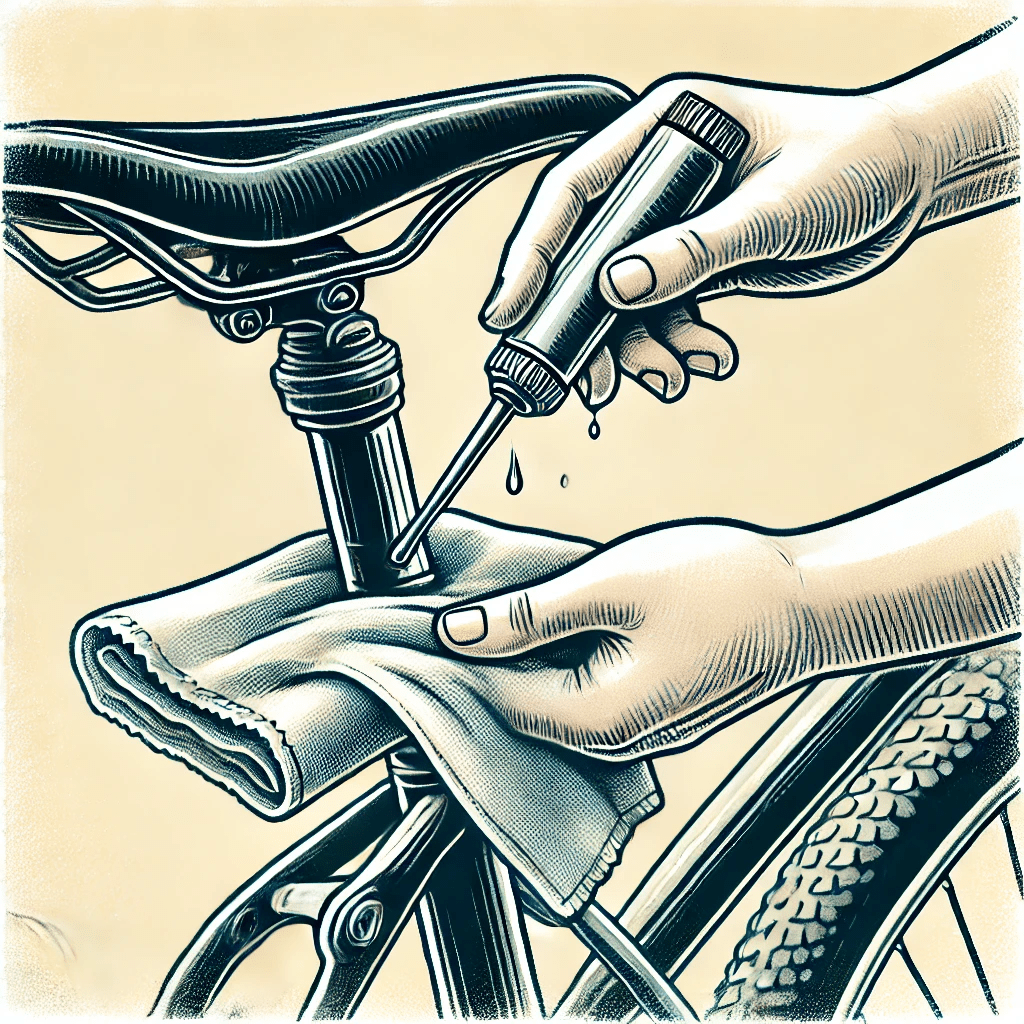
- Apply Grease: Apply a small amount of bike grease to the seat post. This prevents rust and makes future adjustments easier. Grease is crucial because it prevents metal-on-metal contact, which can cause the seat post to seize up over time. Use a cloth to spread the grease evenly over the surface of the seat post. Make sure not to overdo it; a thin layer is sufficient.
- Check the Rails: Ensure the rails of the new seat are properly aligned and not damaged. The rails are the metal bars that connect the seat to the bike. They should be straight and free of cracks or bends. Inspect the seat rails carefully. Any damage or misalignment can affect the stability and comfort of your ride.
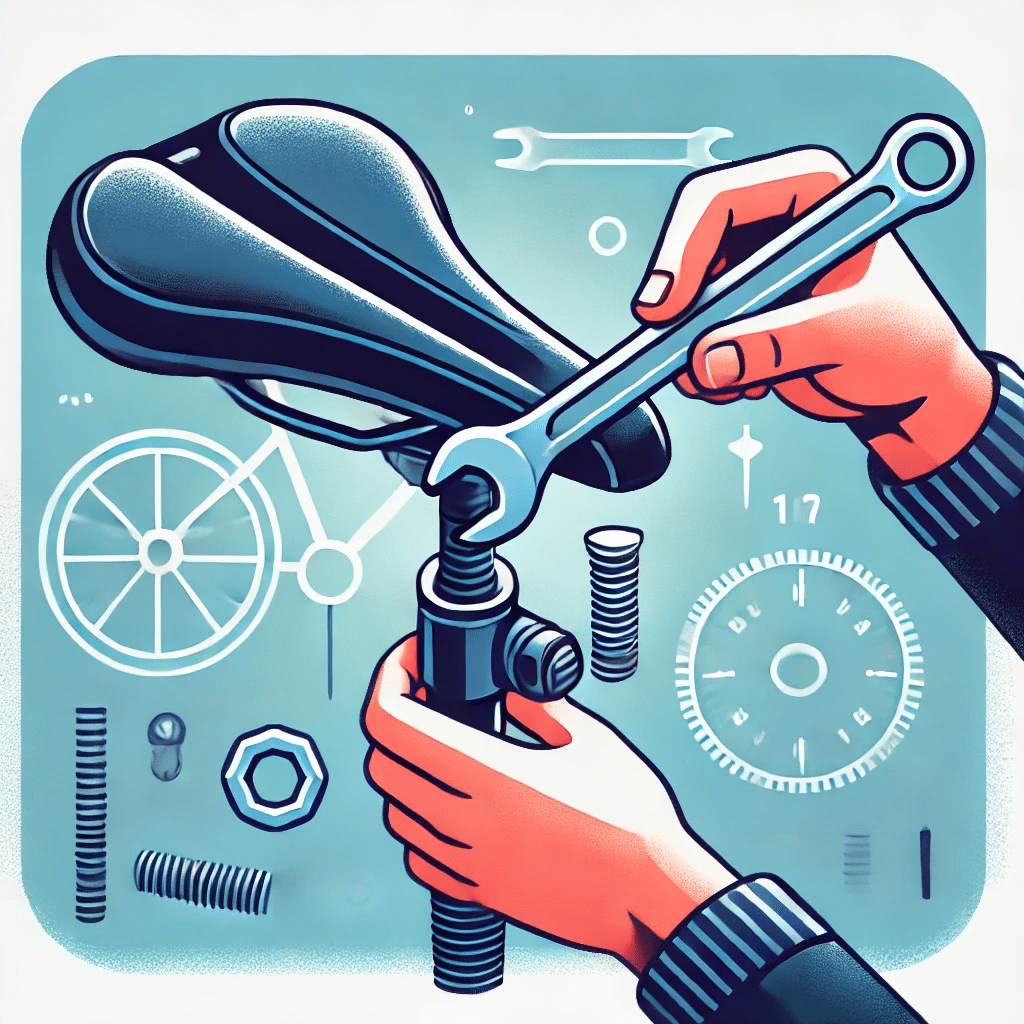
Step 4: Attach the New Seat
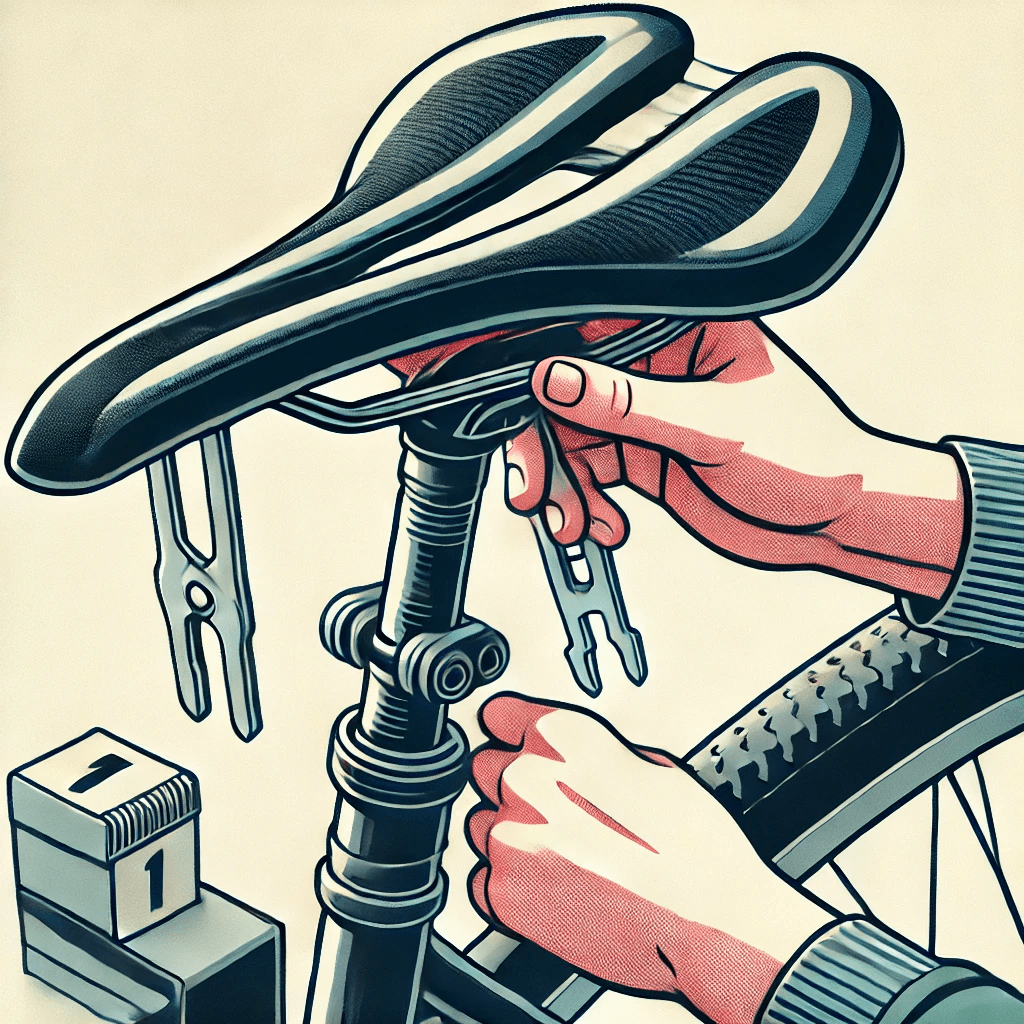
- Position the Seat: Place the new seat on the seat post. Align the rails with the seat post clamp. This step is crucial for ensuring that the seat is properly positioned and stable.When positioning the seat, make sure it is centered and aligned with the bike frame. This ensures a balanced and comfortable ride.
- Tighten the Bolt: Begin tightening the bolt. Ensure the seat is level and pointing straight ahead. Use the Allen wrench to secure it firmly, but avoid over-tightening. Over-tightening can damage the seat rails or the seat post. Tighten the bolt gradually, checking the alignment frequently. Once the seat is secure, give it a final check to ensure it doesn’t wobble.
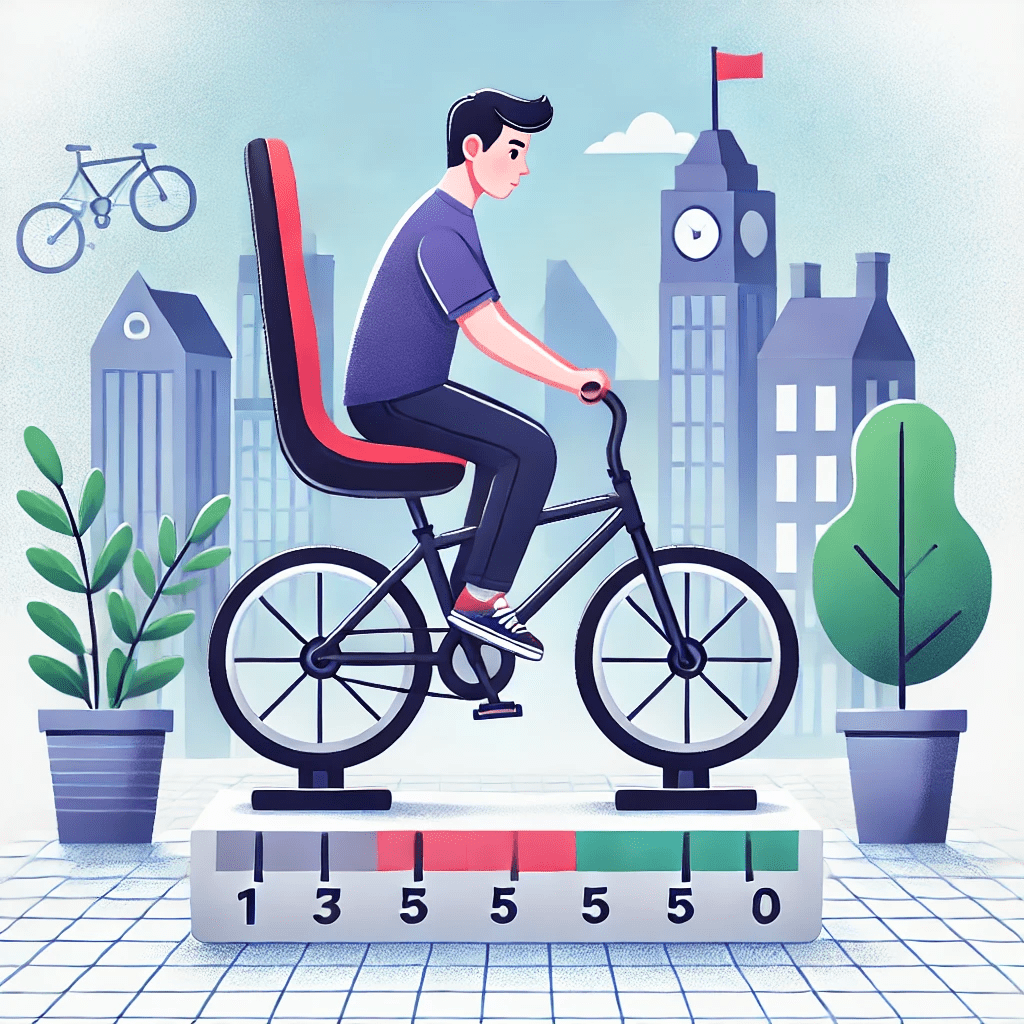
Step 5: Adjust the Seat Height
- Find the Right Height: Sit on the bike and pedal backward. Your legs should be slightly bent at the bottom of the pedal stroke. This position maximizes efficiency and comfort while riding. Adjusting the seat height is a process of trial and error. Start with small adjustments and test the position by riding a short distance.
- Adjust as Needed: Loosen the seat post clamp, adjust the height, and retighten. Repeat until you find the most comfortable position. The correct seat height reduces strain on your knees and allows for a more powerful pedal stroke. Ensure the seat post is securely tightened after each adjustment. A loose seat post can slip during a ride, which can be dangerous.
Step 6: Test the Seat Position
- Ride and Adjust: Take a short ride. If the seat feels uncomfortable, adjust the tilt and height until it feels right. The angle of the seat can also affect comfort. Some riders prefer a slight downward tilt, while others prefer a flat or slightly upward angle. Pay attention to any discomfort in your lower back, knees, or hips. These can be signs that the seat height or angle needs adjustment.
- Secure Everything: Once satisfied, make sure all bolts and clamps are securely tightened. Double-check the seat’s stability before going for a longer ride.
Additional Tips for Perfect Bike Seat Installation
- Consider a Professional Fitting: If you’re new to cycling or experiencing discomfort, consider getting a professional bike fitting. A professional fitter can adjust your bike to match your body measurements and riding style.
- Regular Maintenance: Periodically check your bike seat for wear and tear. Over time, the seat and seat post can loosen. Regular maintenance ensures your bike remains safe and comfortable.
- Invest in a Quality Seat: A good quality bike seat can significantly improve your riding experience. Look for seats with adequate padding and support for your specific riding needs.
Enhancing Your Riding Experience
A properly installed and adjusted bike seat is just one part of a comfortable and efficient ride when you know how to install a bike seat. Understanding how to install a bike seat correctly ensures that your bike is both safe and comfortable. Remember, learning how to install a bike seat properly can significantly enhance your overall riding experience. Here are additional tips to enhance your cycling experience:
- Bike Fit: Consider a professional bike fit. A bike fit specialist can adjust every aspect of your bike to match your body and riding style, from the seat height to the handlebar position.
- Regular Maintenance: Periodically check all components of your bike, including the seat, for signs of wear and tear. Regular maintenance can prevent small issues from becoming big problems.
- Comfort Accessories: Padded shorts, seat covers, and even padded gloves can enhance comfort, especially on long rides. Experiment with different accessories to find what works best for you.
- Stay Hydrated and Nourished: Long rides require proper hydration and nutrition. Make sure you’re drinking enough water and eating energy-rich foods to maintain performance and comfort.
Troubleshooting Common Issues
Even with the best preparation, you might encounter some common problems when installing your bike seat. Here are some solutions:
- Seat Won’t Tighten: If you can’t tighten the seat properly, the problem might be with the clamp. Ensure that the clamp is the right size for your seat post. If the clamp is too big, it won’t hold the seat securely.
- Seat Post Stuck: If the seat post is stuck, try applying some bike grease to the area where it’s stuck. If it still won’t move, you might need a seat post-removal tool. Always be gentle to avoid damaging your bike.
- Seat Keeps Moving: If your seat keeps moving even after tightening, the problem might be with the bolt or the clamp. Make sure that the bolt is not stripped and that the clamp is in good condition. You might need to replace these parts if they’re worn out.
FAQs
How Often Should I Check My Bike Seat?
Regularly check your bike seat before every ride to ensure it’s secure and at the correct height. This is a crucial step in knowing how to install a bike seat properly. By following the guidelines on how to install a bike seat, you can prevent accidents and discomfort. A loose or improperly positioned seat can cause balance issues and strain your body, highlighting the importance of understanding how to install a bike seat correctly.
Can I Use Any Bike Seat?
Bike seats come in various sizes and shapes. Knowing how to install a bike seat includes ensuring the seat you choose is compatible with your bike’s seat post and matches your riding style for optimal comfort. When learning how to install a bike seat, keep in mind that road bikes, mountain bikes, and commuter bikes often have different seat requirements. This knowledge is essential for a successful installation and a comfortable ride.
What If My Seat Keeps Slipping?
If your seat keeps slipping, ensure the seat post and clamp are properly tightened, as part of learning how to install a bike seat correctly. Applying a bit of carbon assembly paste can also help improve grip, which is a useful tip when figuring out how to install a bike seat. If the problem persists, you might need a new seat post clamp or seat post, emphasizing the importance of understanding how to install a bike seat properly.
How Do I Know If My Seat Is at the Right Height?
A correctly positioned seat allows your legs to extend fully with a slight bend at the knee at the bottom of the pedal stroke, which is essential when learning how to install a bike seat. If you experience knee pain or feel like you’re overreaching, your seat height might need adjustment. Knowing how to install a bike seat properly includes making these adjustments to ensure comfort and efficiency.
What Are the Signs of a Worn-Out Bike Seat?
Signs of a worn-out bike seat include visible damage to the cover or padding, discomfort during rides, or unusual noises while riding. Recognizing these signs is important when you know how to install a bike seat. Replacing a worn-out seat can greatly improve your riding experience, emphasizing the value of understanding how to install a bike seat properly. Regularly checking your bike seat is a crucial part of maintaining comfort and performance.
What Type of Seat Should I Choose?
Choosing the right bike seat depends on your riding style and personal preferences. Here are a few types of seats to consider:
- Road Bike Seats: These seats are typically narrow and lightweight, designed for speed and efficiency. They might not have much padding, as road cyclists often wear padded shorts.
- Mountain Bike Seats: Mountain bike seats are usually more durable and have more padding than road bike seats. They’re designed to absorb shocks from rough terrain.
- Comfort Seats: These seats are wider and have more padding. They’re designed for casual riders who prioritize comfort over speed.
- Women’s Seats: Women’s seats are designed to accommodate the anatomical differences between men and women. They might have a wider rear section and a shorter nose.
How Can I Make My Seat More Comfortable?
If your bike seat is uncomfortable, there are several things you can do to improve comfort:
- Seat Covers: Padded seat covers can add extra cushioning. They’re easy to install and remove.
- Padded Shorts: Cycling shorts with built-in padding can significantly improve comfort, especially on long rides.
- Adjustments: Sometimes, a small adjustment to the seat height or angle can make a big difference. Experiment with different positions until you find the most comfortable setup.
- New Seat: If your seat is old or not suitable for your riding style, consider getting a new one. There are many different types of seats available, so you should be able to find one that suits your needs.
How Do I Prevent Saddle Sores?
Saddle sores are a common issue for cyclists, especially on long rides. Here are some tips to prevent them:
- Proper Fit: Ensure your bike seat is properly fitted and adjusted. An improperly fitted seat can cause friction and pressure points.
- Padded Shorts: Wearing padded cycling shorts can help reduce friction and absorb shock.
- Chamois Cream: Applying chamois cream to your skin or shorts can reduce friction and prevent sores.
- Breaks: Take breaks on long rides to relieve pressure and allow your skin to recover.
Conclusion
Installing a bike seat is a simple process that can greatly improve your riding experience. By following these steps, you’ll ensure a comfortable and secure fit for your new seat. For more biking tips, check out our guide on changing an inner tube and find the best wheelie bike for your needs. For additional resources, you can visit Sheldon Brown’s guide to bike maintenance or Bike Radar for bike reviews.
A well-installed bike seat can make all the difference in your cycling adventures. Whether you’re commuting, training, or just enjoying a leisurely ride, knowing how to install a bike seat correctly ensures comfort and safety. With this guide on how to install a bike seat, you’re well on your way to a smoother, more enjoyable ride. Prioritizing proper installation will enhance your overall cycling experience.
Summary of Key Points
- Gather Your Tools: Ensure you have the necessary tools, including an Allen wrench, bike grease, and a seat post clamp.
- Remove the Old Seat: Carefully loosen and remove the old seat, applying grease if necessary.
- Prepare the New Seat: Apply bike grease to the seat post and check the rails for damage.
- Attach the New Seat: Position the new seat, tighten the bolt, and ensure it’s level.
- Adjust the Seat Height: Find the correct height by testing and making adjustments as needed.
- Test the Seat Position: Take a short ride and make final adjustments for comfort and stability.
By following these steps and tips on how to install a bike seat, you can install your bike seat with confidence. Remember, comfort and safety are paramount for an enjoyable riding experience. Regular maintenance and adjustments, which are key aspects of knowing how to install a bike seat properly, will keep your bike in top shape and ensure you have a great ride every time.
For more biking tips, check out our guide on changing an inner tube and find the best wheelie bike for your needs. For additional resources, you can visit Sheldon Brown’s guide to bike maintenance or Bike Radar for bike reviews.
With these insights on how to install a bike seat, you’re well on your way to a smoother, more enjoyable cycling experience. Understanding how to install a bike seat correctly ensures comfort and safety on every ride.