How to Change Inner Tube on Bike: Your Best Guide in 2025
Changing the inner tube on a bike can seem daunting, but it’s a straightforward process with the right guidance. Whether you’ve encountered a flat tire or are preparing for a long ride, knowing how to change inner tube on bike is an essential skill. This comprehensive guide will walk you through each step in detail, ensuring you have the confidence to handle this common bike maintenance task. Learning how to change inner tube on bike will save you time and make your rides smoother and more enjoyable. By mastering how to change inner tube on bike, you’ll be well-prepared for any unexpected flats and can enjoy worry-free cycling adventures.
How to Change Inner Tube on Bike:
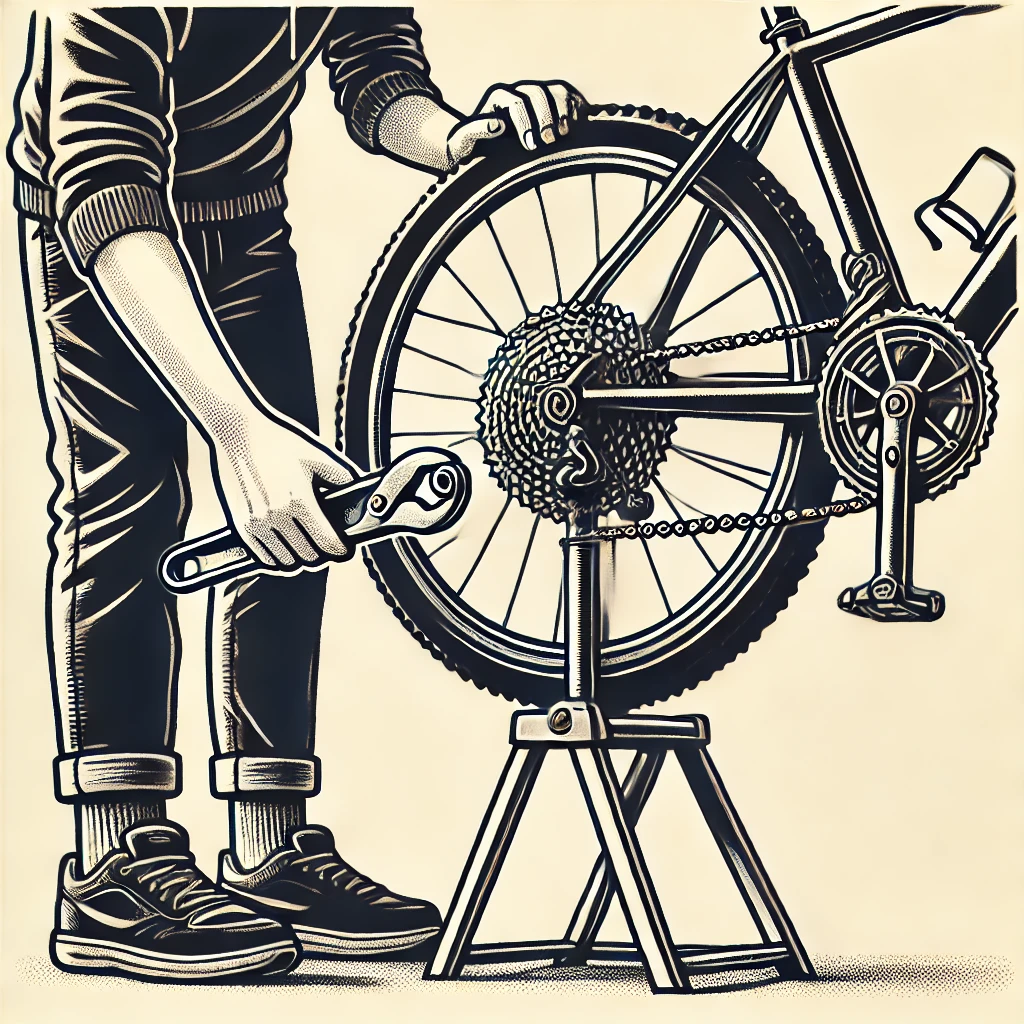
Step 1: Remove the Wheel
Tools Needed:
- Quick-release lever or wrench
- Bike stand (optional but helpful)
The first step in how to change inner tube on bike is to remove the wheel from the bike. If you’re dealing with the rear wheel, shift the chain to the smallest gear to make the process easier. When learning how to change inner tube on bike, you may need to release the brake cable for bikes with rim brakes to allow the wheel to pass through. If your bike has disc brakes, this step can usually be skipped. Remember, knowing how to change inner tube on bike is essential for proper bike maintenance and quick repairs.
- Shift the Chain: Shift the chain to the smallest cog on the rear cassette. This reduces tension and makes it easier to remove the wheel.
- Release the Brakes: If you have rim brakes, open the brake calipers by releasing the brake cable. This creates more space for the wheel to pass through. For V-brakes, squeeze the brake arms together and unhook the cable.
- Loosen the Axle: Use the quick-release lever or a wrench to loosen the axle nuts. If you’re using a quick-release lever, open the lever and turn it counterclockwise until the wheel is free.
- Remove the Wheel: Lift the bike or use a bike stand for stability. Gently pull the wheel out of the dropouts, being careful not to force it or damage the frame.
Step 2: Deflate the Tire Completely
Before removing the tire from the rim, it’s crucial to ensure it’s completely deflated. This step is essential when learning how to change inner tube on bike, as it reduces the risk of damaging the tire or rim and makes it easier to remove the tire. Proper deflation is a key part of the process in how to change inner tube on bike and ensures a smoother experience. By following this step, you can efficiently proceed with the rest of the steps on how to change inner tube on bike.
- Open the Valve: Remove the valve cap and open the valve. For Schrader valves (similar to car tire valves), press the center pin to release air. For Presta valves, unscrew the small nut at the top of the valve and press down to release air.
- Ensure Full Deflation: Make sure all air is out of the tube. You can use a valve tool to release any remaining air if necessary. The tire should feel completely flat and pliable.
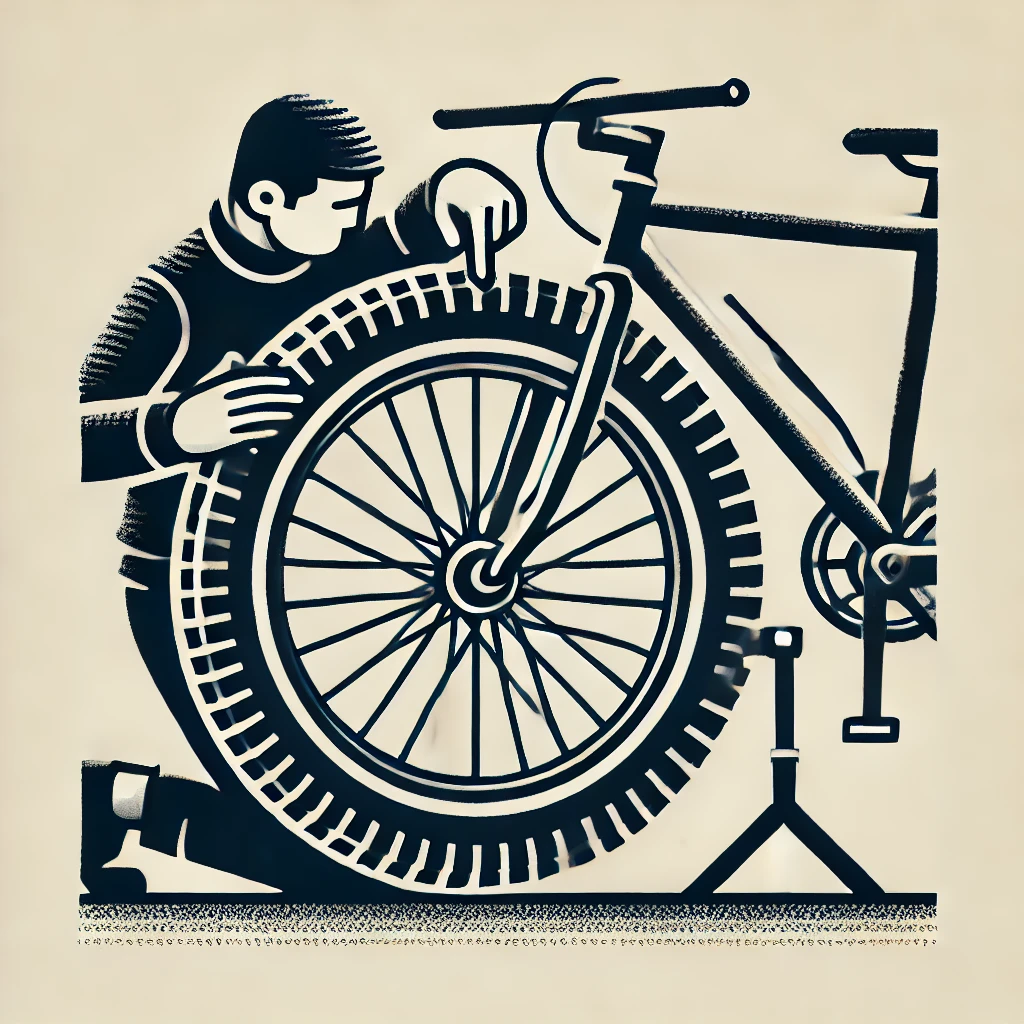
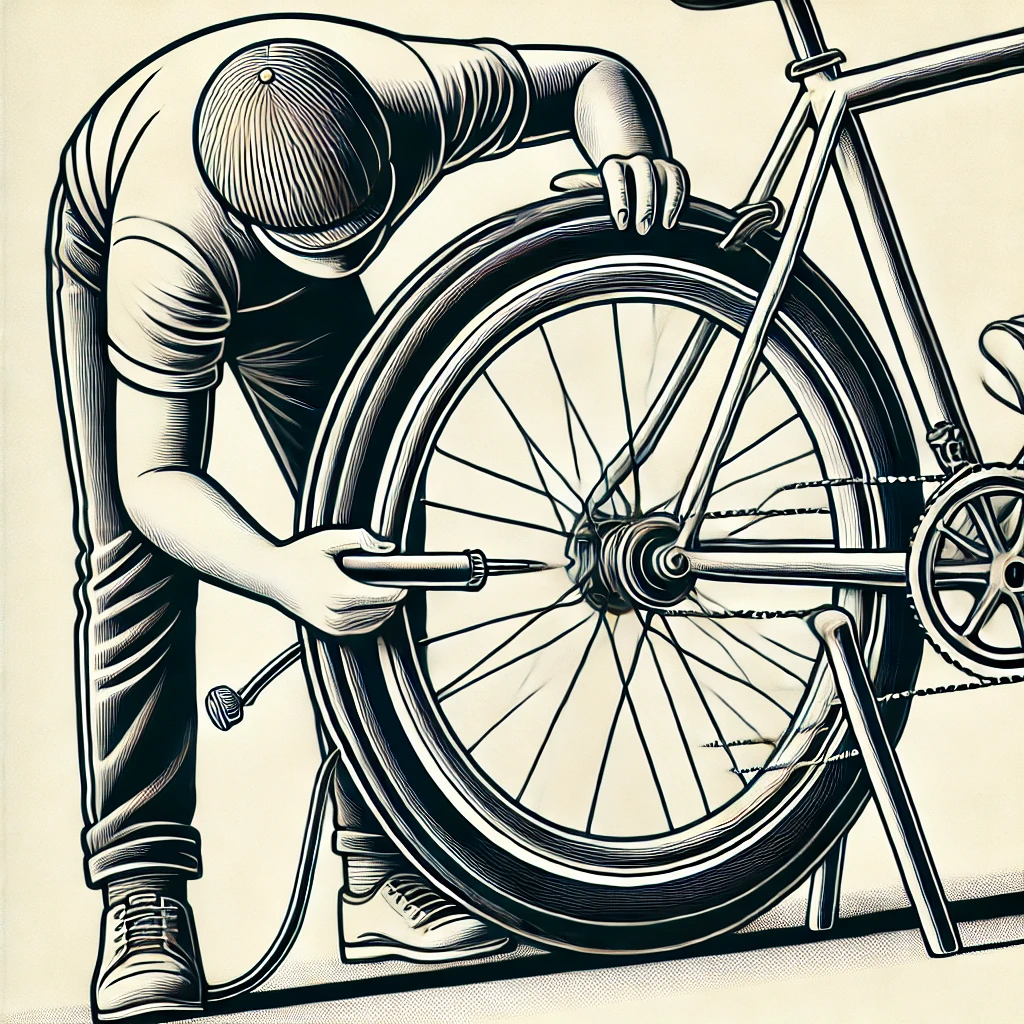
Step 3: Remove the Tire
Removing the tire from the rim requires a bit of technique, especially if it’s a tight fit. When learning how to change inner tube on bike, tire levers are essential tools for this task. Mastering the use of tire levers is crucial in how to change inner tube on bike, as it helps you safely and effectively remove the tire. By practicing this technique, you’ll become more proficient in how to change inner tube on bike.
- Insert Tire Levers: Start opposite the valve. Insert the first tire lever between the tire and rim, hooking it onto a spoke. Insert the second lever a few inches away and pry the tire off the rim.
- Work Around the Tire: Continue working around the tire, inserting the levers and prying the tire off the rim. Be careful not to pinch the inner tube.
- Remove One Side of the Tire: Once one side of the tire is off the rim, you can pull the inner tube out. Start at the valve and work your way around.
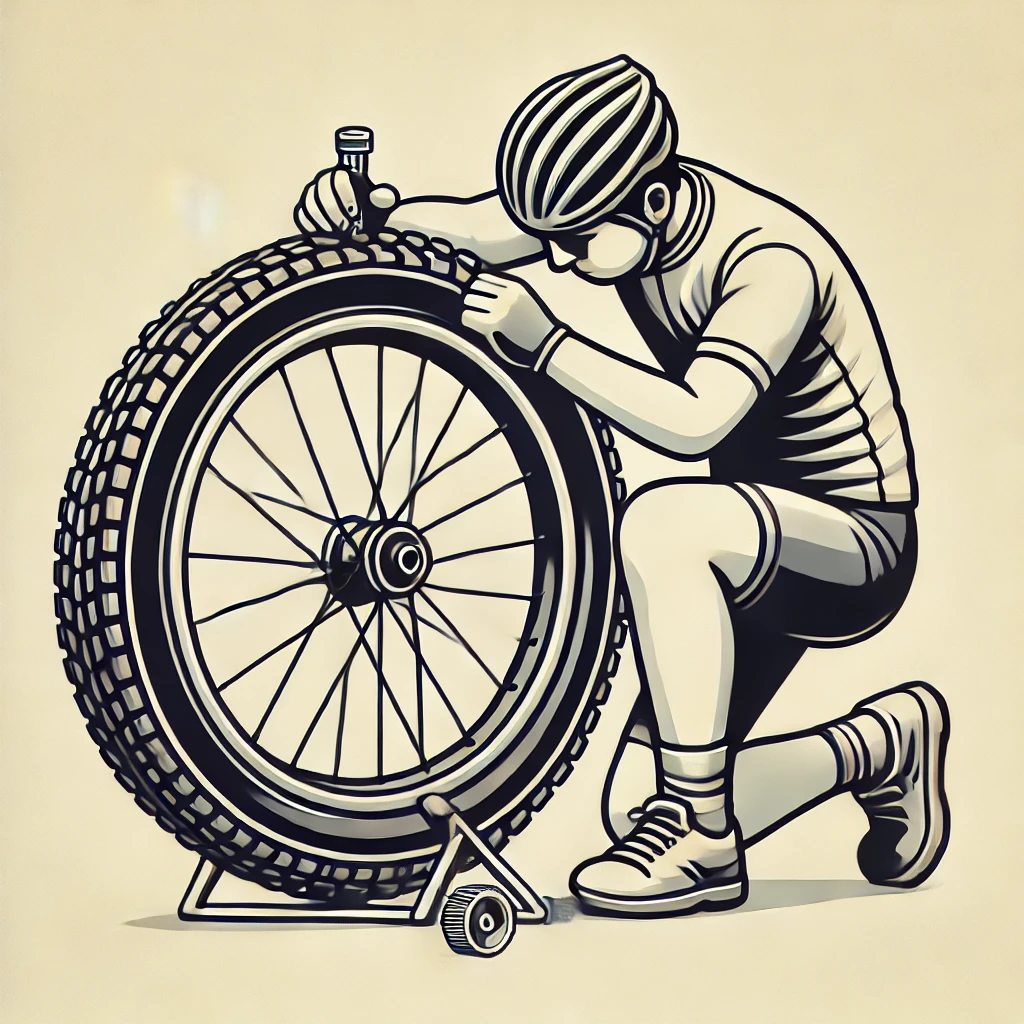
Step 4: Inspect the Tire and Rim
Before installing the new inner tube, it’s essential to inspect the tire and rim for any sharp objects or debris that may have caused the flat. When learning how to change inner tube on bike, this step is crucial to prevent future flats. Check for wear and tear that might need attention, as this is an important aspect of how to change inner tube on bike. Ensuring the tire and rim are in good condition is vital for a successful process in how to change inner tube on bike.
- Check the Tire: Run your fingers along the inside of the tire, feeling for sharp objects like glass, thorns, or metal shards. Inspect the tire for cuts, punctures, or significant wear.
- Check the Rim: Inspect the rim for any sharp edges or damage. Ensure the rim tape is in good condition and properly positioned to protect the inner tube from spoke holes.
- Remove Debris: If you find any sharp objects or debris, remove them carefully. Even a small piece of glass can cause another flat if left inside the tire.
Step 5: Insert the New Inner Tube
Slightly inflate the new inner tube to give it shape. This step is crucial when learning how to change inner tube on bike, as it helps prevent twists and pinches when installing it into the tire. Properly inflating the new inner tube ensures a smooth and successful process in how to change inner tube on bike. By following this step, you’ll avoid common issues and make the overall task of how to change inner tube on bike much easier.
- Inflate the Tube: Add a small amount of air to the new inner tube. It should hold its shape but still be flexible enough to fit inside the tire.
- Insert the Valve: Insert the valve stem into the valve hole on the rim. Ensure it’s seated correctly and perpendicular to the rim.
- Tuck in the Tube: Starting at the valve, tuck the inner tube inside the tire. Work your way around the tire, ensuring the tube is not twisted or pinched.
Step 6: Reinstall the Tire
Reinstalling the tire requires care to avoid pinching the inner tube. This is a critical step in how to change inner tube on bike. Ensuring the tube is properly seated and free from pinches will help prevent future flats. By being attentive during this part of how to change inner tube on bike, you can ensure a smooth and reliable tire installation. Taking your time with this step is essential for a successful process in how to change inner tube on bike.
- Seat the Tire: Starting at the valve, push the tire back onto the rim using your hands. Work your way around the tire, pushing it onto the rim evenly.
- Use Tire Levers if Needed: If the tire is tight, use tire levers to help seat the last section. Be cautious not to pinch the inner tube.
- Check the Fit: Ensure the tire is evenly seated on the rim. Check that the inner tube is not visible or pinched between the tire and rim.
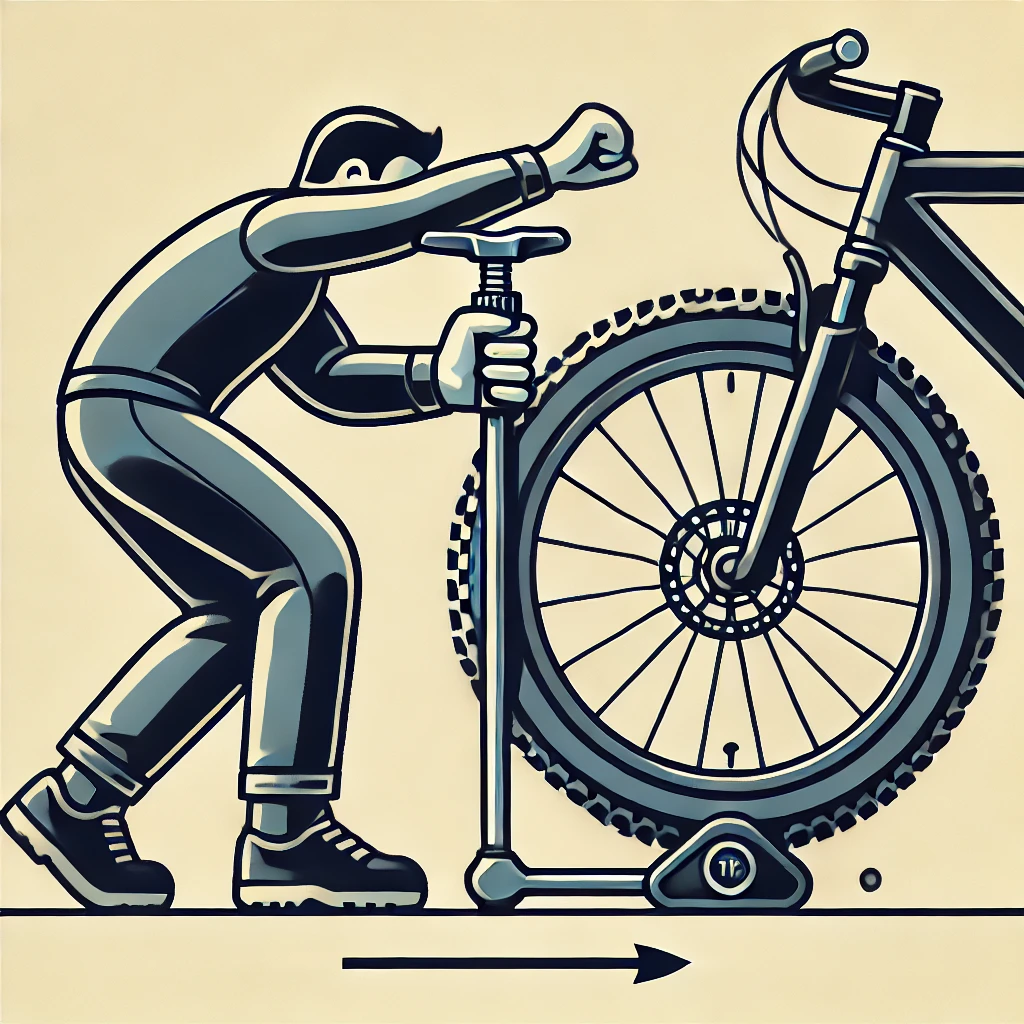
Step 7: Inflate the Tire
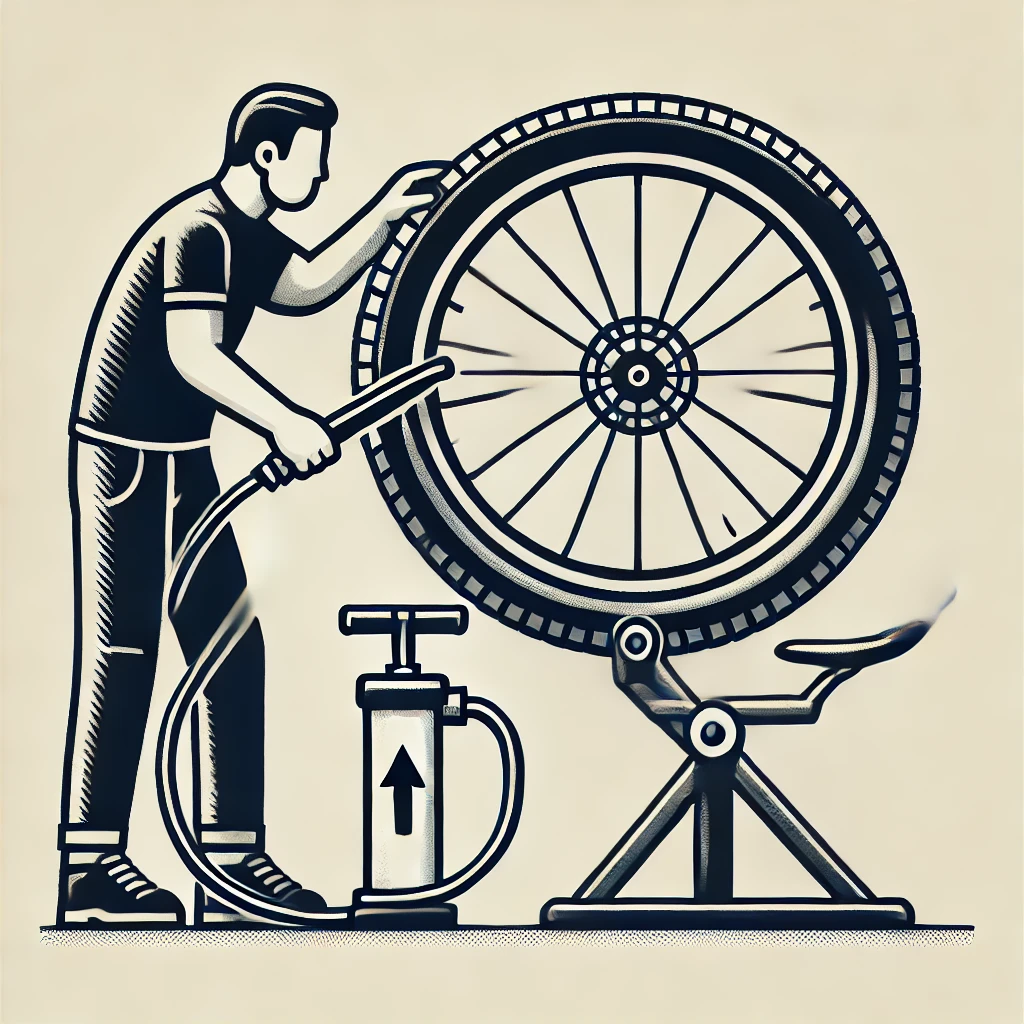
Once the tire is back on the rim, it’s time to inflate it to the recommended pressure. This is a key part of how to change inner tube on bike, ensuring the tire is properly seated and ready for use. Following the manufacturer’s recommended pressure is crucial for a safe and smooth ride. By paying attention to this step in how to change inner tube on bike, you can avoid issues like under-inflation or over-inflation. Proper inflation is essential for completing the process of how to change inner tube on bike effectively.
- Inflate Gradually: Use a pump or CO2 inflator to gradually inflate the tire. Stop occasionally to check that the tire is seated evenly on the rim.
- Check Pressure: Inflate the tire to the manufacturer’s recommended pressure, usually found on the sidewall of the tire. Use a pressure gauge to ensure accuracy.
- Final Check: Once inflated, check the tire for any bulges or irregularities. Ensure the tire is evenly seated and the valve is straight.
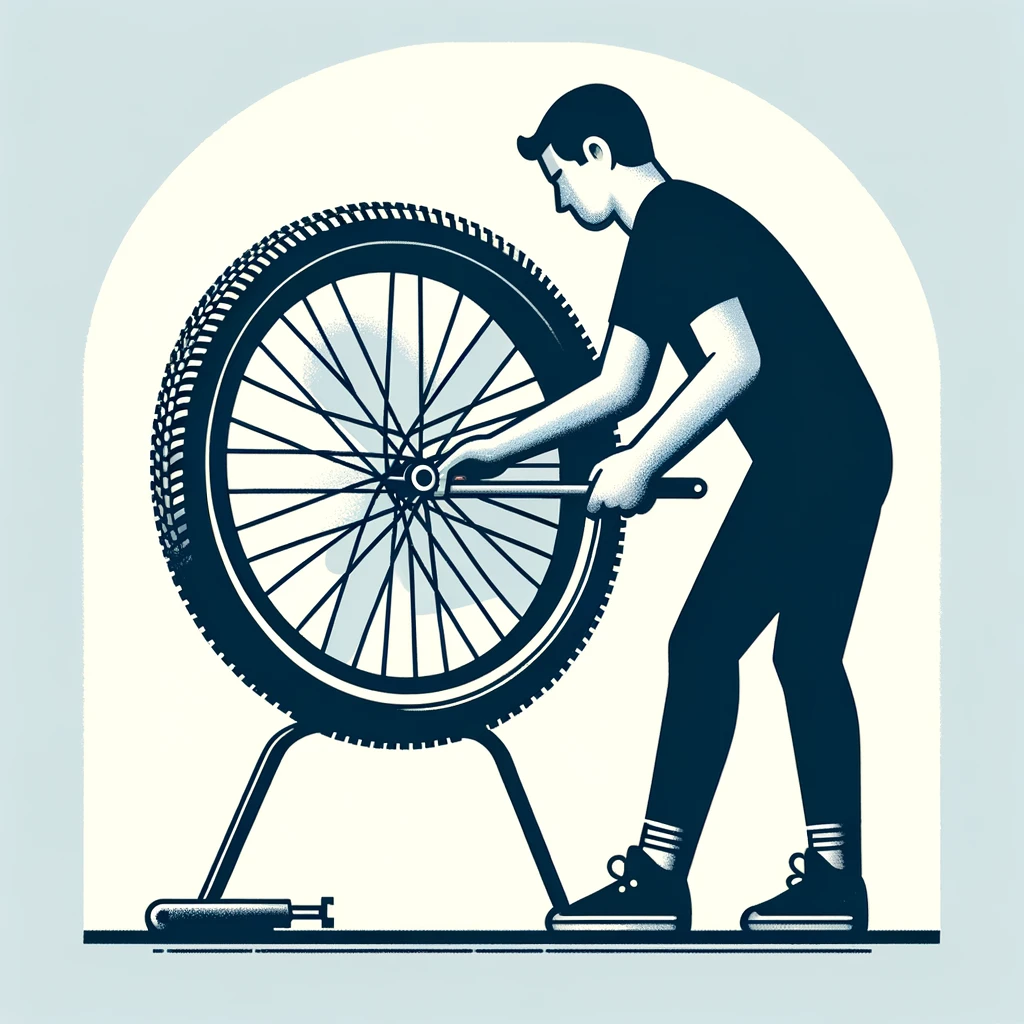
Step 8: Reinstall the Wheel
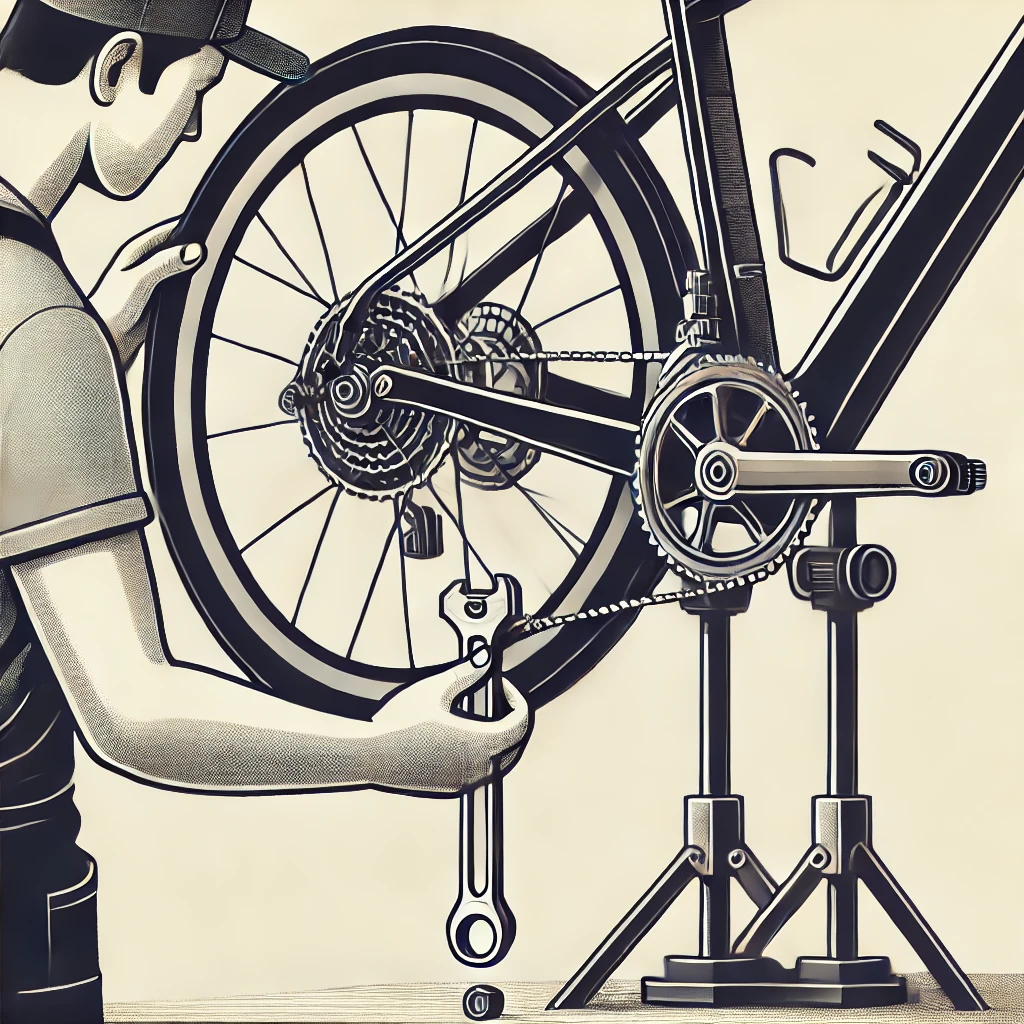
Place the wheel back on the bike, ensuring it is properly aligned with the frame. This final step in how to change inner tube on bike is crucial for optimal performance and safety. Proper alignment ensures the wheel spins freely and the brakes function correctly. By carefully following this part of how to change inner tube on bike, you can ensure a smooth and successful repair. Completing this step correctly is essential for mastering the process of how to change inner tube on bike.
- Align the Wheel: Position the wheel in the dropouts, ensuring it’s centered and aligned with the frame.
- Tighten the Axle: Use the quick-release lever or a wrench to tighten the axle nuts. Ensure the wheel is secure and doesn’t wobble.
- Reattach the Brakes: If you released the brakes earlier, reattach them now. Ensure they’re properly adjusted and functioning correctly.
- Final Test: Spin the wheel to check for any wobbles or misalignment. Test the brakes to ensure they’re working correctly.
FAQs
How often should I check my inner tubes?
Regularly check your inner tubes for wear and tear, especially before long rides. Inspect them at least once a month. Regular checks can help you catch potential issues before they lead to flats.
What tools do I need to change a bike’s inner tube?
Essential tools include tire levers, a pump or CO2 inflator, and a spare inner tube. It’s also helpful to have a valve tool and a patch kit for emergencies. Having these tools on hand ensures you’re prepared for unexpected flats.
Can I patch an inner tube instead of replacing it?
Yes, you can patch an inner tube as a temporary fix, but replacing it is more reliable, especially for longer rides. Patching is useful in a pinch but may not be as durable as a new tube.
How do I prevent flats?
To prevent flats, regularly check your tires for wear and replace them as needed. Keep your tires properly inflated and avoid riding over debris. Using puncture-resistant tires and inner tubes can also help reduce the risk of flats.
How can I make the tire easier to remove?
If you’re having trouble removing the tire, ensure it’s fully deflated. You can also use talcum powder on the inner tube to reduce friction and make it easier to slide out.
What should I do if the valve is stuck?
If the valve is stuck, use a valve tool to gently loosen it. Be careful not to damage the valve stem. If the valve is still stuck, you may need to replace the inner tube.
Is it necessary to replace the tire if I get a flat?
Not necessarily. If the tire is in good condition and the flat is due to a puncture in the inner tube, you can simply replace the tube. However, if the tire is damaged or excessively worn, it’s best to replace it to prevent future flats.
How do I know if my rim tape needs replacing?
Inspect the rim tape for any signs of wear, such as cracks or tears. If the tape is damaged or not covering the spoke holes properly, replace it. Rim tape is inexpensive and can help prevent flats caused by spoke holes.
Can I use any inner tube for my bike?
No, you should use an inner tube that matches the size of your tire and the type of valve (Schrader or Presta) your bike requires. Check the sidewall of your tire for the correct size and choose an inner tube that fits those specifications.
How do I dispose of old inner tubes?
Old inner tubes can often be recycled at bike shops or recycling centers. Some companies also repurpose inner tubes into products like bags or belts. Check with your local bike shop for recycling options.
Conclusion
Learning how to change an inner tube on your bike is a valuable skill that can save you time and hassle. By following these steps, you can confidently handle a flat tire and get back to enjoying your ride. Regular maintenance and inspections can help prevent flats and keep your bike in top condition. For more tips on bike maintenance, check out our beginner’s guide to surfing in Puerto Rico and the best wheelie bikes. For further reading on bike maintenance, you can visit Bicycling.com and BikeRadar.
Additional Tips and Insights
Changing an inner tube is a fundamental bike maintenance skill, but several additional tips and insights can make the process even smoother and more efficient. Below are some advanced tips and common issues you might encounter.
Advanced Tips
Carrying a Spare Tube and Tools
Always carry a spare inner tube, tire levers, and a mini pump or CO2 inflator when you ride. These items are essential for on-the-go repairs and can prevent you from being stranded.
Using CO2 Inflators
CO2 inflators are a quick and convenient way to inflate your tire. However, remember that CO2 can leak out faster than air, so you may need to re-inflate with a regular pump later. CO2 inflators are ideal for quick fixes during rides.
Tire Booting
If your tire has a large cut or gash, you can use a tire boot to temporarily patch it. A tire boot is a piece of material that reinforces the damaged area of the tire, allowing you to ride home safely. You can use a dedicated tire boot or, in an emergency, a folded dollar bill or an energy bar wrapper.
Common Issues and Solutions
Difficult Tire Removal
Some tires can be particularly difficult to remove, especially if they have a tight fit. In this case, use multiple tire levers to gradually work the tire off the rim. Ensure the tire is fully deflated, as even a small amount of air can make removal harder.
Pinched Inner Tube
A common mistake is pinching the inner tube between the tire and rim during installation. To avoid this, inflate the inner tube slightly before installation and ensure it’s evenly tucked inside the tire. After partially inflating, check all around the tire to ensure the tube isn’t pinched.
Valve Stem Issues
If the valve stem is not properly seated, it can cause air leaks or make it difficult to inflate the tire. Ensure the valve stem is perpendicular to the rim and securely tightened. If you have a Presta valve, make sure the small nut is properly tightened.
Recurrent Flats
If you experience recurrent flats, the cause might be more than just sharp objects on the road. Check for issues such as damaged rim tape, improper installation, or overly worn tires. Ensure your tire pressure is appropriate for your riding conditions.
Preventative Maintenance
Regular Tire Inspection
Regularly inspect your tires for wear and tear. Look for any embedded debris, cuts, or excessive wear. Replace tires that show signs of significant wear to prevent flats and improve ride quality.
Proper Tire Pressure
Maintaining the proper tire pressure is crucial for preventing flats and ensuring a smooth ride. Check your tire pressure before every ride and adjust as needed based on the manufacturer’s recommendations.
Using Sealant
For added protection against flats, consider using a tire sealant. Sealants can seal small punctures as they happen, providing an additional layer of defense. This is especially useful for tubeless tires but can also be used with regular inner tubes.
Further Reading and Resources
For those who want to dive deeper into bike maintenance and repair, there are numerous resources available online and in print. Here are some recommended books and websites:
- Books: “Zinn & the Art of Road Bike Maintenance” by Lennard Zinn and “The Bicycling Guide to Complete Bicycle Maintenance & Repair” by Todd Downs.
- Websites: Park Tool’s Repair Help, Sheldon Brown’s Bicycle Technical Info, and Global Cycling Network’s YouTube Channel.
Related Articles on Our Blog
These articles provide additional information and product recommendations for cycling enthusiasts looking to enhance their riding experience.
Final Thoughts
Mastering the skill of how to change inner tube on bike is empowering and essential for any cyclist. By following this detailed guide and practicing regularly, you’ll become proficient in handling flat tires and maintaining your bike. Remember, regular maintenance and being prepared with the right tools and knowledge can make your cycling experience more enjoyable and stress-free. Knowing how to change inner tube on bike ensures you’re ready for any situation, making your rides smoother and giving you peace of mind. By practicing how to change inner tube on bike, you’ll enhance your cycling skills and confidence.
For more tips, reviews, and how-to guides, explore our blog, where we cover a wide range of topics from outdoor adventures to pet care and music.
Thank you for your sharing. I am worried that I lack creative ideas. It is your article that makes me full of hope. Thank you. But, I have a question, can you help me?
Your article helped me a lot, is there any more related content? Thanks!
Your article helped me a lot, is there any more related content? Thanks!