DIY Geometric Wall Art Decor: Your Best Guide in 2025
Creating your own DIY Geometric Wall Art Decor is fun, easy, and a great way to make your space unique. You can use simple materials, and the steps are beginner-friendly. Plus, DIY Geometric Wall Art Decor is budget-friendly, so you can enjoy stunning results without spending too much. Let’s get started with this amazing project!
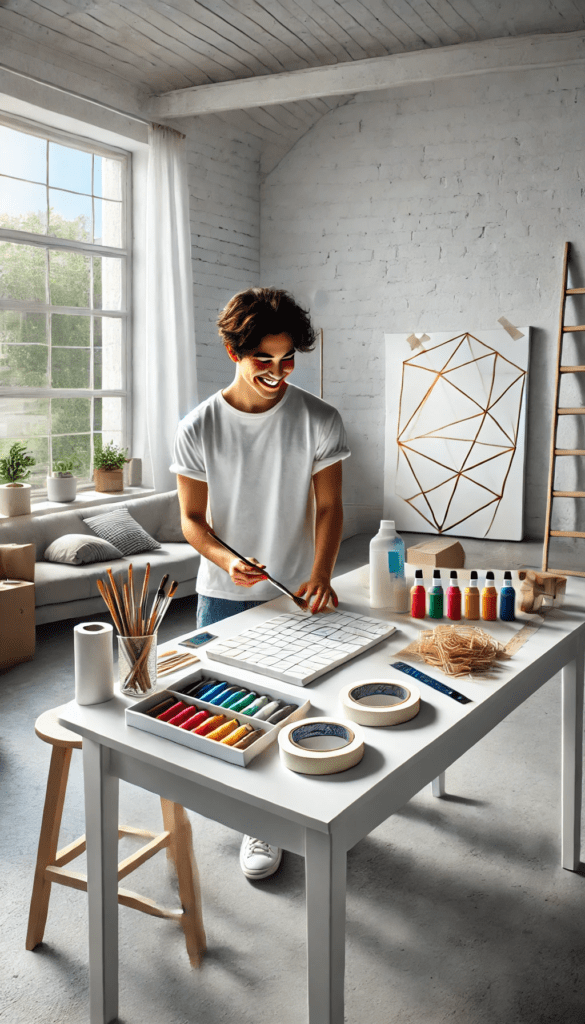
DIY Geometric Wall Art Decor is perfect for anyone looking to add a creative touch to their living space. With a bit of effort and the right materials, you can create something truly unique. Whether you’re a beginner or an experienced artist, DIY Geometric Wall Art Decor offers endless possibilities to personalize your home. By following this guide, you’ll be able to craft something you’ll be proud to display.
Why Choose DIY Geometric Wall Art Decor?
Making your own DIY Geometric Wall Art Decor is rewarding. It allows you to express your creativity and make something that fits your style. You also save money and get to enjoy the satisfaction of completing a personal project. This type of decor works well in any room and complements many styles.
DIY Geometric Wall Art Decor is not just about creating art; it’s about crafting a piece that reflects your personality. The simplicity of geometric designs makes them versatile and appealing. Whether you prefer bold colors or muted tones, DIY Geometric Wall Art Decor lets you explore your artistic side while enhancing your home’s aesthetic.
Step-by-Step Guide to Creating DIY Geometric Wall Art Decor
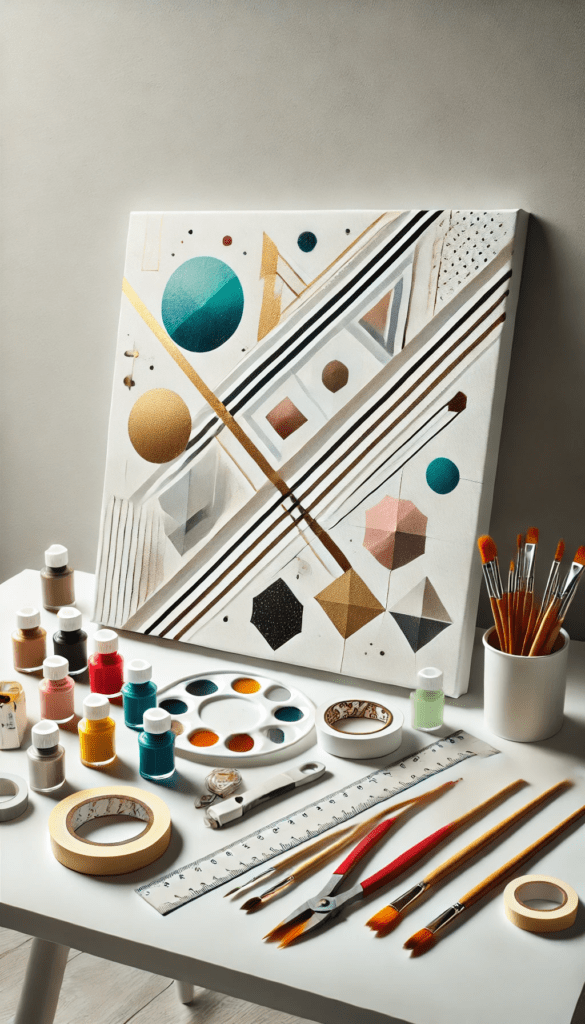
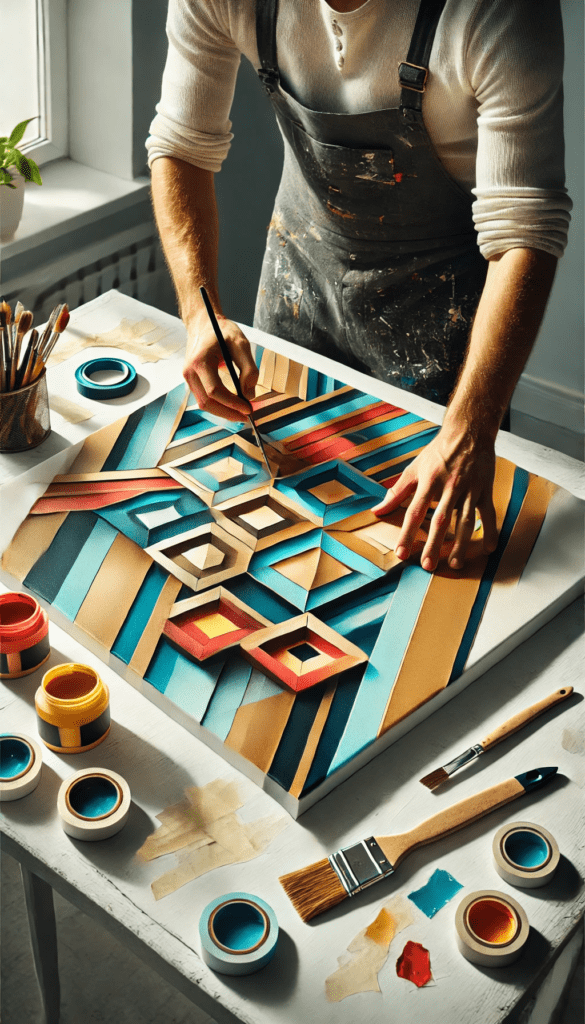
Step 1: Gather Your Materials
- Canvas or wooden board
- Acrylic paints (choose your favorite colors)
- Painter’s tape
- Paintbrushes or sponges
- Ruler and pencil
- Optional: Gold or silver metallic paint for accents
Before starting your DIY Geometric Wall Art Decor, ensure you have all the materials ready. Having everything on hand makes the process smoother and more enjoyable. Choose colors that match your room’s decor or experiment with new shades to make your DIY Geometric Wall Art Decor stand out.
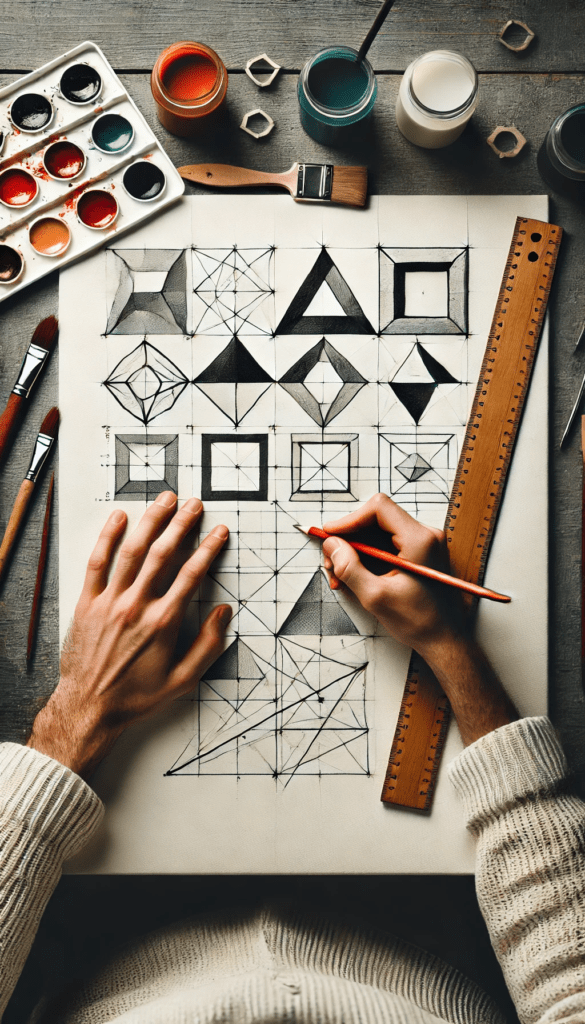
Step 2: Plan Your Design
- Use a ruler and pencil to sketch geometric shapes on your canvas.
- Experiment with triangles, squares, and hexagons.
- Keep the design simple or mix different shapes for a more dynamic look.
Planning is key when creating a DIY Geometric Wall Art Decor. Take your time to visualize the design before sketching it. The better you plan, the easier it will be to bring your DIY Geometric Wall Art Decor to life. Don’t hesitate to try out different layouts until you find the perfect one.
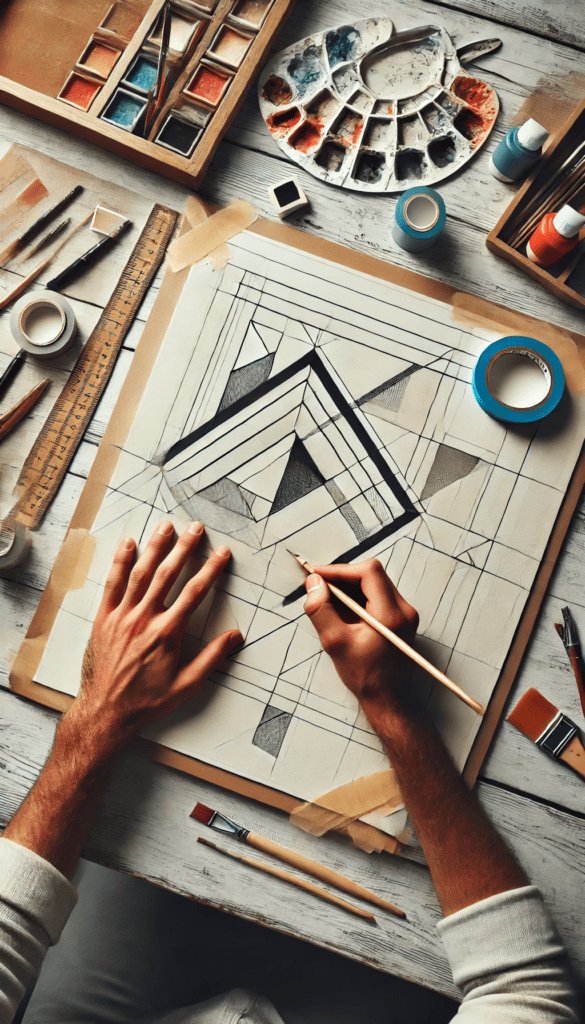
Step 3: Tape the Lines
- Use painter’s tape to outline the shapes you drew.
- Ensure the tape edges are pressed firmly to prevent paint from bleeding.
- Leave space between shapes for clean lines.
Taping the lines is a crucial step in DIY Geometric Wall Art Decor. It helps maintain the sharpness of your geometric shapes and ensures the final piece looks professional. Make sure the tape adheres well to avoid any gaps or uneven edges.
Step 4: Paint the Shapes
- Choose your main colors and start painting within the taped shapes.
- Use different brushes or sponges for variety.
- Allow each color to dry before painting adjacent shapes.
- Add metallic paint for a modern touch if desired.
Painting is the most exciting part of creating a DIY Geometric Wall Art Decor. This is where your design starts to come alive. Experiment with textures and shades to add depth to your DIY Geometric Wall Art Decor. If you’re using multiple colors, be patient and let each layer dry completely before moving on.

Step 5: Remove the Tape
- Once the paint is completely dry, gently remove the tape.
- Check the edges and touch up any imperfections with a fine brush.
- Let the artwork dry fully before hanging it up.
Removing the tape reveals the crisp lines that define your DIY Geometric Wall Art Decor. Be careful while removing the tape to avoid smudging the paint. If there are any imperfections, use a small brush to fix them. This step adds the final touch to your DIY Geometric Wall Art Decor.
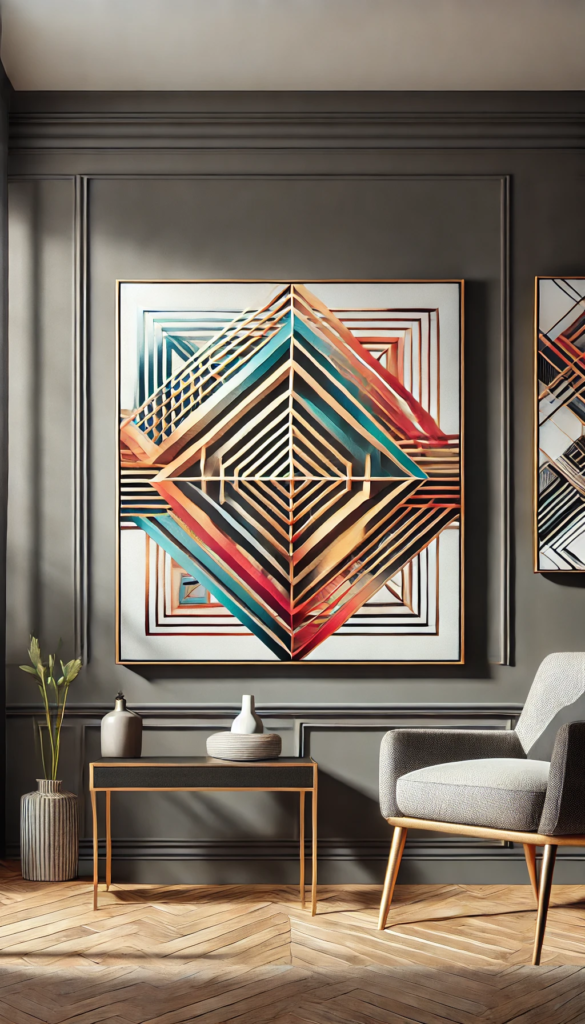
Step 6: Frame and Display
- Add a simple frame for a polished look.
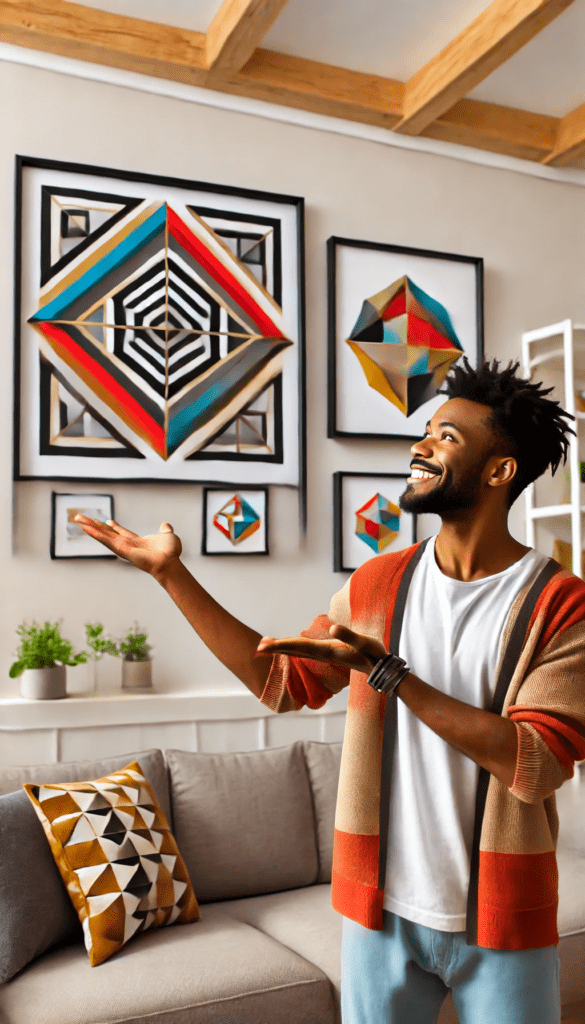
- Hang your DIY Geometric Wall Art Decor in a prominent spot.
- Enjoy the compliments from your friends and family!
Framing your DIY Geometric Wall Art Decor gives it a finished appearance and protects it from dust or damage. Choose a frame that complements your design. Displaying your DIY Geometric Wall Art Decor in a well-lit area ensures it gets the attention it deserves.
FAQs
What materials can I use for DIY Geometric Wall Art Decor?
You can use canvases, wooden boards, or even cardboard. Acrylic paint works best, but you can also try spray paint or markers.
Can I do this project with kids?
Yes! This is a family-friendly project. Just ensure that young kids are supervised, especially when using scissors or paint.
How long does it take to complete?
This project typically takes 2-4 hours, depending on the size of your artwork and drying time.
Can I use recycled materials?
Absolutely! Old cardboard, leftover paints, or scrap wood can be perfect for this project.
How do I clean the brushes?
Rinse them in warm water immediately after use. For acrylic paints, mild soap can help.
Can I customize the colors?
Yes, customization is the beauty of DIY Geometric Wall Art Decor. Choose colors that match your room or experiment with bold contrasts.
What if I make a mistake?
Mistakes are part of the process. You can paint over them once the initial layer dries. Alternatively, embrace imperfections as part of the art.
Is it expensive to make a DIY Geometric Wall Art Decor?
Not at all! Most materials are affordable, and you can use items you already have at home. DIY Geometric Wall Art Decor is budget-friendly and allows you to create stunning decor without breaking the bank.
How do I ensure straight lines?
Using painter’s tape and a ruler helps achieve straight lines. Take your time to align the tape carefully for precise results.
Can I make this as a gift?
Yes, DIY Geometric Wall Art Decor makes a thoughtful and personal gift. Customize the design to match the recipient’s style for a truly special present.
Conclusion
Creating a DIY Geometric Wall Art Decor is a fun and fulfilling way to decorate your home. Not only is it budget-friendly, but it also adds a personal touch to your space. Don’t forget to explore our other ideas, like DIY Farmhouse Home Decor Projects and Step-by-Step DIY Canvas Art Projects. For more inspiration, check out Pinterest or HGTV. Let your creativity shine!
DIY Geometric Wall Art Decor is more than just a project; it’s a journey of creativity and expression. With each step, you’re building something unique and personal. Start your DIY Geometric Wall Art Decor today and enjoy the satisfaction of creating something beautiful for your home!