Rain Room Photography: Your Best Guide in 2024
Rain room photography is a fascinating and innovative way to capture stunning images that give the illusion of being taken in the rain, without stepping outside. This guide is designed to help you master rain room photography, whether you’re a beginner or looking to refine your skills. You’ll discover how to set up your rain room, the essential equipment you’ll need, and tips and tricks to get the best shots. By the end of this guide, you’ll be ready to create mesmerizing rain room photography that stands out.
Setting Up Your Rain Room Photography Space
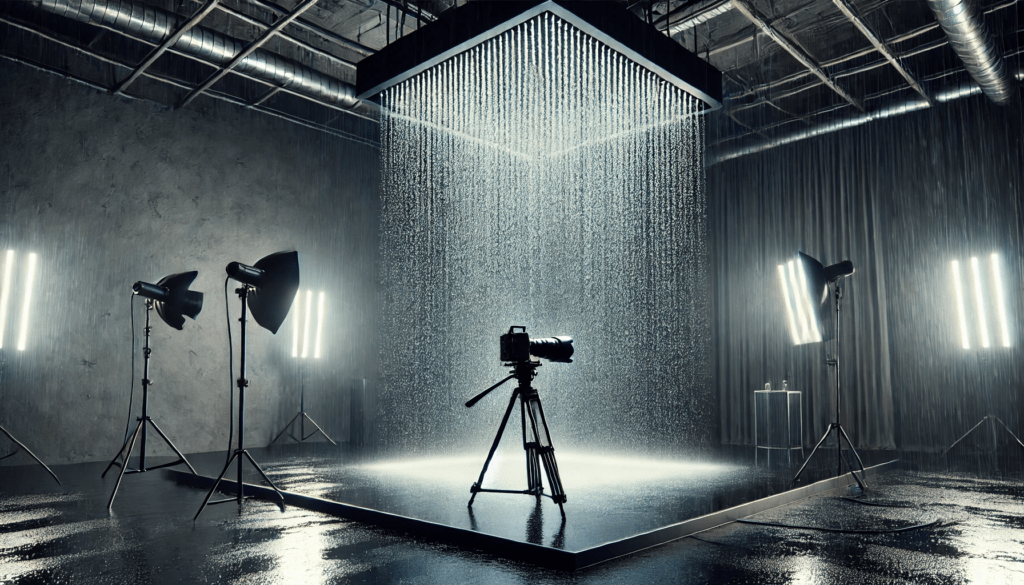
Choosing the Right Location
Choosing the right location is the first step in rain room photography. You’ll need a spacious area where you can control the environment effectively. Ideal locations include large rooms, studios, or even a garage. Ensure that the space you choose has good ventilation and a reliable drainage system to handle the water.
Essential Equipment for Rain Room Photography
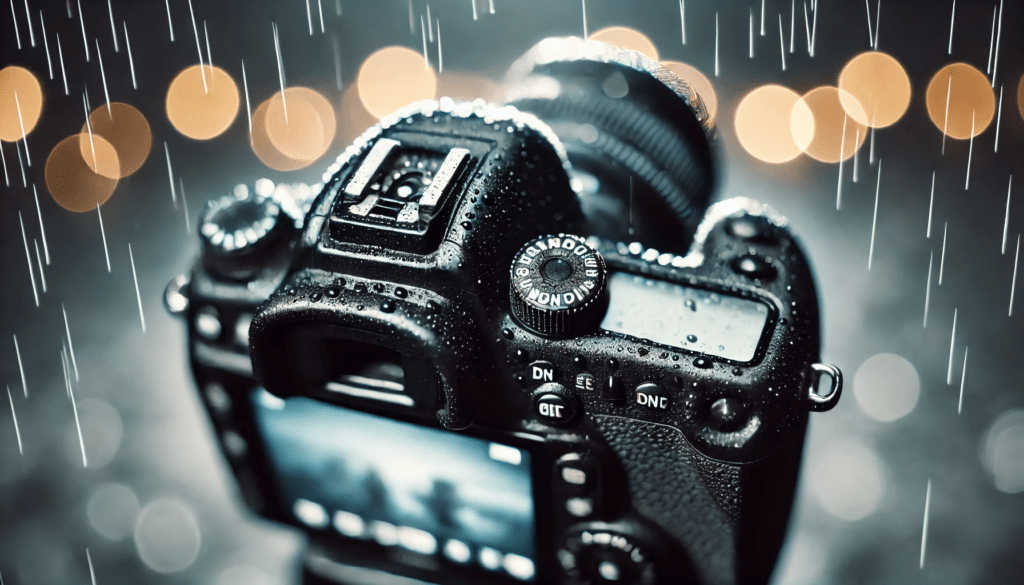
Rain room photography requires specific equipment to create the perfect effect. Here’s a list of what you’ll need:
- Camera: A DSLR or mirrorless camera with manual settings is crucial for rain room photography. These cameras provide the flexibility and control necessary to capture the intricate details of water droplets.
- Lenses: A variety of lenses can be useful, but wide-angle and macro lenses are particularly effective in rain room photography. Wide-angle lenses allow you to capture the entire scene, while macro lenses let you focus on detailed shots of water droplets.
- Tripod: Stability is key in rain room photography. A sturdy tripod helps you maintain a steady shot, especially when using longer exposure times.
- Lighting: Waterproof LED lights or flash units with diffusers are essential. Proper lighting enhances the visibility and texture of the water droplets, adding depth to your photos.
- Water System: You’ll need a sprinkler system or a specialized rain machine to create the rain effect. These systems should be adjustable to control the intensity and pattern of the rain.
- Backgrounds: Dark, non-reflective backgrounds work best in rain room photography as they help to highlight the water droplets. Black fabric or dark-painted walls are good options.
- Protective Gear: Ensure all electrical equipment is waterproof or safely positioned away from water. Use non-slip mats and have plenty of towels or absorbent materials on hand.
Safety Measures
Safety is paramount in rain room photography. Here are some important safety tips:
- Waterproofing: Ensure all your equipment, especially electrical items, is waterproof or safely positioned to avoid contact with water.
- Non-slip Surfaces: Use non-slip mats to prevent accidents in the wet environment.
- Ventilation: Make sure your space is well-ventilated to prevent humidity build-up.
- Drainage: A good drainage system is essential to manage the water effectively and prevent flooding.
Setting Up Your Rain Room
Installing the Rain System
The core of rain room photography is the rain system. Setting up the rain system correctly is crucial for achieving the desired effect.
- Sprinklers or Rain Machine: Install sprinklers or a rain machine above your shooting area. These should be adjustable to control the water flow and pattern. Position them strategically to ensure even distribution of water.
- Water Pressure: Experiment with different water pressures to create various rain effects. Lower pressure can simulate a drizzle, while higher pressure creates a more dramatic downpour.
- Water Temperature: Consider using warm water, especially if your model will be getting wet, to ensure comfort during the shoot.
Lighting the Scene
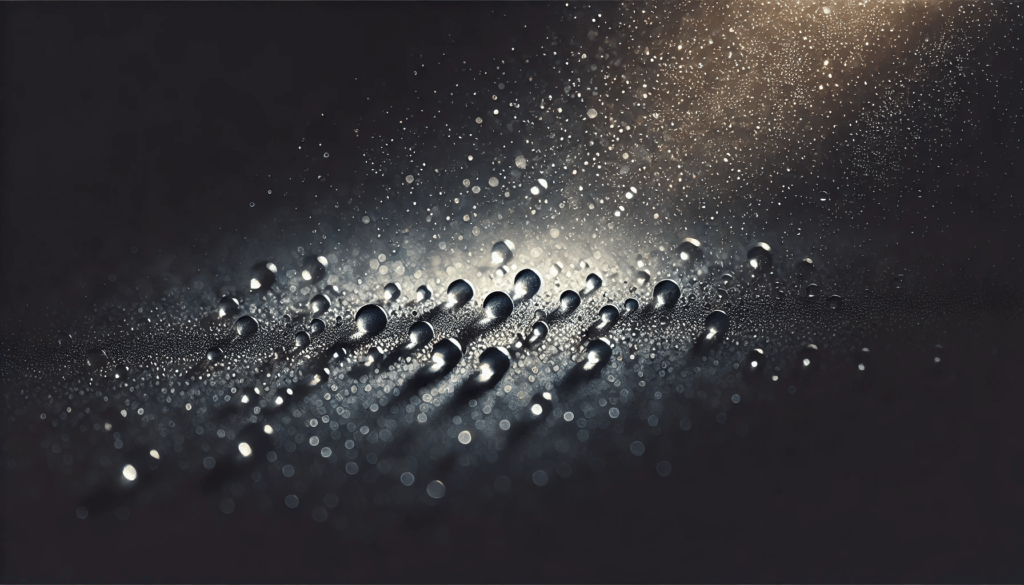
Lighting plays a significant role in rain room photography. It enhances the visibility of water droplets and adds depth to your photos.
- LED Lights or Flash Units: Use waterproof LED lights or off-camera flash units. These lights should be positioned at different angles to create interesting light patterns and highlight the water droplets.
- Diffusers: Use diffusers to soften the light and avoid harsh shadows. Soft, diffused light works best to illuminate the rain without overpowering the subject.
- Backlighting: Backlighting can create stunning effects by highlighting the water droplets. Place lights behind the rain to make the droplets sparkle and stand out.
Background and Floor Setup
Choosing the right background and floor setup is essential for rain room photography.
- Background: A dark, non-reflective background helps make the water droplets stand out. Black fabric or dark-painted walls are ideal choices.
- Floor: Use a waterproof material for the floor to prevent water damage. Non-slip surfaces are important to ensure safety. Reflective floors can add interesting effects, but be cautious of safety and practicality.
Capturing the Perfect Shot
Camera Settings
Manual camera settings give you full control over the exposure, focus, and depth of field in rain room photography.
- ISO: Use a low ISO (100-400) to minimize noise and maintain image quality.
- Aperture: Adjust the aperture (f/2.8 to f/5.6) depending on the depth of field you want. A wider aperture (lower f-number) creates a shallow depth of field, blurring the background and making the water droplets stand out.
- Shutter Speed: Set a shutter speed between 1/100 and 1/250 seconds to freeze the motion of the water droplets. Faster shutter speeds can freeze individual droplets, while slower speeds can create a motion blur effect.
- Focus: Manual focus is often more effective in low light and with moving water. Focus on a point where the rain and the subject intersect.
Composing Your Shot
Composition is key in rain room photography. Use these tips to create compelling images:
- Rule of Thirds: Position your subject and frame your shot using the rule of thirds. This technique helps create a balanced and aesthetically pleasing composition.
- Angles and Perspectives: Experiment with different angles and perspectives to find the most striking shot. Shoot from low angles to make the rain look more dramatic, or from above to capture a unique viewpoint.
- Foreground and Background: Pay attention to the relationship between the foreground and background. Ensure the background complements the subject and doesn’t distract from the rain effect.
Focusing Techniques
Focusing can be challenging in rain room photography due to the low light and moving water.
- Manual Focus: Switch to manual focus to have more control over the focus point. Use a small flashlight to assist with focusing in dark conditions.
- Focus on Droplets: Focus on the area where the rain intersects with the subject. This helps highlight the water droplets and adds depth to your photos.
Editing Your Rain Room Photos
Basic Adjustments
Start with basic adjustments to enhance your rain room photos.
- Exposure: Adjust the exposure to ensure the photo is well-lit without losing detail in the highlights or shadows.
- Contrast: Increase the contrast to make the water droplets pop against the background.
- White Balance: Correct the white balance to ensure the colors are accurate. Cooler tones can enhance the mood of a rain scene.
Enhancing the Rain Effect
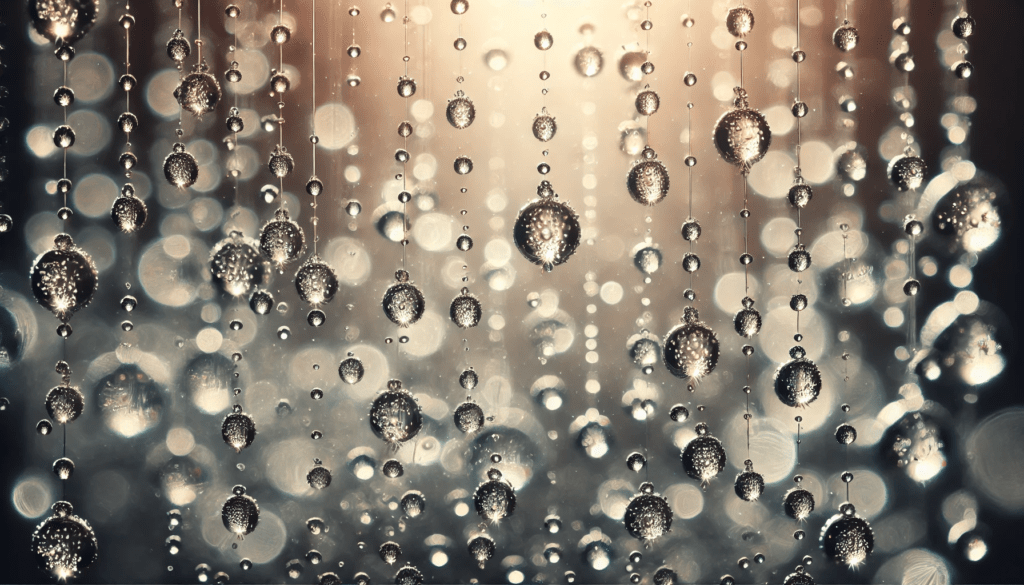
Use editing software like Photoshop or Lightroom to enhance the rain effect in your photos.
- Clarity and Dehaze: Use the clarity and dehaze sliders to bring out the details in the water droplets and add depth to the image.
- Selective Adjustments: Apply selective adjustments to specific areas of the photo. Highlight the water droplets by increasing their brightness or adding contrast.
- Sharpening: Apply sharpening to enhance the details in the water droplets. Be careful not to over-sharpen, which can introduce noise.
Final Touches
Finish your editing process with these final touches to perfect your rain room photos.
- Crop: Crop your image to improve the composition if needed. Ensure the main subject is well-positioned within the frame.
- Black and White Conversion: Consider converting your photo to black and white for a dramatic effect. Black and white photos can emphasize the textures and patterns created by the rain.
- Vignette: Add a subtle vignette to draw attention to the center of the image and enhance the overall mood.
Advanced Techniques in Rain Room Photography
Creating Dynamic Effects
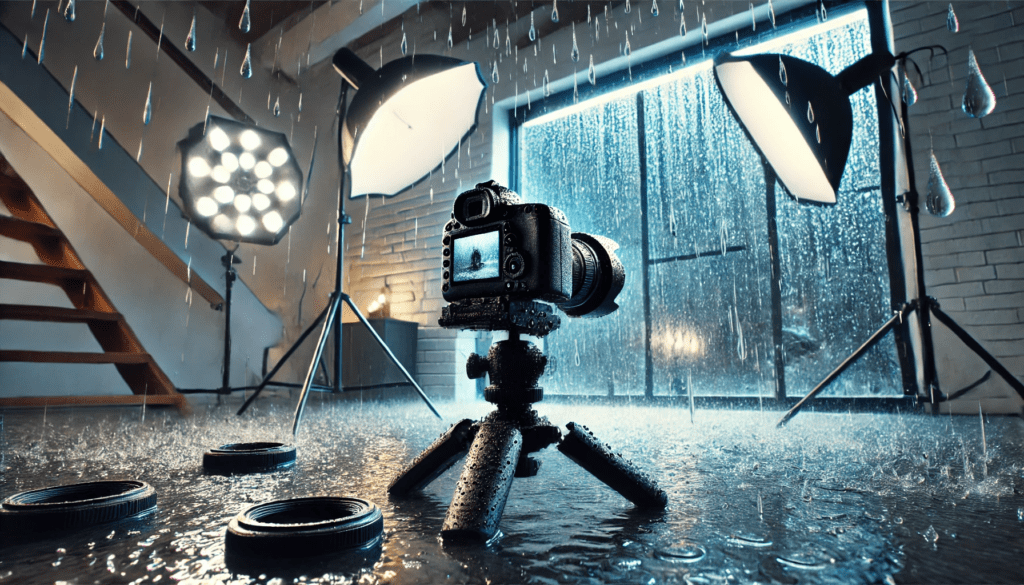
To take your rain room photography to the next level, experiment with dynamic effects that add movement and drama to your images.
- Long Exposures: Use longer exposure times to create motion blur in the water droplets. This technique can give your photos a sense of movement and energy. Experiment with shutter speeds of 1/30 second or slower.
- High-Speed Sync: Use high-speed sync with your flash to freeze the motion of water droplets in mid-air. This requires a camera and flash system that supports high-speed sync.
- Multiple Exposures: Combine multiple exposures to create complex, layered effects. This can be done in-camera or through post-processing.
Using Props and Accessories
Incorporating props and accessories can add interest and variety to your rain room photography.
- Umbrellas: Use umbrellas to create a classic rain scene. Transparent umbrellas work well as they allow light to pass through, highlighting the rain droplets.
- Reflective Surfaces: Place reflective surfaces like mirrors or metal sheets on the floor to create interesting reflections and patterns.
- Colored Gels: Attach colored gels to your lights to change the color of the rain. This can add a creative twist to your photos.
Working with Models

If you’re photographing people in your rain room, here are some tips to ensure great results.
- Model Comfort: Ensure your model is comfortable with getting wet. Use warm water if possible and have towels and dry clothes available.
- Posing: Guide your model on how to pose in the rain. Natural, relaxed poses often work best. Encourage them to interact with the rain, such as looking up into the droplets or using an umbrella.
- Expressions: Capture a range of expressions to convey different moods. Joyful expressions can create a playful scene, while thoughtful expressions can add a dramatic effect.
Post-Processing Tips
Advanced post-processing techniques can enhance your rain room photography and bring out the best in your images.
- Compositing: Combine multiple images to create a composite photo. This can be used to add extra rain effects or to combine different elements from several shots.
- Dodging and Burning: Use dodging and burning to selectively lighten and darken areas of your photo. This can help emphasize the rain droplets and add depth to the image.
- Special Effects: Add special effects such as digital rain overlays or bokeh effects to enhance the mood of your photos.
Inspirational Rain Room Photography Ideas
Abstract Rain Photography
Explore abstract compositions by focusing on the patterns and textures created by the rain. Use macro lenses to capture close-up details of water droplets and their interactions with light.
Themed Shoots
Create themed shoots based on different seasons or moods. For example, you could create a “Spring Shower” theme with vibrant colors and flowers, or a “Winter Rain” theme with cool tones and dramatic lighting.
Storytelling Through Rain
Use rain room photography to tell a story. Develop a narrative and use props, models, and lighting to convey the story through your images. This can add depth and meaning to your photography.
Rain Room Photography Projects
Personal Projects
Start a personal project to document different aspects of rain room photography. This could be a series of portraits, abstract compositions, or a thematic collection. Personal projects are a great way to explore your creativity and improve your skills.
Collaborations
Collaborate with other photographers, models, or artists to create unique rain room photography projects. Collaborative projects can bring new ideas and perspectives, leading to innovative and exciting results.
Exhibitions and Online Portfolios
Consider showcasing your rain room photography in exhibitions or online portfolios. Sharing your work with a wider audience can provide valuable feedback and growth opportunities.
Troubleshooting Common Issues
Dealing with Low Light
Rain room photography often involves low light conditions. Use these tips to handle low light effectively:
- Increase ISO: Raise your ISO setting to allow more light into the camera. Be mindful of noise and use noise reduction techniques in post-processing.
- Use Fast Lenses: Lenses with wide apertures (f/1.8 or wider) allow more light to reach the sensor, making them ideal for low-light conditions.
- Supplementary Lighting: Add more light sources or increase the intensity of your existing lights to brighten the scene.
Preventing Fogging and Condensation
Fogging and condensation can be a challenge in humid environments like rain rooms.
- Use Anti-Fog Products: Apply anti-fog solutions to your camera lens and any other surfaces prone to fogging.
- Control Temperature: Keep the room temperature consistent and avoid sudden temperature changes that can cause condensation.
- Ventilation: Ensure good ventilation to reduce humidity levels and prevent fogging.
Managing Water and Equipment
Water can pose risks to your equipment. Here’s how to manage it safely:
- Waterproof Covers: Use waterproof covers for your camera and lighting equipment. These covers protect against splashes and ensure your gear stays dry.
- Positioning: Place your equipment at a safe distance from direct water exposure. Use longer cables and remote controls to operate your gear from a dry area.
- Regular Checks: Regularly check your equipment for any signs of water damage or malfunction. Immediate action can prevent long-term damage.
Expanding Your Rain Room Photography Skills
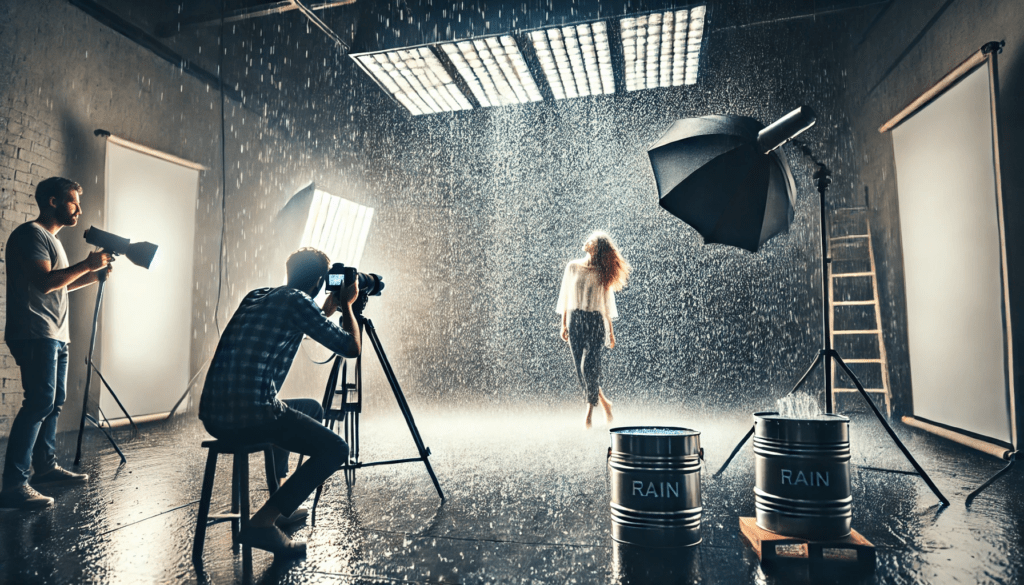
Workshops and Courses
Participate in workshops and online courses focused on rain room photography. Learning from experienced photographers can provide new insights and techniques.
Joining Photography Communities
Join online photography communities and forums to connect with other rain room photography enthusiasts. Share your work, ask for feedback, and learn from others’ experiences.
Experimenting with New Techniques
Never stop experimenting with new techniques and ideas. Rain room photography is a versatile and evolving field, and there’s always something new to discover.
FAQs
What camera settings should I use for rain room photography?
For rain room photography, use a low ISO (100-400) to minimize noise, an aperture between f/2.8 and f/5.6 to control the depth of field, and a shutter speed of 1/100 to 1/250 seconds to freeze the motion of water droplets. Manual focus is recommended to ensure sharp images.
How do I create a rain effect indoors?
To create a rain effect indoors, install a sprinkler system or a rain machine above your shooting area. Adjust the water flow to achieve the desired intensity and pattern. Ensure your setup is waterproof and includes proper drainage to manage the water.
What type of lighting is best for rain room photography?
Waterproof LED lights or off-camera flash units are ideal for rain room photography. Position the lights at different angles to create depth and texture. Use diffusers to soften the light and avoid harsh shadows. Backlighting can highlight the water droplets and create stunning effects.
Can I use my smartphone for rain room photography?
While smartphones can capture rain room photography, a DSLR or mirrorless camera with manual settings provides better control over exposure, focus, and image quality. Smartphones may struggle with low light conditions and the detailed focusing required for rain room photography.
How do I ensure safety during rain room photography sessions?
To ensure safety during rain room photography sessions, waterproof all electrical equipment or position it away from water. Use non-slip mats to prevent accidents and ensure the space is well-ventilated to avoid humidity build-up. Always have towels and absorbent materials on hand.
Conclusion
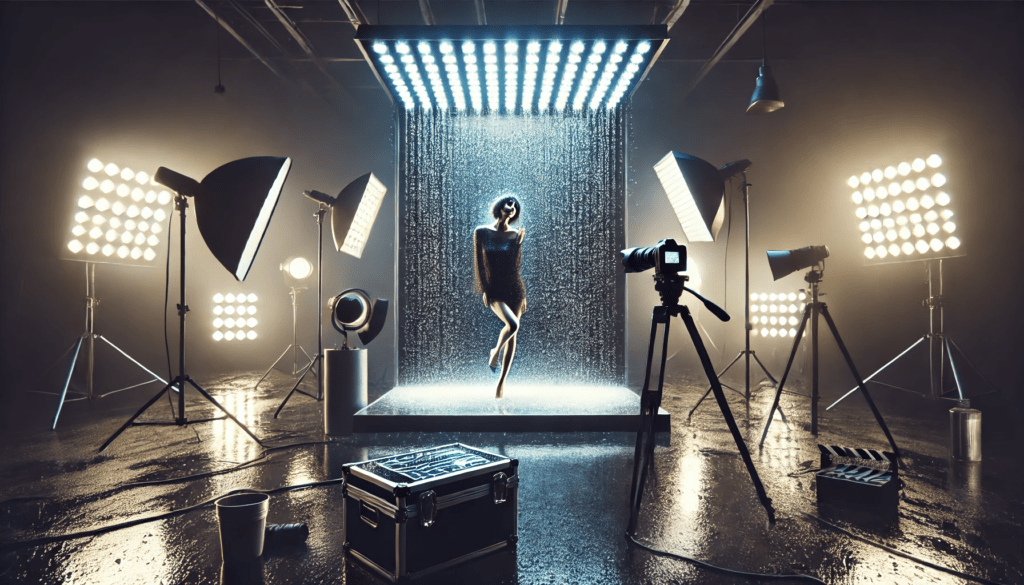
Rain room photography is an exciting and creative way to capture beautiful images that simulate the rain effect indoors. By carefully setting up your environment, using the right equipment, and mastering camera settings, you can create stunning rain room photos. Remember to prioritize safety, experiment with different techniques, and enhance your photos through thoughtful editing.
For more photography tips, check out our articles on Astro Landscape Photography and Snow Boudoir Photography. For additional resources, visit Digital Photography School and Photography Life. Happy shooting!
Rain room photography offers endless possibilities for creativity and artistic expression. With practice and experimentation, you can master this unique photography style and produce captivating images that stand out.
